Light on Water (Lasercut Screen Attempt)
Concept
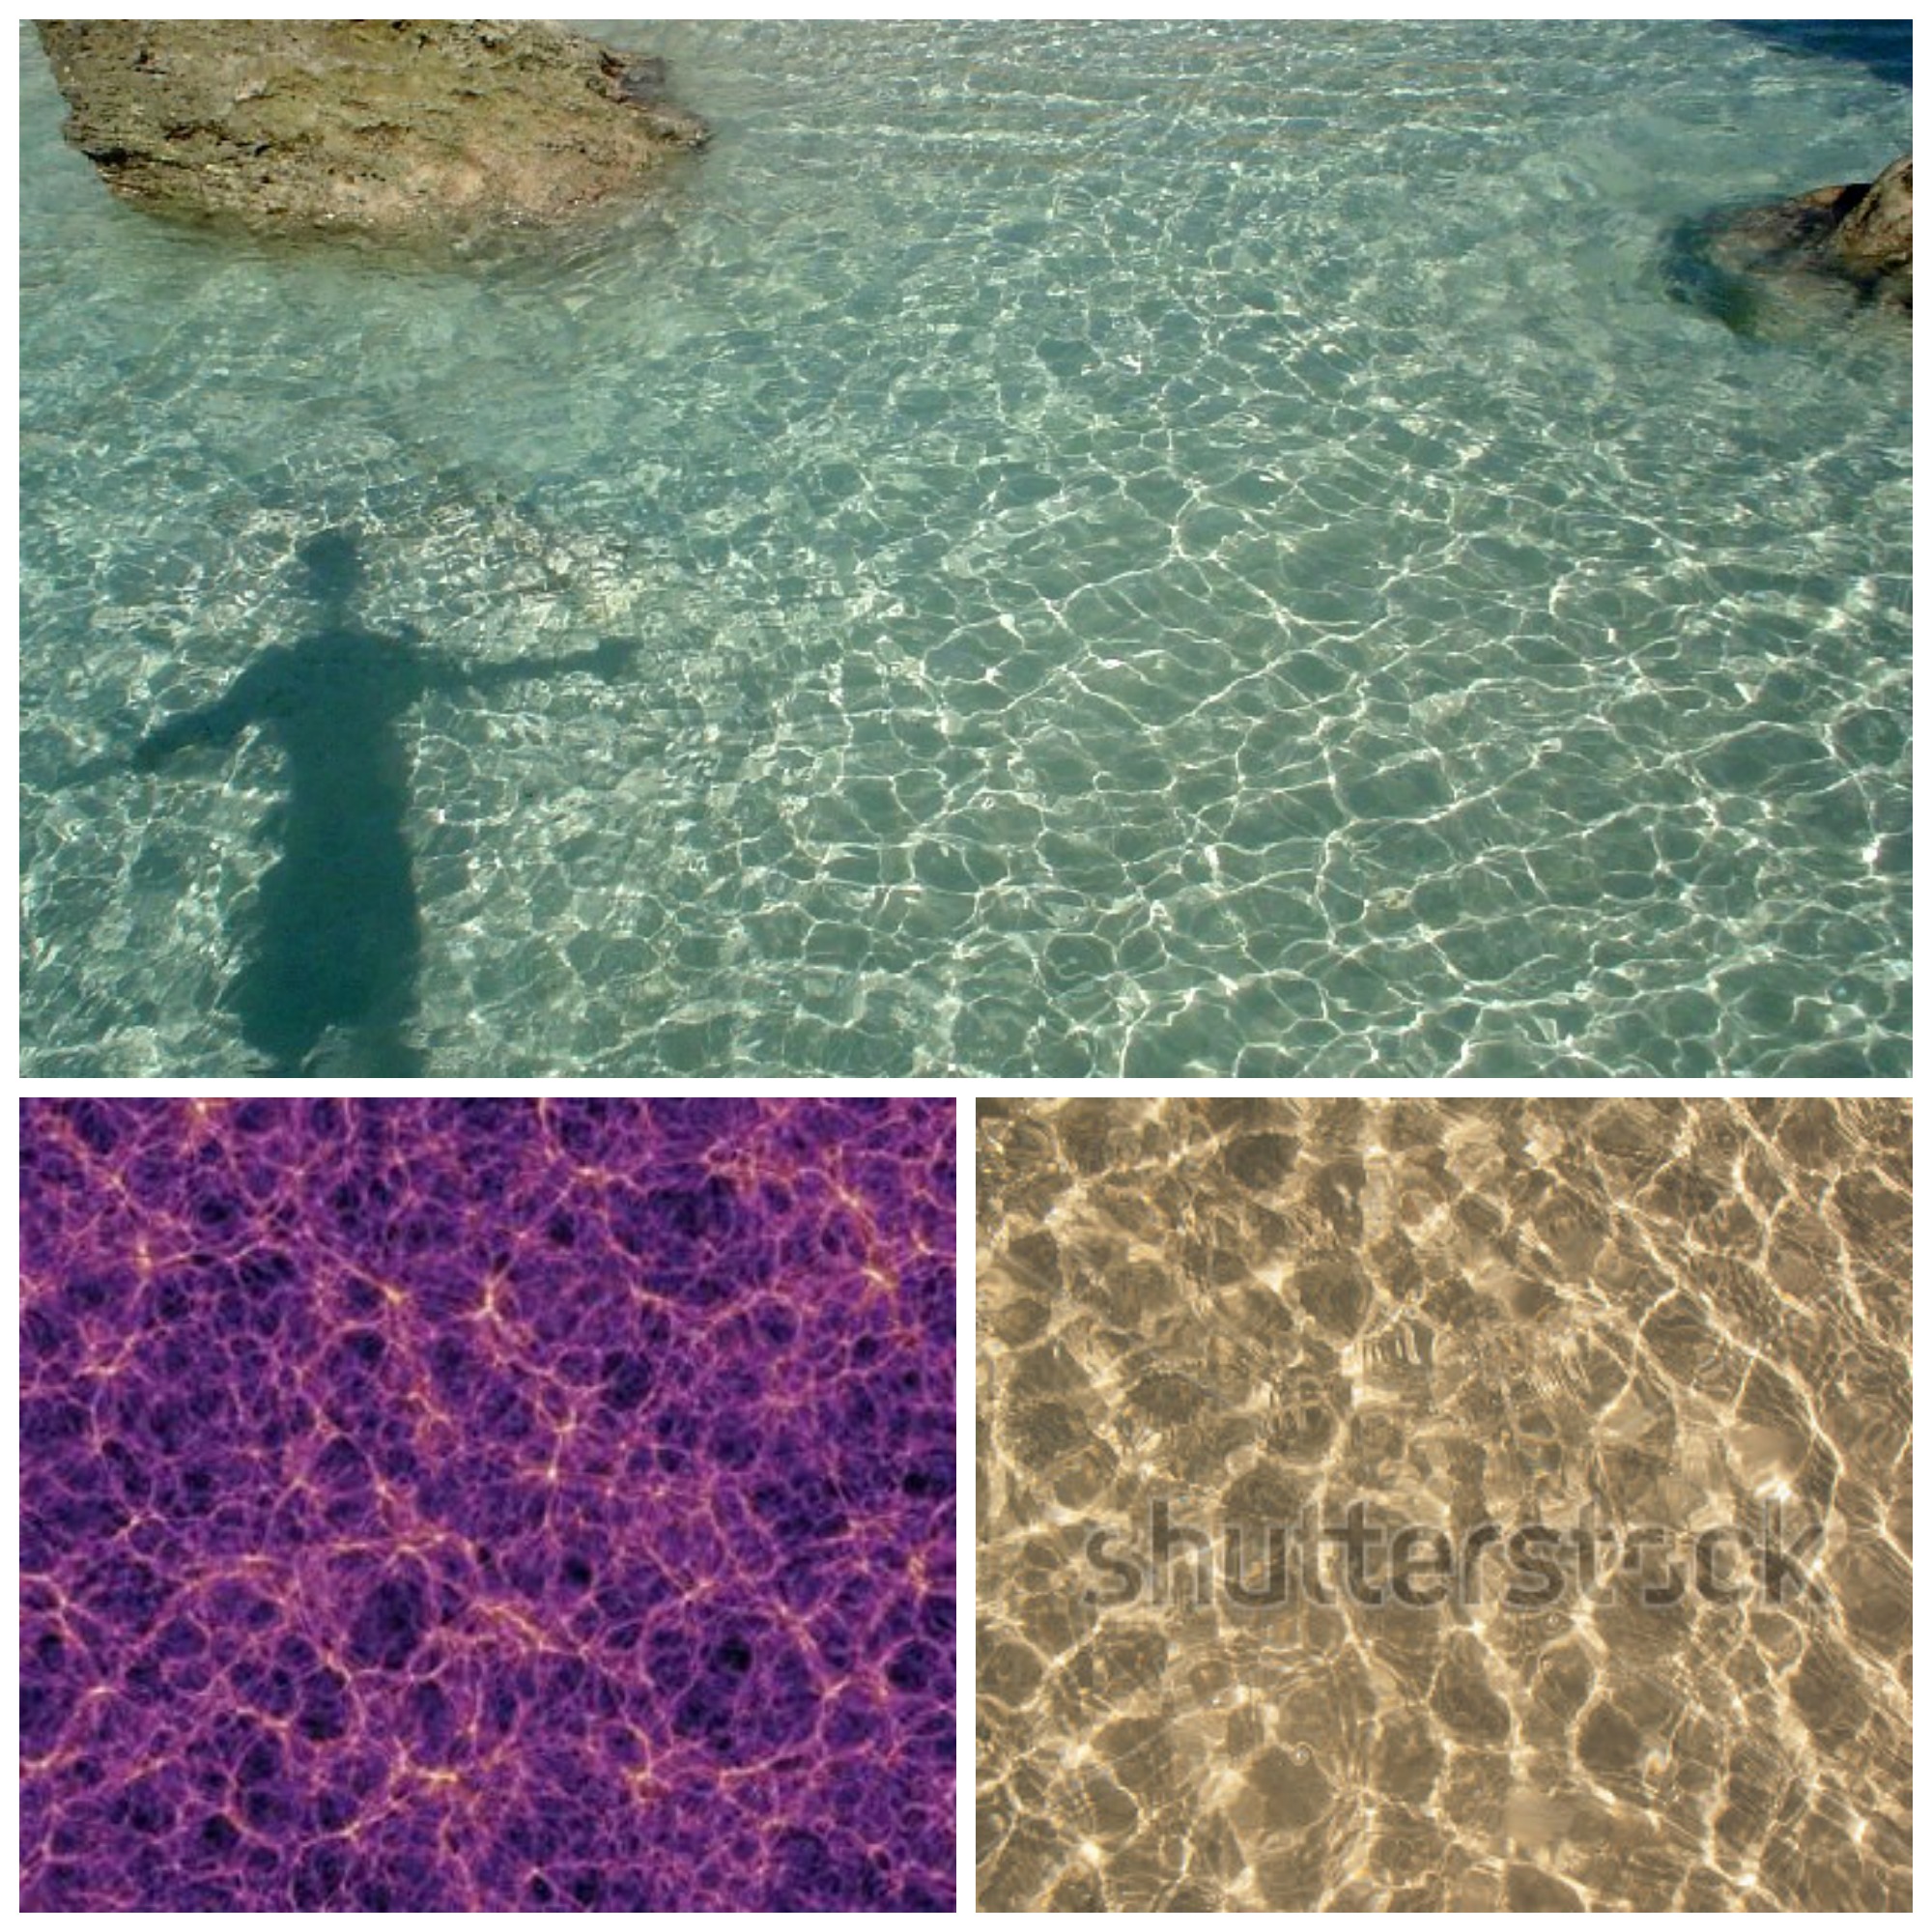
My concept for the lasercut screen was to have a screen with a pattern of cutouts similar to the pattern of highlights on water/waves.
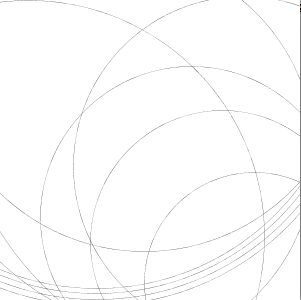
 A trace of a wave image in illustrator.
The Tale of Many Dead Ends
I did not manage to create the kind of pattern that I wanted to. I tried a bunch of things that didn’t work, then ended up using one of my more interesting mistakes for the screen. These are some of the things that didn’t work:
Creating Ripple Force Field
 I couldn’t manage to turn ripples into a flow field.
One failed approach was to create a flow field (like the one described in Chapter 6 of the Nature of Code) using ripples to determine the strong and weak points of the field. I think this failed because I didn’t spend enough time thinking about how to take circles—graphic ripples—and translate them into a flow field.
Note: I also couldn’t find the chapter in the Nature of Code Book while I was working on it—refound it while writing this. It would have been helpful to review while trying to code the ripples thing.
Playing with Physics
After I figured out that the early universe had similar patterns to light on water, I decided to try to simulate distributed particles with certain masses and gravity forces. I spent a fair amount of time just messing around with repulsion forces, masses, and velocities, trying to see if I could get the particles to attract/repulse into the right pattern (with the particles drawing trails behind them).
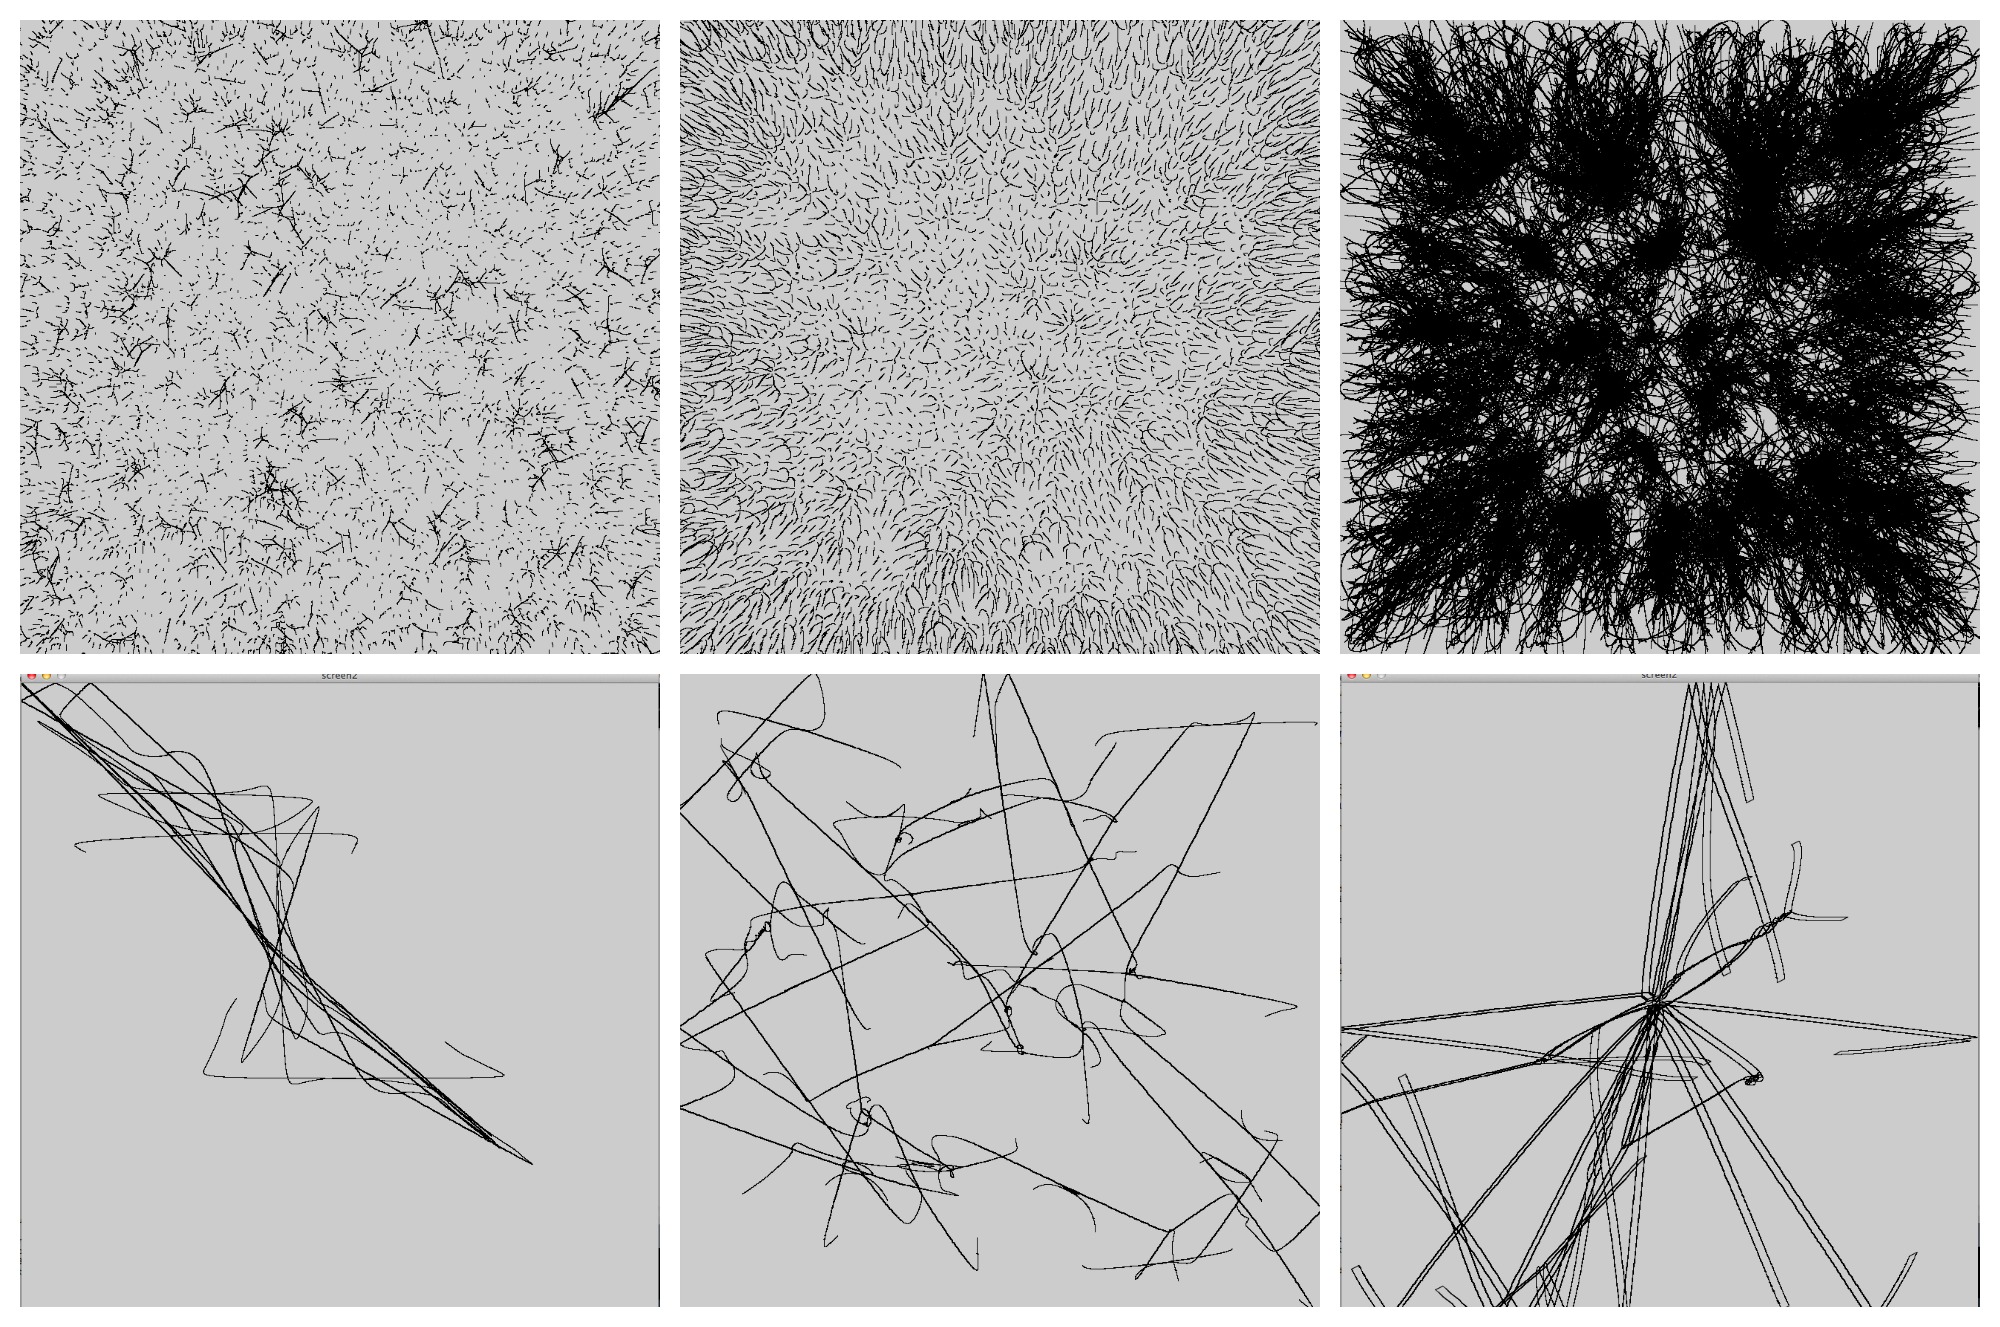 Things that happened while I played with the constants in my particle simulations.
Clicking to Disturb Particles
My next attempt was to just set up a field of particles, then apply a repulsive force when and where the mouse was clicked. I figured I could create my own waves until a pattern I liked emerged, then trace through or around the particles to create my pattern. The first part of this approach worked, but I could not find a good enough approach to tracing.
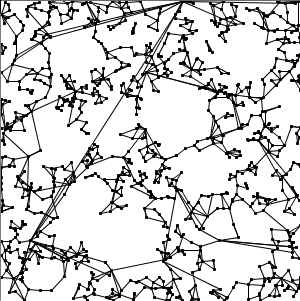
Connect Closest
The first thing I tried was just having particles connect to the ones closest to them. This approach was not well thought out, and that became apparent very quickly when I implemented it. Connecting the particles created overlapping geometric shapes that weren’t really in the pattern I wanted, and which would also probably leave me with a shredded piece of board rather than a cut out screen if I used it with the laser cutter. (Since the approaches flaws were apparent, I didn’t fix the bugs in it, which explains some of the random seeming lines in the screenshot below.)
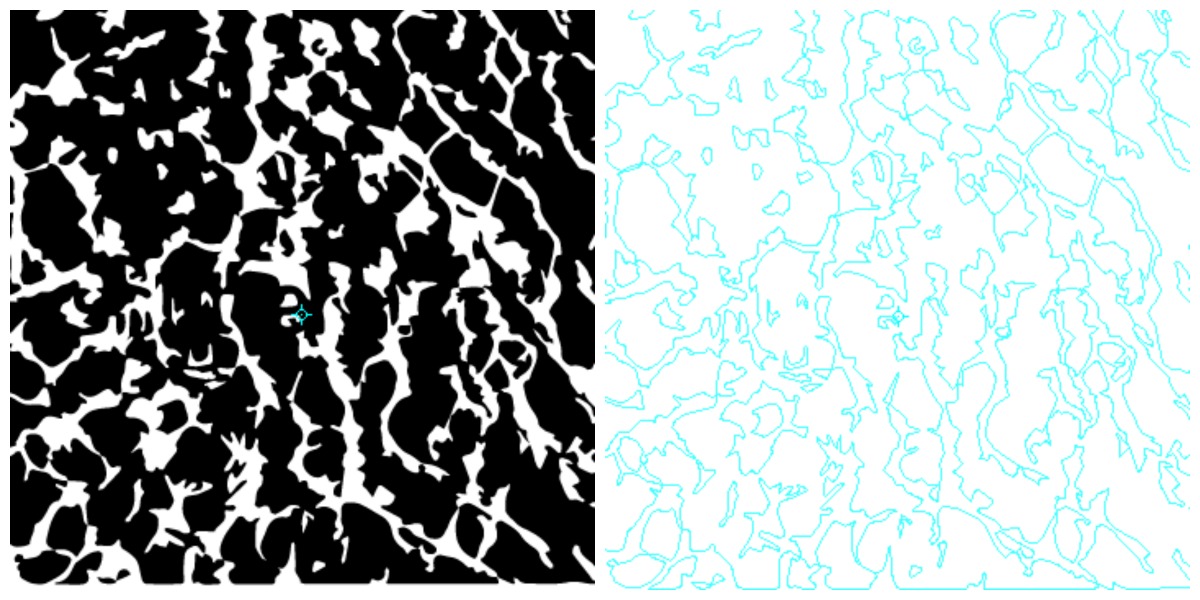
Blob Tracing
I decided to try tracing the darkest areas of the particles in order to create the forms I wanted. I looked at many different blob tracing libraries, some of which worked and some of which didn’t:
- BlobDetection – didn’t work
- openCV blobs – didn’t work (meant for video)
- dieWaldCV – kind of worked, but didn’t smooth the edges of my blobs enough to my taste. This might have ended up working if I had played with the color/gradients of the blobs themselves.
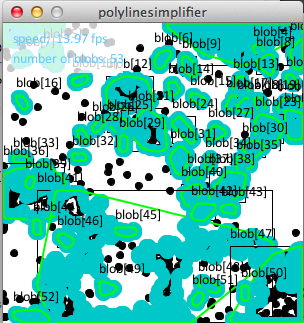
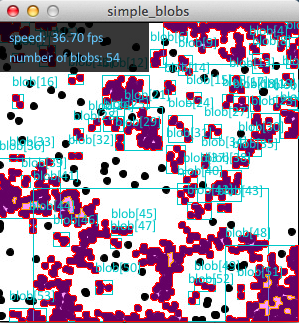
One approach I didn’t try was making the blob tracing libraries trace the white areas rather than the black dots. That might have gotten me closer to what I wanted, but it also might have just produced ugly blobs.
Code
Code: https://github.com/juliat/lasercut-screen
Side Note: Hopefully Helpful Helper Function
I wrote a really basic helper function that takes in a normal stroke and draws an outlined version of it. This may be useful to others: helper function code