The Interactive Development Environment: bringing the creative process to the art of coding.
TIDE is an attempt to integrate the celebrated traditions of the artistic process and the often sterile environment of programming. The dialogue of creative processes exists in the process of coding as frustration: debugging, fixing, and fidgeting over details until the programmer and program are unified. TIDE attempts to turn this frustration into the exhilaration of dialogue between artist and art.
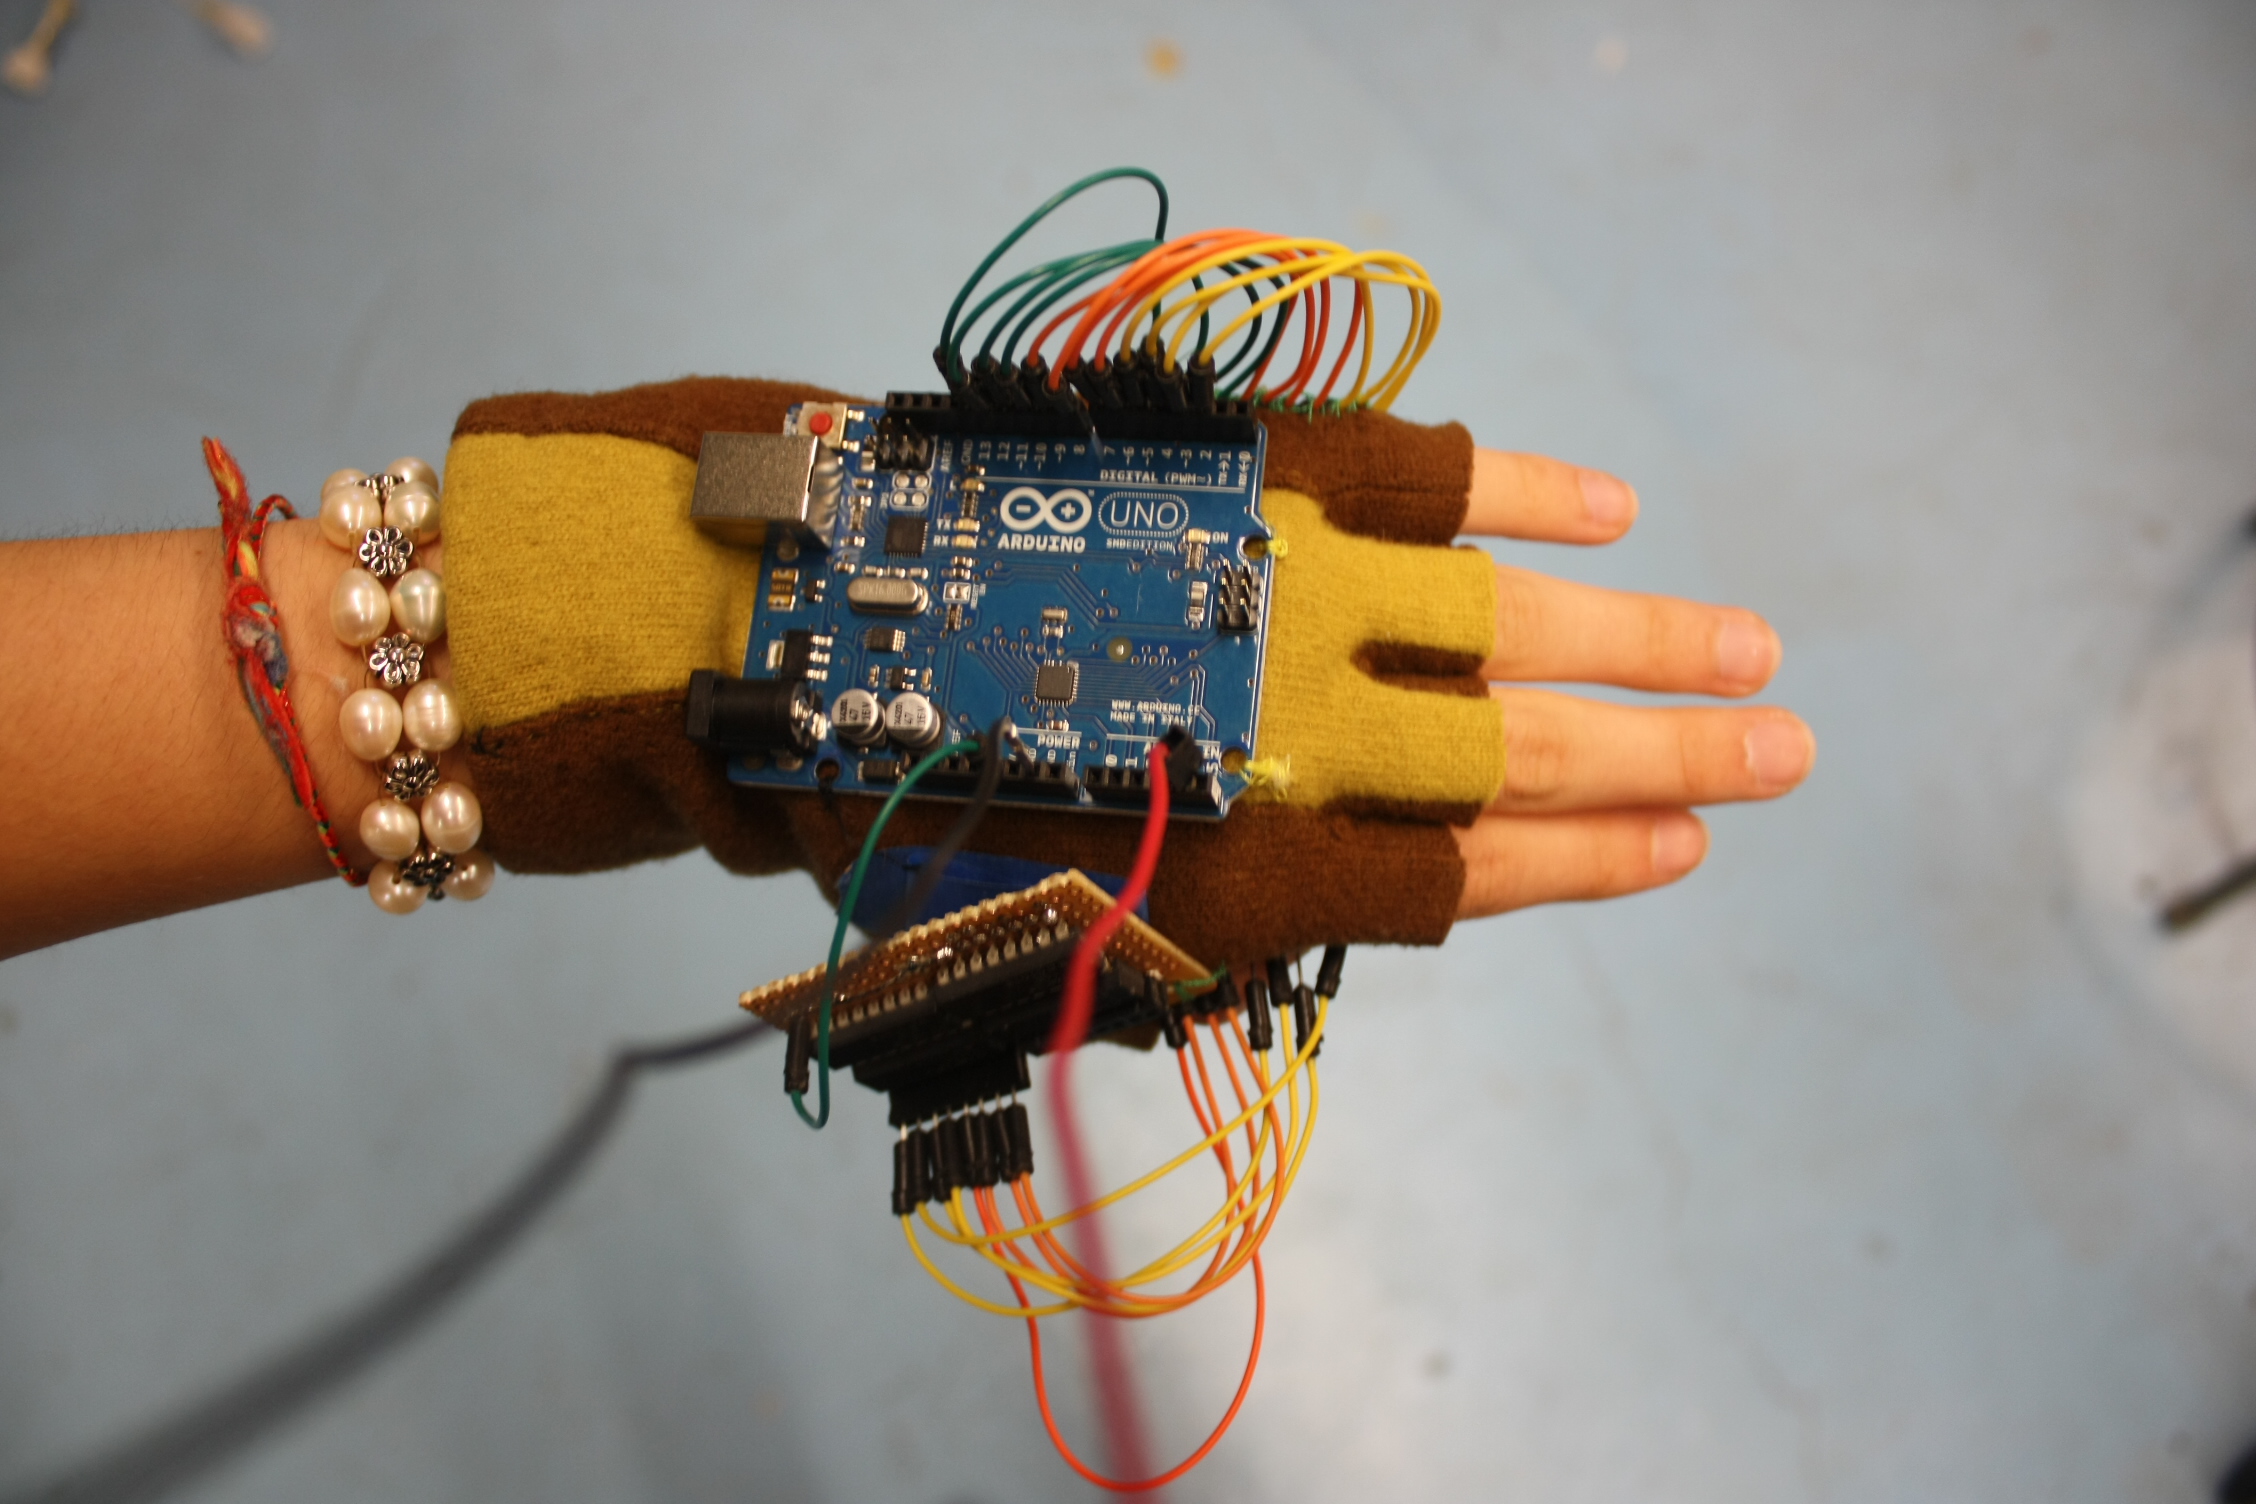
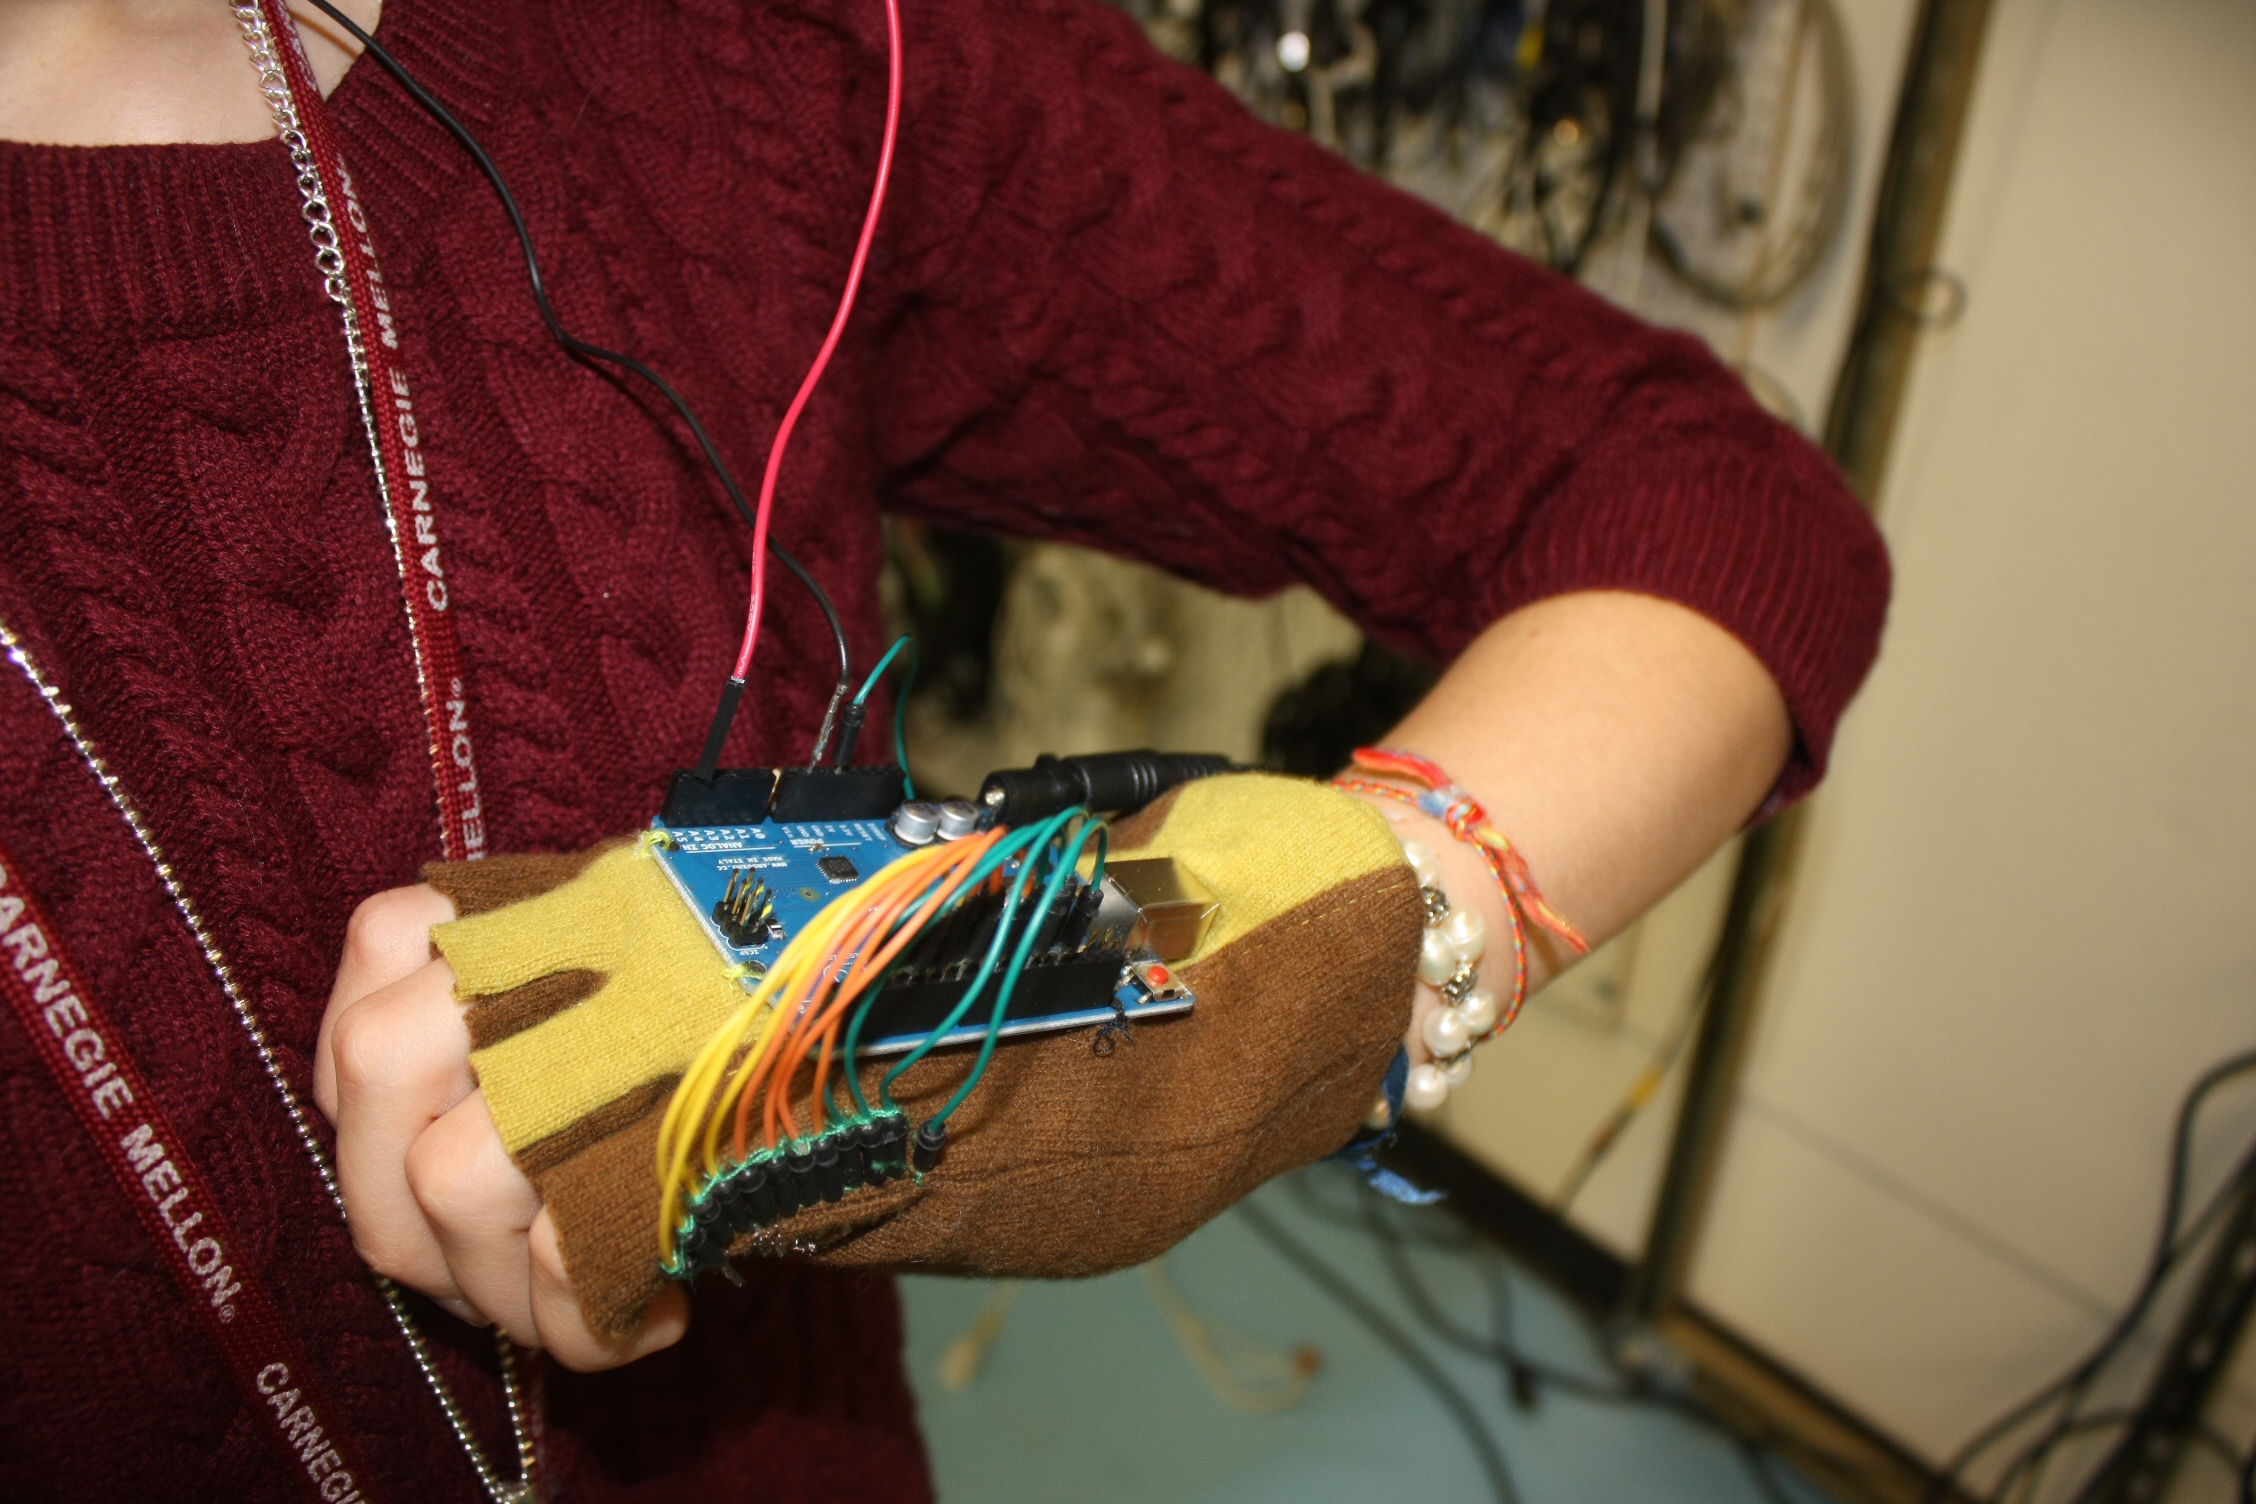
The environment uses a Kinect to find and track gestures that correspond to values. Processing code is written with these values and saved in a .txt file. The result code creates a simple shape on screen. I want to expand this project to be able to recognize more gestures and patterns, allowing for much more complicated systems to be implemented. Ironically, I found the process of implementing and testing this project generating the very frustration and sterility I was trying to eradicate with the intuitive, free flowing motions I could get with the Kinect.


"""
Rachel Moeller
EMS2 Asignment 9
The Interactive Development Environment
"""
from pykinect import nui
from pykinect.nui import JointId, SkeletonTrackingState

import pygame
from pygame.color import THECOLORS
from pygame.locals import *
import os
import random

KINECTEVENT = pygame.USEREVENT


def writeFile(filename, contents, mode="wt"):
    #Got this from Kosbie's 15-112 Class
    fout = None
    try:
        fout = open(filename, mode)
        fout.write(contents)
    finally:
        if (fout != None): fout.close()
    return True

def post_frame(frame):
    """Get skeleton events from the Kinect device and post them into the PyGame event queue"""
    try:
        pygame.event.post(pygame.event.Event(KINECTEVENT, skeletons = frame.SkeletonData))
    except:
        # event queue full
        pass

def commitWidth(data):
    """This function adds the width to the file contents."""
    width=data.sizeWidth
    data.contents+=str(width)+","

def commitLength(data):
    """This function adds the width to the file contents."""
    length=data.sizeLength
    data.contents+=str(length)+");\n}\nvoid draw()\n{"

def commitShape(data):
    """This function adds the type of shape to the file contents."""
    data.contents+="\n"
    if(data.shape=="ellipse"):
        data.contents+="ellipse("
        data.shape="ellipse"
    elif(data.shape=="rect"):
        data.contents+="rect("
        data.shape="rect"

def commitShapeLoc(data):
    data.contents+=str((data.sizeWidth/2)-data.radius)+","+str((data.sizeLength/2)-data.radius)+","

def commitRadius(data):
    """This function adds the radius in to the shape definition."""
    radius=data.radius
    data.contents+=str(radius)+","+str(radius)+");\n}"
    data.isComplete=True

def computeShapeLoc(data,r):
    """This function figures out where to begin drawing the shape away from the center
       of the screen."""
    c=data.shapeColor
    x=400-r
    y=300-r
    data.shapeX=x
    data.shapeY=y

def drawShape(data):
    """This function draws the shape into the interface."""
    c=data.shapeColor
    if(not data.hasRadius):
        r=getRadius(data)
        computeShapeLoc(data,r)
    else:r=data.radius
    if(data.shape=="ellipse"):
        pygame.draw.ellipse(data.screen,c,[data.shapeX,data.shapeY,r,r])
    if(data.shape=="rect"):
        pygame.draw.rect(data.screen,c,[data.shapeX,data.shapeY,r,r])

def commitColor(data):
    """Sets the color in the file contents."""
    if(data.color=="red"):
        data.contents+="\nfill(255,0,0);\n"
    if(data.color=="green"):
        data.contents+="\nfill(0,255,0);\n"
    else:
        data.contents+="\nfill(0,0,255);\n"

def commitBG(data):
    """Writes the background command to the file contents."""
    data.contents+="\nbackground(255);\n"

def initBools(data):
    """This funtion inits the boolean variables controlling when
       code pieces are written."""
    data.hasWidth=False
    data.hasLength=False
    data.hasSetup=False
    data.hasBackground=False
    data.hasColor=False
    data.hasShape=False
    data.hasLocation=False
    data.hasRadius=False
    data.isComplete=False

def initJoints(data,skeleton):
    """Defines the Kinect Joints."""
    data.head=skeleton.SkeletonPositions[JointId.Head]
    data.rightHand=skeleton.SkeletonPositions[JointId.HandRight]
    data.leftHand=skeleton.SkeletonPositions[JointId.HandLeft]
    data.hip=skeleton.SkeletonPositions[JointId.HipCenter]

def init(data):
    data.contents="/*TIDE shape*/\nvoid setup()\n{\nsize("
    data.x=10
    data.y=10
    data.space=20
    data.font=pygame.font.Font(None,20)
    data.typeWords=["void"]
    blue=0,0,255
    green=0,255,0
    data.typeColors=[blue,green]
    data.plainTextColor=0,0,0
    data.lineNums=2
    data.sizeWidth=500
    data.sizeLength=500
    data.shapeColor=0,0,0
    data.shape=None
    data.backgroundColor="white"
    data.tracked=False
    data.frameCount=0
    data.headThresh=0.8
    data.displayText="User not detected"
    data.radius=100
    initBools(data)

def redrawAll(data):
    """This function handles display screens"""
    c=255,255,255
    pygame.draw.rect(data.screen,c,[0,0,800,600])
    c=0,0,0
    msg=data.displayText
    font=pygame.font.Font(None,28)
    text=font.render(msg,True,c)
    data.screen.blit(text,[20,20])
    if(data.hasShape):
        drawShape(data)
    pygame.display.flip()

def checkForComplete(data):
    """This function checks to see if every checkpoint in the code has been reached."""
    return data.hasWidth and data.hasLength and data.hasSetup and data.hasBackground and data.hasColor and data.hasShape and data.Location and data.hasRadius


def getBGColor(data):
    """This function sets a background color"""
    data.backgroundColor="white"


def getRadius(data):
    """This function gathers radius information from the kinect."""
    if(not data.hasRadius):
        data.radius=200*abs(data.hip.y-data.head.y)
        data.hasRadius=True
        return 200*abs(data.hip.y-data.head.y)

def getColor(data):
    picker=random.randint(0,4)
    print picker
    if(picker==1):
        data.hasColor=True
        data.shapeColor=255,0,0
        data.color="red"
    if(picker==2):
        data.hasColor=True
        data.shapeColor=0,255,0
        data.color="green"
    else:
        data.hasColor=True
        data.shapeColor=0,0,255
        data.color="blue"

if __name__ == '__main__':
    WINSIZE = 800, 600
    pygame.init()
    class Struct: pass
    data = Struct()
    init(data)
    data.screen = pygame.display.set_mode(WINSIZE,0,16)
    pygame.display.set_caption('Interactive Environment.')
    data.screen.fill(THECOLORS["white"])

    with nui.Runtime() as kinect:
        kinect.skeleton_engine.enabled = True
        kinect.skeleton_frame_ready += post_frame
        # Main game loop
        while True:
            e = pygame.event.wait()
            frame = kinect.skeleton_engine.get_next_frame()
            for skeleton in frame.SkeletonData:
                if skeleton.eTrackingState == nui.SkeletonTrackingState.TRACKED:
                    data.tracked=True
                    initJoints(data,skeleton)
                    data.displayText="Need a Shape"
                    if(not data.hasShape):
                        getColor(data)
                        if(data.head.y