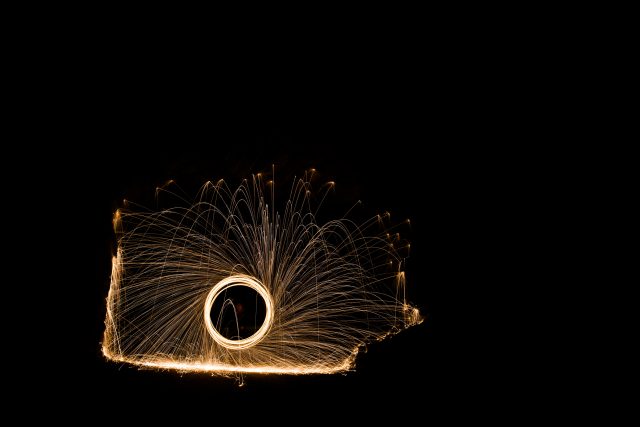
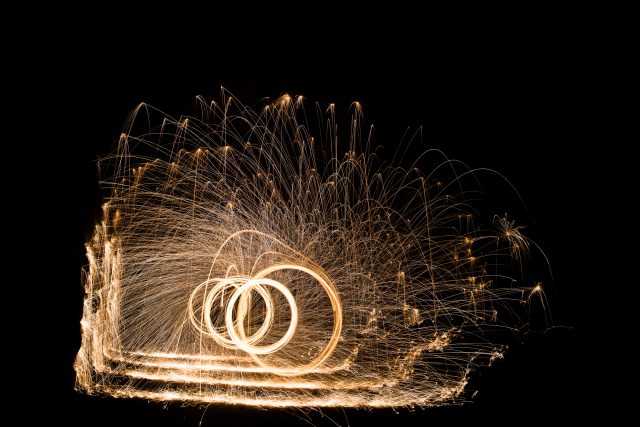
First Try —
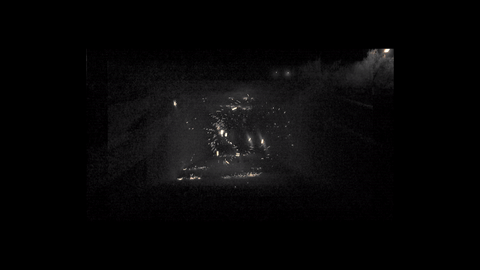
I went to a large tunnel for my first iteration of steel wool photography, with the intent of creating a spacial mapping of layered pictures. A singular photo looked like this:
and the stacked photo looks like this:
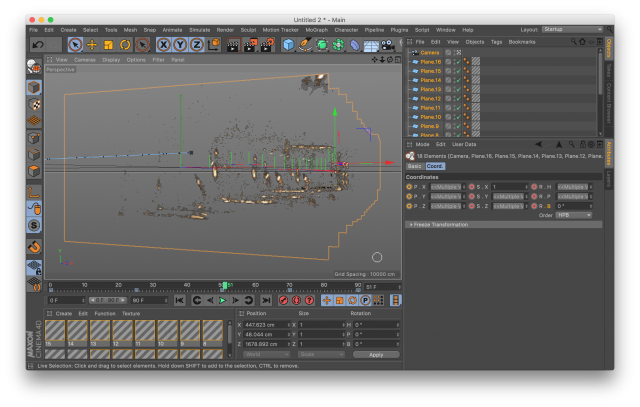
Second Try —
I realized how distracting those circles were in long exposure, so I wanted to eliminate them. One option was photoshop, but a cleaner and more interesting method was with the use of video. This is one ‘slice’ of the tunnel that I chose to map.

I did this every 5 feet for the entire length of the tunnel, and then texture mapped these videos with alpha values on planes in space.
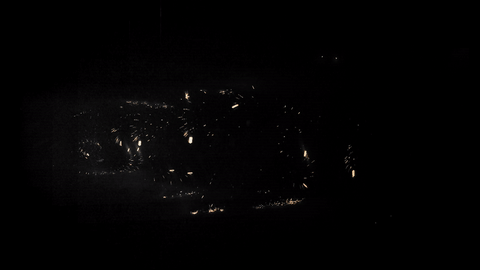
Final Result—
Comments from the Group Review.
Q did volumetric long exposures of “steel wool photography”, in order to explore a space in 3D. “Spatiotemporal Pyrography”
General feedback: great documentation leading process of experimentation.
Opportunity to design a “rig” for making spatial scans this way. Literal lidar. Thinking about similar techniques – smoke maybe? Water? Pingpong balls?
Love the fact that you did multiple iterations. Really good explanation. +1
LOVE the way layers of light can define 3d space in a 2d image. Really fantastic documentation. Shows process but acknowledges aesthetic decisions. AMAZINGGGGG. LOVE THE GIFS wish there was a way to understand scale
You should include that steel-wool photography you did on the beach (last year), in your blog post.
I really like that you decided to branch to video, I get a much better idea of the process with it
The stacked photos, why ‘are they not aligned? Nevermind, it’s depth! Way to bury the lede!
The three overlays create a really interesting composition → very strong
I love the idea of using the physical machine’
A square tunnel is boring! Get geometriess. But these animations could change over time. Could it shrink/grow? Obstacles fly past?
So… bring a fire extinguisher+
Sick
I would definitely love to see this in different locations
Those gifs are gold. LITERALLY HAHAH
Great documentation
Please continue this project in other tunnels. It is worth it. Do it in a kitchen. Do it in a warehouse. Do it in a bathroom. Do it in places that it does not belong.
Good explanation of workflow, I feel like I could reproduce this myself based on your description!
What other kinds of explosives/light generating things could be used? Small fireworks? Liquid from the insides of glowsticks?
WHAT.
😮😮😮😮
😮unreal!!
You could also do it in a vertical staircase and fly down it. (+1 !!!!!!!!!!!!) +1
Seeing the person there, faintly, is great because it helps to distinguish this from After Effects / CGI particle animation (which could mimic this look very easily).
WOO
I wish it would go into the tunnel infinitely
I love the analog method for creating something that could be an animation