An Expressive, Immersive Environment

How can we use video game technologies for expressive purposes? What becomes of object-making, architecture, and installation art, when we move to the virtual realm? How can we tell stories through immersive environments? Addressing these questions, our final unit in Immersive Worldmaking has several components with different due dates.
- #4-1-phazero-viewing: Due Tuesday, 4/4; 60 minutes. View and comment on a video.
- #4-2-unity-tutorial: Due Thursday, 4/6; 2 hours. Install Unity, watch a tutorial, make a screenshot.
- #4-3-virtual-sculpture: Due Tuesday, 4/11: 3 hours. Construct a virtual sculpture in Unity.
- #4-4-homeplay: Due Thursday, 4/13; 90 minutes. Play and comment on 3 games.
- #4-5-mood-board: Due Tuesday, 4/18; 30 minutes. Sketch some ideas for an immersive environment.
- #4-6-immersive-environment: Due Thursday, 4/27; 10 hours. Present a virtual world.
4.1. Phazero Viewing (Due April 4)
4.1: Viewing (One hour total). For Tuesday April 4, watch the above 40-minute video lecture by game artist Christina ‘Phazero’ Curlee. In this video, Curlee discusses how their arts background informs and weaves itself into their game design process in this lecture from the 2019 Eyeo Festival. Their personal narrative gives a good idea about what a motivated person can achieve after 3 years of study in the medium. Please watch this video and, in a post in the Discord channel #4-1-phazero-viewing, write a sentence about something that you appreciated from it.
4.2. Unity Installation and Tutorial
(Due Thursday, 4/6; 2 hours.) You’ll need to decide whether you will do your Unity work on your own computer, or one of the school’s computers. Unity requires a fairly powerful computer in good working order, and not every student has this.
- Create an account (called a “Unity ID”) at https://unity.com/. You’ll need to do this regardless of whether or not you’re using your own computer.
- If you are using your own computer, make sure it has at least 20GB of free space on your main hard drive (and preferably, more). If you don’t have the free space, you’ll need to clear some, or use an external hard drive, as recommended in the syllabus. Unity and Unity projects take up a lot of space. Also, make sure your 3-button mouse is working with your laptop; you’ll need it.
- If you’re using your own computer, install Unity on your laptop from https://unity.com/download. In practice this means you’ll need to first install the “Unity Hub” (a package manager), and then have Unity Hub install the correct version of the “Unity Editor”. There are many versions of the Unity Editor, but you should install the Editor version: 2021.3.22f1 (LTS). The first few minutes of the video below includes some helpful advice about installing Unity. If you’re using your own laptop, you’ll launch the editing software from Unity Hub.
- If you’re using one of the school computers in CFA-318, DO NOT LAUNCH THE SOFTWARE FROM UNITY HUB. It won’t work. Instead, launch Unity directly. You can find it in the “Applications” folder.
- Watch the first 30 minutes of this Unity: Overview tutorial video by CMU Prof. Pedercini. Follow along.
- Capture a screenshot of Unity running on your computer, in which you have placed a virtual white cube against the default skybox, as shown in this tutorial video around 12:30. In the Discord channel, #4-2-unity-tutorial, post your screenshot to prove that you’re able to launch and navigate the software.
4.3. Virtual Sculpture
(Due Tuesday 4/11; 3 hours)

The Everything Library is a large collection of handmade 3D models published and created by David O’Reilly for his game Everything. “The models are extremely lightweight and can easily be used in games, animations, designs, visualizations, AR, VR, holograms etc. They are usable in all independent and commercial projects – and are designed to help artists learning 3D, independent animators, designers and game creators. 3D has historically been too expensive and technical for independent artists to explore. I would like this library to help more people to have a better place to start from. Until now there has been no large, cohesive or free 3d library available to beginners.” Now:
- Download this provided Unity package (virtualSculpture_spring2023.unitypackage, 8MB). It contains a selection of about 200 models from the Everything library.
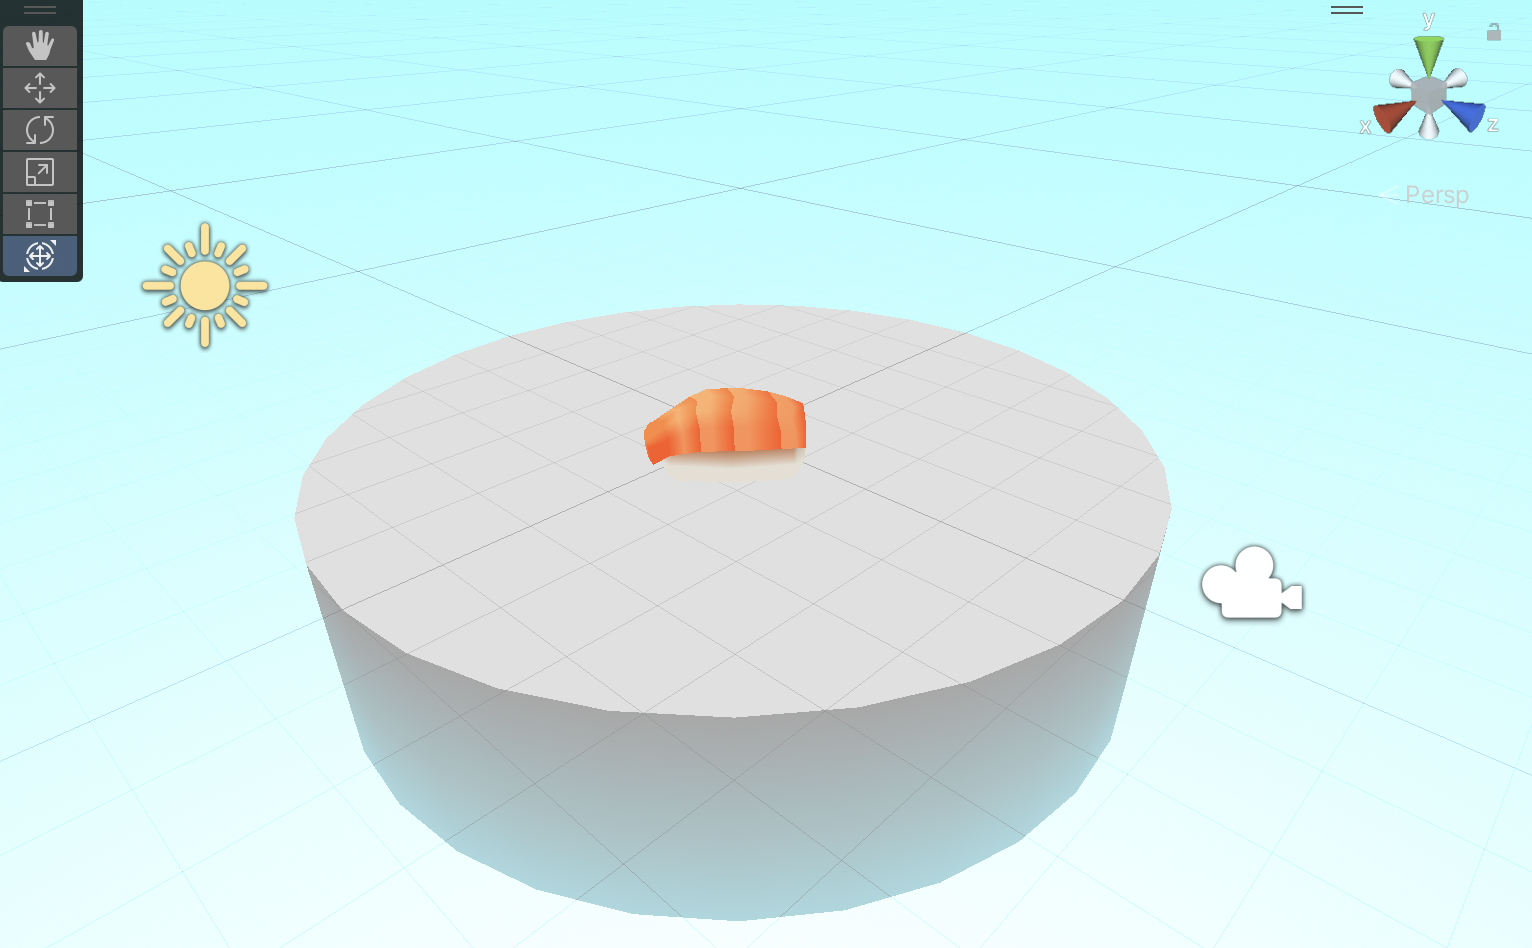
- Open Unity Hub. Make a New Project. Select “3D Core”. Before you click the Make Project button, give your project a name that makes sense, like VirtualSculpture. (It’s hard to change the name later.) Select a location to save it that makes sense, like your external hard drive or the local document folder. Confirm, it will take a few minutes to cope. With Unity open, double-click on the package; import everything. Open the scene called “Sculpture”. (You will see a piece of salmon nigirizushi on a white plinth; feel free to delete the sushi.)

- In Unity, artfully arrange some 3D objects from the provided collection into an assemblàge. It doesn’t have to be realistic, nor follow the law of physics. You are asked to stay within the circular area in the scene (a “plinth”. (However, you may scale this circular platform if necessary.) Note that O’Reilly’s objects are not necessarily scaled consistently.
- Play with scale and forms; it can be surreal and impossible. Pay attention to form, color, silhouettes. Pay attention to the ways that the objects form new visual and symbolic relationships. Pay attention to the way that the elements form a cohesive unit: it should look like a sculpture; you’re not making a diorama.
- Be sure to save your work! Double-click on your modified scene in order to save it.
- You are asked to “photograph” your sculpture. Pay attention: You will use a specific process to create two or three still images—i.e. “photographs” of your sculpture—taken from within Unity’s play mode. Note that you should not be taking screenshots with your operating system, and your still images should show no interface elements! The screenshot must be taken from Unity’s play mode by using a special script that has been included in the provided package. Specifically: Press play; move the camera (with WASD + QE + right mouse to orbit); press the space bar to take photographs. These images will appear in the assets folder under “screenshots”. (The first time you may have to right click on the assets panel and hit refresh.)
- Post your image(s) in the Discord channel, #4-3-virtual-sculpture. Include a title for your sculpture.
- Write a sentence about your sculpture. What guided your creation process?

4.4 Immersive Environment Homeplay
(Due Thursday, 4/13; 90 minutes. This assignment is described in detail on this page.)
Homeplay = homework, but playing. On this page are some short first-person games and immersive experiences made by solo developers, artists or small teams. (This selection has been curated for you by Prof. Paolo Pedercini.) In this assignment, you will familiarize yourself with these projects in order to develop a small vocabulary of inspirational techniques. Now:
- Select 3 projects (games) from the provided list. You can use the YouTube trailers to help you decide which ones you want to actually experience.
- Download these projects (games) from the provided links, and actually play them (i.e. don’t just watch the YouTube trailer; feel what it’s like to experience these immersive environments).
- For each project (game), write a one-paragraph response (i.e. 100-150 words) in which you analyze a specific aspect of it that could be useful or inspiring for a project of your own. (It’s OK if you don’t understand how something is done.)
- Post your three paragraphs to a message in the Discord channel, #4-4-Homeplay.
- (Don’t forget to) mention which projects (games) you selected for consideration.
4.5 Mood Board for an Immersive Environment
For Tuesday 4/18 (30-60 minutes):
- Create a Miro mood board with references and inspirations, as elaborated below. Here are some examples: Example 1 Example 2.
- Draw a simple map of your environment explaining the pathways and the things a visitor will encounter. If there is a story or bits of environmental storytelling, write them down. Come up with a title and a project statement. (Ask yourself: What is the emotional and mental state you want to evoke in the player? What are some visual and spatial strategies you can use? How do you enclose the environment? How do you deal with the limit of the space? Can you think of a meaningful event that happens in this world that the player can investigate?)
- Write a one-paragraph statement, describing what the environment will be and what its expressive goals are.
- Post a screenshot of your Miro mood board to the appropriate channel in Discord, #4-5-miro-board.
4.6 Immersive/Expressive Environment
“The term walking simulator began as a bit of a snide remark on games with limited interactive components, which came into the main with Dear Esther which generally was loved by critics and hated by fans. Although this was less than 10 years ago in games, they’ve grown a lot as a medium since then– especially in the public view of what they can “be”. With no shooting, puzzles, or other mechanics, walking sims were a step towards experiences that were subtle, environmental, and about being in spaces over time.”
Watch 1:15-2:30:
Chris Davis, The Secret to a Great Walking Simulator (2017)
“a drifting game is a piece of art software in which users walk around for the hell of it. the term drifting game comes from the word “dérive” which is the radical concept of wandering around. i made this package bc i want to encourage artists & non-programmers to make more and 2 provide users w/ controls that behave in ways they expect.”
- Reading & Watching: For Tuesday, April 18, view all of the tutorial videos on this page (1-2 hours)
- Making & Documentation: For Thursday, April 27, create an expressive environment in Unity and document it. (10-12 hours; full details below.)
- Check out: Immersive Environment Tutorials 1: Landscape
- Check out: Immersive Environment Tutorials 2: Atmosphere
Main Project Requirements:
- Download THIS VERY IMPORTANT UNITY PACKAGE (“expressiveEnvironment”, 320MB), which will provide some starting materials for your project.
- Create an expressive, navigable environment that a viewer can explore in first-person format. Your environment can be a virtual monument or a narrative space. You may use models that you find, make, or scan.
- Environment: You are required to change the default skybox (I recommend using the stylized skybox and just change the colors). Open Window > rendering > lighting > environment and adjust the environment lighting color (I recommend color and a light grey). From the lighting panel you can adjust the fog as well.
- Sound: you are required to add some kind of sound. You can add a looping soundscape and looping localized sounds. Some instructions for Unity Audio are here and here.
- Video Recording. You are required to create a video recording, 1-2 minutes long, demonstrating navigation your project “in-game”. It is recommended that you use the Unity Recorder to do this. Upload this video to YouTube (unlisted, if you wish) or your Google drive, and post a link to the video in Discord. Some instructions for using the Unity Recorder are here and here. To record HD videos follow this tutorial. (The recordings end up in the project folder, the same where the assets folder is; not in assets.
- Documentation. In the Discord channel #4-6-expressive-environment, write some sentences about your project, describing the world you made and some of the work you did to make it. In this post, include some screen shots of your project (required); provide a link to your video (required); and provide a link to your interactive project if you published it online at itch.io (optional).
Suggestions:
- Landscape: Use the ProBuilder and Terrain tools, described in Paolo’s tutorial videos below, to create interesting terrains for your environment.
- Light: you can tint the whole environment by changing the environment light and the light colors and intensity.
- Post processing effects: It’s recommended that you experiment with adding post-processing effects or filters like color correction, bloom, grain, etc. Some instructions for post-processing effects are here and here.
- Publishing: You are invited but not required to export your project for WebGL, and upload (publish) your project to itch.io. This is totally optional. Some instructions for doing so are here.
Tutorials
Some helpful tutorials for doing the project are here: