Kyin and Weija – Final Documentation


A Handprint & Footprint Recognizer

Introduction:

We created a handprint and footprint recognition system, by applying machine learning techniques to data from a Sensel Morph pressure interface.

We (Kyin and weija, sophomores at CMU) were really inspired by the potential of what the SenselMorph, a pressure sensor module, could do. With the SenselMorph we will be able to identify not only the physical shapes and surfaces of the objects that touch the sensor, but also the distribution of pressure.  With this idea in mind, we wanted to investigate how “identifiable” certain aspects of our body can be from others. The project was in part an exploration of machine learning, as well as what kind of new use cases we could project onto it.

Creating the Classifier 

Tools

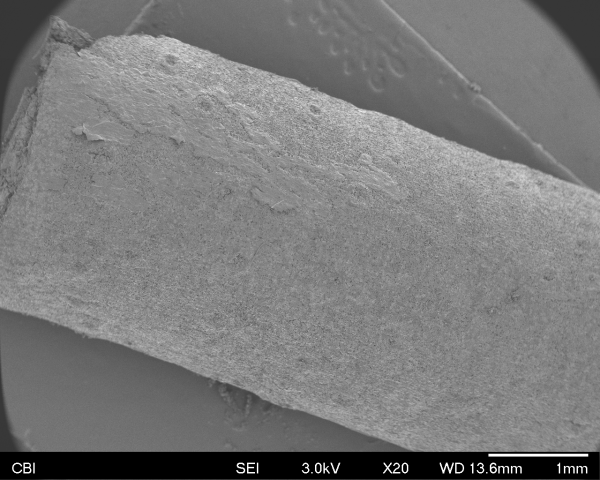
  • Sensel Morph – The Sensel Morph is a pressure interface that is still in its early stages of production. It is a relatively small tablet that has approximately 20,000 pressure-sensitive sensors on the surface. More information regarding how the sensel morph is used can be seen on their website.
  • Pytorch – Pytorch is a python library used for training neural nets. A neural network is basically a probabilistic model that can be fed data and return predictions. It is trained on data, which in our case is the images of hands/feet with the person’s name as its label. With the training data, a neural net can “guess” new test images. PyTorch specifically is really nice, in that it has several options to optimize training the data using graphics cards. This allowed us to greatly reduce the overall time it took us to train the model.
  • OpenFrameworks – This was what ultimately tied our project together. There is a robust github repository with a senselmorph open frameworks addon. We bootstrapped onto this source code and adapted it to save train data, and run the neural net in real time.
  • MeteorJS – For our website, we used a combination of MeteorJS and p5.JS to create our probabilistic visual. Meteor is a great web framework for fast and rapid prototyping.

Training

In order to train a robust neural net, we needed several hundreds of photos. However, since the event we are recording is fairly short, repeating the event over and over wasn’t too hard. To further expedite this process, we made it so that our script can automatically save images when it detects that the event has “ended”. Across four people, we gathered about 400 sample images, and after removing poor samples, we ended with about 300. In hindsight, we probably should have trained it on much more data samples, but for the purposes of the assignment, 300 was more than sufficient.

With Pytorch, we were able to implement a convolutional neural network in Python and build a model using the 1200 train images that were collected. Here is more theoretical and technical information on Convolutional Neural Networks.

Special thanks to our lovely volunteers! (Photos shared with permission)

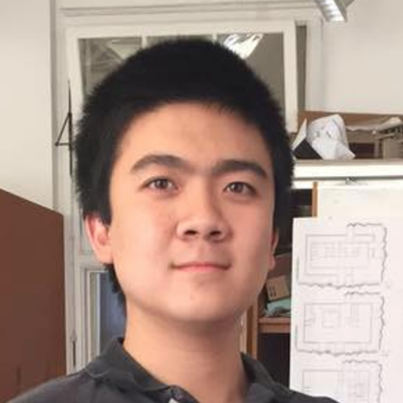
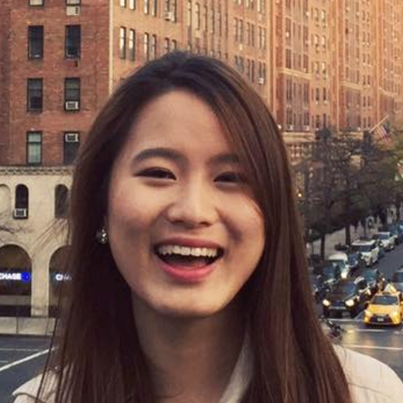
(From left to right: Jason, Kristin, Rohan, Changning)

In addition to the hand and footprints, we wanted to create an interactive exhibit for the final presentation. Since we can’t have our four trained people stand around a stand for hours, we decided to retrain our neural net on inanimate objects for viewers to try to classify themselves.

Results

Here are the outputs from some preliminary testing. When training a neural net, there is a concept called “epochs”, which is essentially how long we want to train the data for. If we overtrain the data, we suffer from something called over fitting, which is basically when the model is too hard coded on just recognizing the training data, and will fail to recognize any other external picture that isn’t identical to any of its training data. Therefore, to get the best results, we had to play around with how long we want to train the data. Overall, the results were around 85% –  90% accuracy, which is over our expectations.

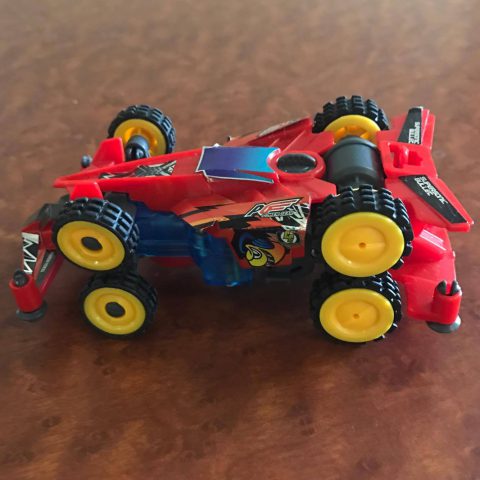
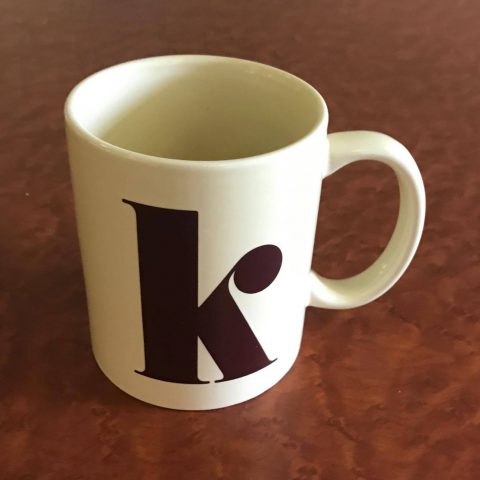
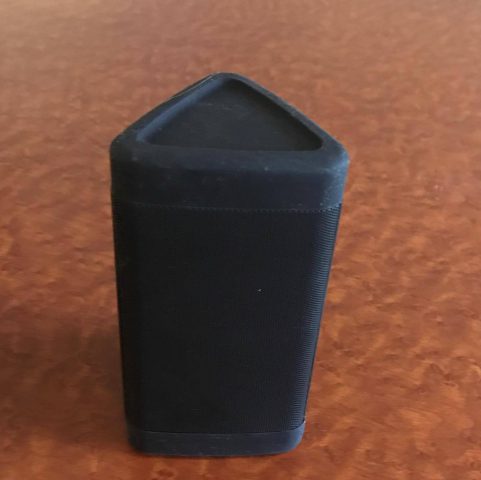
We’ve noticed our accuracy actually drops when ran on the inanimate objects. Even though the pressure classes of the objects are vastly different, intuitively, we figured that since they are so apparently different, the neural network should be able to be much more accurate than the hand and foot prints, which look much relatively closer to each other than the objects:

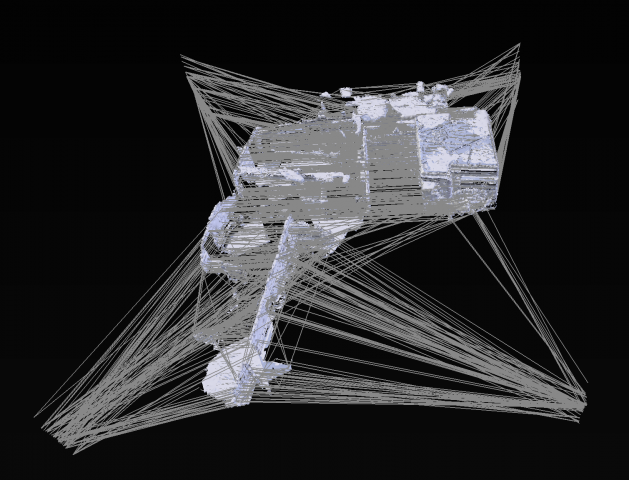
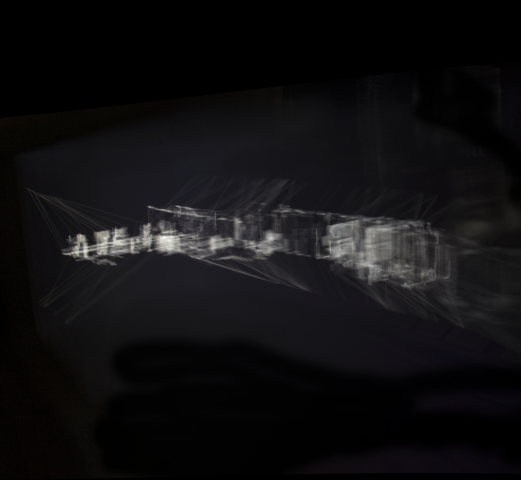
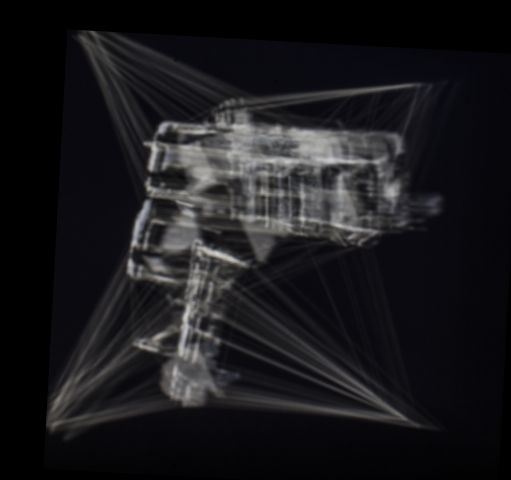
(From left to right: Speaker, Mug, Car)

As we can see, the differences between the bases of the three objects are very different, and to the human eye, it seems as if they should easily be differentiated with respect to each other. On the contrary, beacuse of the lack of distinct features (edges, color gradients, corners, etc). the nerual net can only identify objective visual data of the images, and since these images lack significant features, it actually can’t tell the difference between the images as well as other images such as hand and foot prints.

Conclusion & Application

Once we were able to classify hands/feet, we were able to confirm our hypothesis that every hand is unique and are identifiable just like fingerprint. As we worked on this project, we’ve realized that thsi could have many more applications than just classifying hand and feet. Some other use cases include: butt classification for sit-down establishments like restaurants and barber shops, front door mat classifiers to identify visitors, and so on. We are optimistic from how accurate our foot and hand classifications ended up, and we definitely plan on thinking of more use cases for it.

weija-EventProposal

For my event assignment, I had two ideas:

My first idea was inspired by Kyle Mcdonald’s open frameworks project with imposing open eyes everytime you blink. I thought it would be funny and interesting to capture a video of something really boring (like 213 lecture), and later edit the video so that the student’s eyes are super imposed with a set of fake eyes.


My second idea was inspired by Golan’s super sensitive force module, which could like detect the surface of your palm. I was wondering how accurate it could be, and I was seeing if I could potentially develop more on it. My idea for using the module was to perhaps train something that could recognize someone’s identity based on some social interaction, such as a fist bump. I’m not sure how distinguishing one’s first bump could be, and I thought it would be cool if this sensor could somehow identify the person.

weija-Place

Holograms

For my place assignment, I was really inspired by the long exposure photography from various artists that Golan showed us in class. The concept behind my idea for this assignment was to capture a stationary location such as a building in a unique way. Several works shown in class featured people capturing simpler renders of objects such as letters, or the wifi bar graph. I wanted to explore the boundaries of how accurate of a light hologram I could render on a camera. Aside from not even knowing the possibility of this form of photography, some other unknowns I faced were not even knowing what settings to use for this type of photography, how to capture it effectively, and what editing methods to best bring out the picture. After countless failed pictures, the one featured below was probably one of the better ones. It features the layout of the Software Engineering Institute office building located a bit off of Newell Simon Hall.

Some bigger sources of inspiration came from Dentsu London’s Vimeo video:

For the capture, everything sort of presented itself out of convenience (I had to get more tangible goals to get the project done in an effective time frame). I’m currently working on a nonrelated HoloLens project, so I had a decently detailed 3d mesh of the building I worked in. I knew what kind of long exposure photography I could get from simpler lights, such as just rectangle subsections in the Dentsu London’s video or the LED light strips from the wifi strength visualization project. I wanted to explore what kind of resolution I could get from more precise objects, such as a room mesh. Obtaining the mesh wasn’t too bad. Microsoft Hololens has a lot of support for extracting the AR mesh. Next, I imported the room into Blender, which I found a very suitable app to find the room subsections.

I used a blender method called “boolean intersections” where I intersected the object with several thin planes going in both the x and y-direction:

With these subsections, I made an animated gif in both directions:

Horizontal Subsections
Vertical Subsections

Which I then imported onto my iPad, and I dragged around space. Overall, the project took me a long time, as this was one of my first projects (lol) that I couldn’t resort to coding, and I had to learn new hardware and photography techniques.

In terms of reflection, I’m quite proud of what kind of photos I obtained, however I know there’s a lot of room for improvement in my handling of the photography. I’ve also learned a great deal about perspective and which angle to take photos of the subsections. I feel like my project successfully conveys the 3d aspects of the room mesh in a unique form of photography. Ideally, I would have liked the images to be more stable and have higher resolution, so that they could look even more accurate.

Results

Side shot from another angle:

Not the cleanest shot ever, but it captured a decent bird’s eye view of the building.

Conclusions and Remarks

In hindsight, I definitely undercut the potential of this project for picking such a commonplace location to map. I should have utilised this capture method on a much more impactful or meaningful location, other than the inside of workplace building. On a brighter note, however, I was quite pleased with how accurate my images ended up turning out. Since I started this project with virutally no knowledge of photography, I felt like I learned alot from this project.


Weija-PlaceProposal

My vision for this project is to take nice “holographic” photos of objects that would represent my room. The idea for my place was inspired by Golan’s lectures regarding the artists who made the light art using long exposure photography. My idea is to certain objects in my room that are “distinguishable”, so they can symbolize my room. The technique I want to use is to capture the objects using photogrammetry, render them in unity, and render their subsections like the people in the Making Future Magic Vimeo:

Ideally, once I get this process down, it should be easier to reproduce it on multiple objects. It would be nicer to get it into code so that it could be a black box type of machine, but given the time constraints I’ll probably just do it all by hand.

Weija and Kyin – portrait

Inspirations:

Several of Kyle Mcdonald’s work presented in class really intrigued us, and we wanted to further explore some technical fields that Kyle’s work touched. As we were interviewing each other, we both noticed that our youtube channels were remarkably unique, and it was in a way indescribable to each other in regards to our viewing pleasures. We thought it would be cool to document one’s youtube viewing history over a period of time, and overlay them in a chronological order such that each image could represent a distinct block of time.

Development:

The progression of our project was rather difficult. While we knew what kind of portrait capture method we wanted to explore, we still struggled with how to present it. Our first tangible goal was to figure out how to scrape reliable data off of youtube. This was rather tricky, since a lot of sites (including Google), go through certain measures to prevent their websites from being automated. For this, we decided to use phantomjs and casperjs, Javascript headless browser libraries. When we came up with the idea of stitching these overlayed photos together, we knew OpenCV was the best library to use for the job. With this, we developed a python flask api server to operate the system level management of the files and we made a meteor frontend ui server to facilitate the user inputs. Once we hooked all of the pieces up, our last issue was time: We noticed it took a very long time to do some of these operations, as they require scraping through thousands of pixels. For this, we managed to incorporate some multi-threaded action in some of the scripts to expedite the portrait generation process.

Results:

Finally, to put everything together, we used Meteor.js to create the Youtube Portrait webapp where anyone can generate their own Yotube portrait. Here are some screenshots of using the webapp and generating a portrait.

Here is an example of the final product!

We wanted to compare our portraits with portraits of other people. So we asked some of our friends to generate their portraits as well. Below is a picture of a comparison between some portraits, where every strip is a Youtube Portrait of a different person.


Thoughts on Piece / Relevance to Subject:

Overall, we were really excited to have this actually working (and displaying real video history data). However, if we had more time for the project, we definitely would have tried to figure out how to place timestamps to the images. (Just scraping the images was already a huge feat, so we decided to take what we have and go with it.) Still, regardless of that, we feel like when we play tested our machine with some of our friends their reactions were all similar: initial embarrassment of having their youtube viewing history viewable, and then acceptance that they did in fact watch all of them. We liked the variety of thumbnails we collected, and we think it is in fact an accurate representation of the user. Some interesting things we noticed where moods of Youtube videos we watch, from colors, faces, texts, etc.


Kyin and Weija – PortaitPlan

Hi,

So kyin and I (weija) were paired up, and we decided to collaborate together to construct our project. As we interviewed each other, we felt like a really interesting way to portray someone was through their youtube suggestions and other youtube history related content. Basically, the motivation behind this was that we think someone’s youtube video history is quite personal to them, since a lot of the time when we watch youtube videos its rather in a private setting. At least for us, we both agreed it was rather personal and sometimes even embarrassing when we revealed both of our video suggestions.

Our idea is to create a universal portrait machine, that can be applied to anyone. The idea is for a user to input their youtube username, and have a photo taken of them. The program will parse all youtube video content related to their username, such as view history, subscriptions, suggestions, etc. Our goal is to compile ~in the order of 1,000 video thumbnails, which we can then use to “paint” the portrait of the person. (The generated pixelated art should look similar to the photo, our goal is to gather enough photos with a large array of color choices so that each thumbnail can cover an accurate color of the person’s face.)

Ideally, this is the kind of image that we are hoping to portray.

Our main inspirations from this came from guest speaker Kyle Mcdonald’s piece where he documents his keyboard activity through a twitter bot, as well as (not related to Kyle), the person who took screen shots of all their website links that they clicked on their laptop (sorry, completely blanking on the name of this person).

Thanks!

-weija and kyin

WEIJA-SEM

For my SEM imaging, I chose to a piece of twig to scan. At first, I was a bit worried that my “thing” was too boring. This was what it looked like at a recognizable scale. It looked like a monochromatic hot pocket.

Here was a side view of the twig, where I tore it off when snapping the piece from the rest of the twig. Looking at the twig zoomed in and seeing its chaotic fibers was actually really surprising, since I really took for granted what kind of chaos and entropy I could cause as a human onto these small objects.

This was another side view of one of the veins inside the branch. The structure and repeated pattern of the pores was really interesting to me.

Hello!

Hey guys, I’m currently a sophomore studying in the BCSA program. My current interests include virtual reality, computer vision, and autonomous robotics. I’m a huge tinkerer, and I love messing around with arduinos, raspberry pis, and ESPECIALLY anything with quadcopters or drones. I literally did an entire 112 term project on them, and they’ve been an obsession of mine ever since. I hope to pick up alot of technical experience from doing all these projects, and I’m excited to see what kind of work we’ll create.