05a: Basics
Let’s cover some basic principles with Jody Culkin’s Arduino! comic.
BreadBoard

How it works:

How to power it with the Arduino:

Resistors
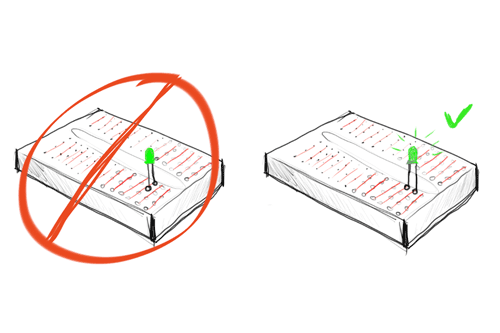
Symbols:
![]()
The one on the right is the best.
Color code:

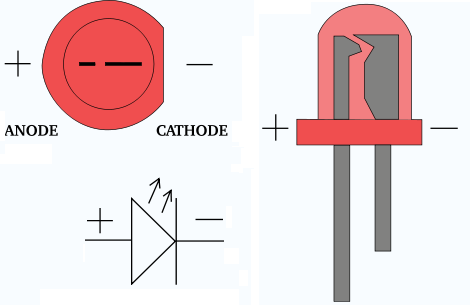
LED
Light Emitting Diode. They are polarized!
Did you know LEDs have been around for 50 years and CHANGED EVERYTHING?
Hello World
Our first circuit:
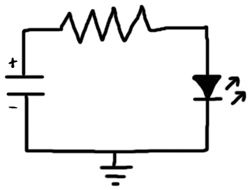
Schematic equivalent to:
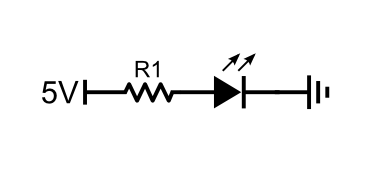
More specifically:

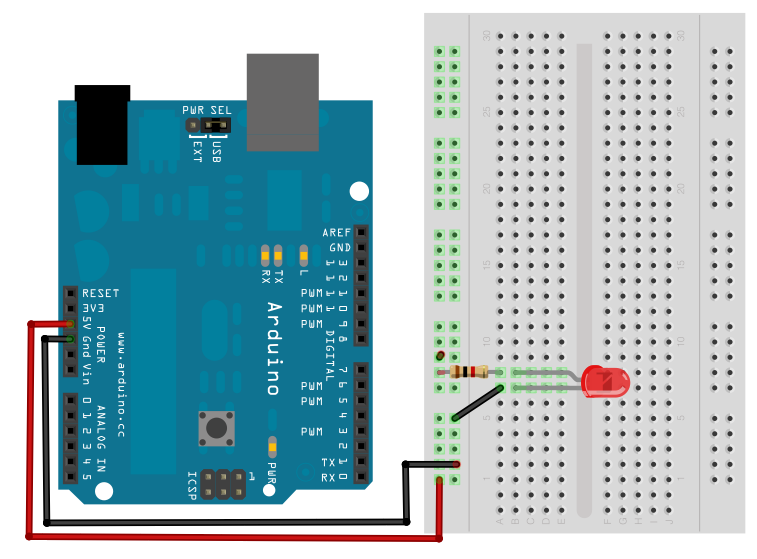
That can be physically implemented in this way:
WARNING
Before you start wiring be aware that if you make mistakes you can potentially damage your equipment.
This usually happens when you create short circuits. S/C are circuits with no resistance, like when you connect negative and positive terminals of a battery.
Ohm’s law:
I = V/R
what if R = 0? Overcurrent, heat and troubles.
THE TEN COMMANDMENTS
1. Always using RED wire for the power and BLACK wire to the ground. Never ever use these wires to connect data ports.
2. Don’t modify your circuit while it’s powered. Disconnect the red, change things, and re-connect.
3. Connect all ground wires before connecting anything else.
4. Don’t wire together power rails.
5. I/O Pins should never be directly connected to the Ground or to power
6. I/O Pins should never be connected to each other
7. Don’t connect cathode and anode of an LED. For example by putting them in the same row.
8. Wires are isolated but the leads of resistors and LEDs aren’t! Make sure they don’t touch each other accidentally.
9. Don’t power the circuit with batteries or anything that is not the Arduino power/ground pins unless you know what you’re doing.
10. Double check your circuit before powering, debugging by trial and error like in programming is not the best solution.