Category: Assignment-02-Instructional

circles?

img001 img003 img004

Acquire a HP pencil and a piece of paper, 8.5” x 11”


Repeat:


1.Draw a circle


2.Draw a perpendicular line branching off of the circle


3. at the end of that line, draw a circle.


4. Repeat steps 2-3 until there is no longer room to continue the chain.


In retrospect, I should not have used the word perpendicular seeing as it does not make any sense in context. What surprised me was they way participents interpreted what I thought was clear and how they varried the sizes of the circles without any instruction to do so.


My Instructional Drawing

My instructions were

Draw two equal length lines perpendicular to each other where the midpoint of both lines are shared. Connect the endpoints to make a square. Pick a number from 5 to 10; we’ll now call that N. Draw N points on the edges of the square, so that there is at least one point on each edge. While any point has less than 2 connected lines where the square’s edges are not counted, draw a line from one point to another of the N points. Shade in 3 non-adjacent areas which aren’t crossed by a line in the figure. Sign your name.

I had planned for shapes that more resembled stars when I created my instructions. In retrospect I should have made more constraining rules.

20140903_18240620140903_18242220140903_182431

Instructional Drawing- Isabella

1. draw a tiny closed half circle, going vertically, in the center of the paper.
at the top of the vertical line where the circle halves, draw a very tiny circle, as well with the bottom end of the line. 
2. draw the other half of this circle, mirroring the previous half. leave a space in between the halves. they must not touch. 
3. repeat these steps, creating larger half circles that overlap the previous ones, with the tiny circles increasing in size too. the halves must continue to mirror one another, and the halves still cannot touch. the halves must overlap the previous halves no more than a 4th of the previous halves.


DRAW1002
Kasem

DRAW2003
Sam

DRAW3004

David


I think I would need to tinker with the element of the overlapping, since not everyone followed the idea of that remaining consistent. However, this was my element of ambiguity, which allowed various results to form. I enjoyed watching the participants follow the instructions and make it their own, composing it carefully and adding their own element to the guidelines.

Assignment – 02 – Instructional Drawing

I gave my three “executors” the following instructions with the intent to both emulate Lewitt in some way and frustrate the hell out of my participants.

A five sided, partially curved shape, with an upper left side 3 times as large as the upper right side. Place pencil on paper. Never allow the pencil to come off the paper. The upper left side begins from a point halfway a point halfway between the midpoint of the midpoint of the top side of the square and the upper right corner of the square and the center of the square to the midpoint of a line drawn from the midpoint of the left side to the center of the square. The upper right connects to the upper left side and is drawn to a point halfway between the midpoint of a line drawn from the midpoint of the right side of the square and the center of the square. A third side is drawn down from the last connecting point until it intersects a line drawn between the midpoint of the right side and the center. Placing your thumb on the bottom left point of the shape, draw a curved line around your thumb and connect. Stop here or at broken pencil.

Here were the three results:

Lewitt---2-rot

A pretty decent try. The participant got very frustrated and disregarded the “no lifting” rule.

Lewitt-4-rot

This one was a great attempt. The participant did get a bit overwhelmed but quelled their frustration and followed all rules of the drawing.

Lewitt-3-rot

This participant, after staring at the instructions for ten minutes, became so frustrated they drew a small circle in the upper right hand corner. Disregarding every rule on the page.

Here was the original “approximation”:Lewitt-1-rot

In hindsight, I believe that my instructions were formulated fine. They did achieve the goal of making at least a few of the participants frustrated. I did not expect the frustration to be enough to completely stop one of them in their tracks however. I would like to see a number of these Lewitt style drawings done with the “no lifting” rule and see if it produces any faint-lined results which are aesthetically pleasing.

An Instructional Solar System

My instructional drawing is meant to generate a fractal-like web that connects a set of orbs. It’s inspired by physics simulations, chaos theory, and infinite loops.

The steps are as follows:

1) Imagine the solar system containing the following classical celestial bodies:

  • Sol (The Sun)
  • Mercury
  • Venus
  • Earth
  • Mars
  • Jupiter
  • Saturn

2) Begin a simulation in your head of this system. The initial starting point should be a state in which all planets are aligned on the same axis.

3) Run the simulation. Try your best to imitate the intricacies of planetary physics.

4) Stop the simulation after a few hundred rotations of the Earth around the sun.

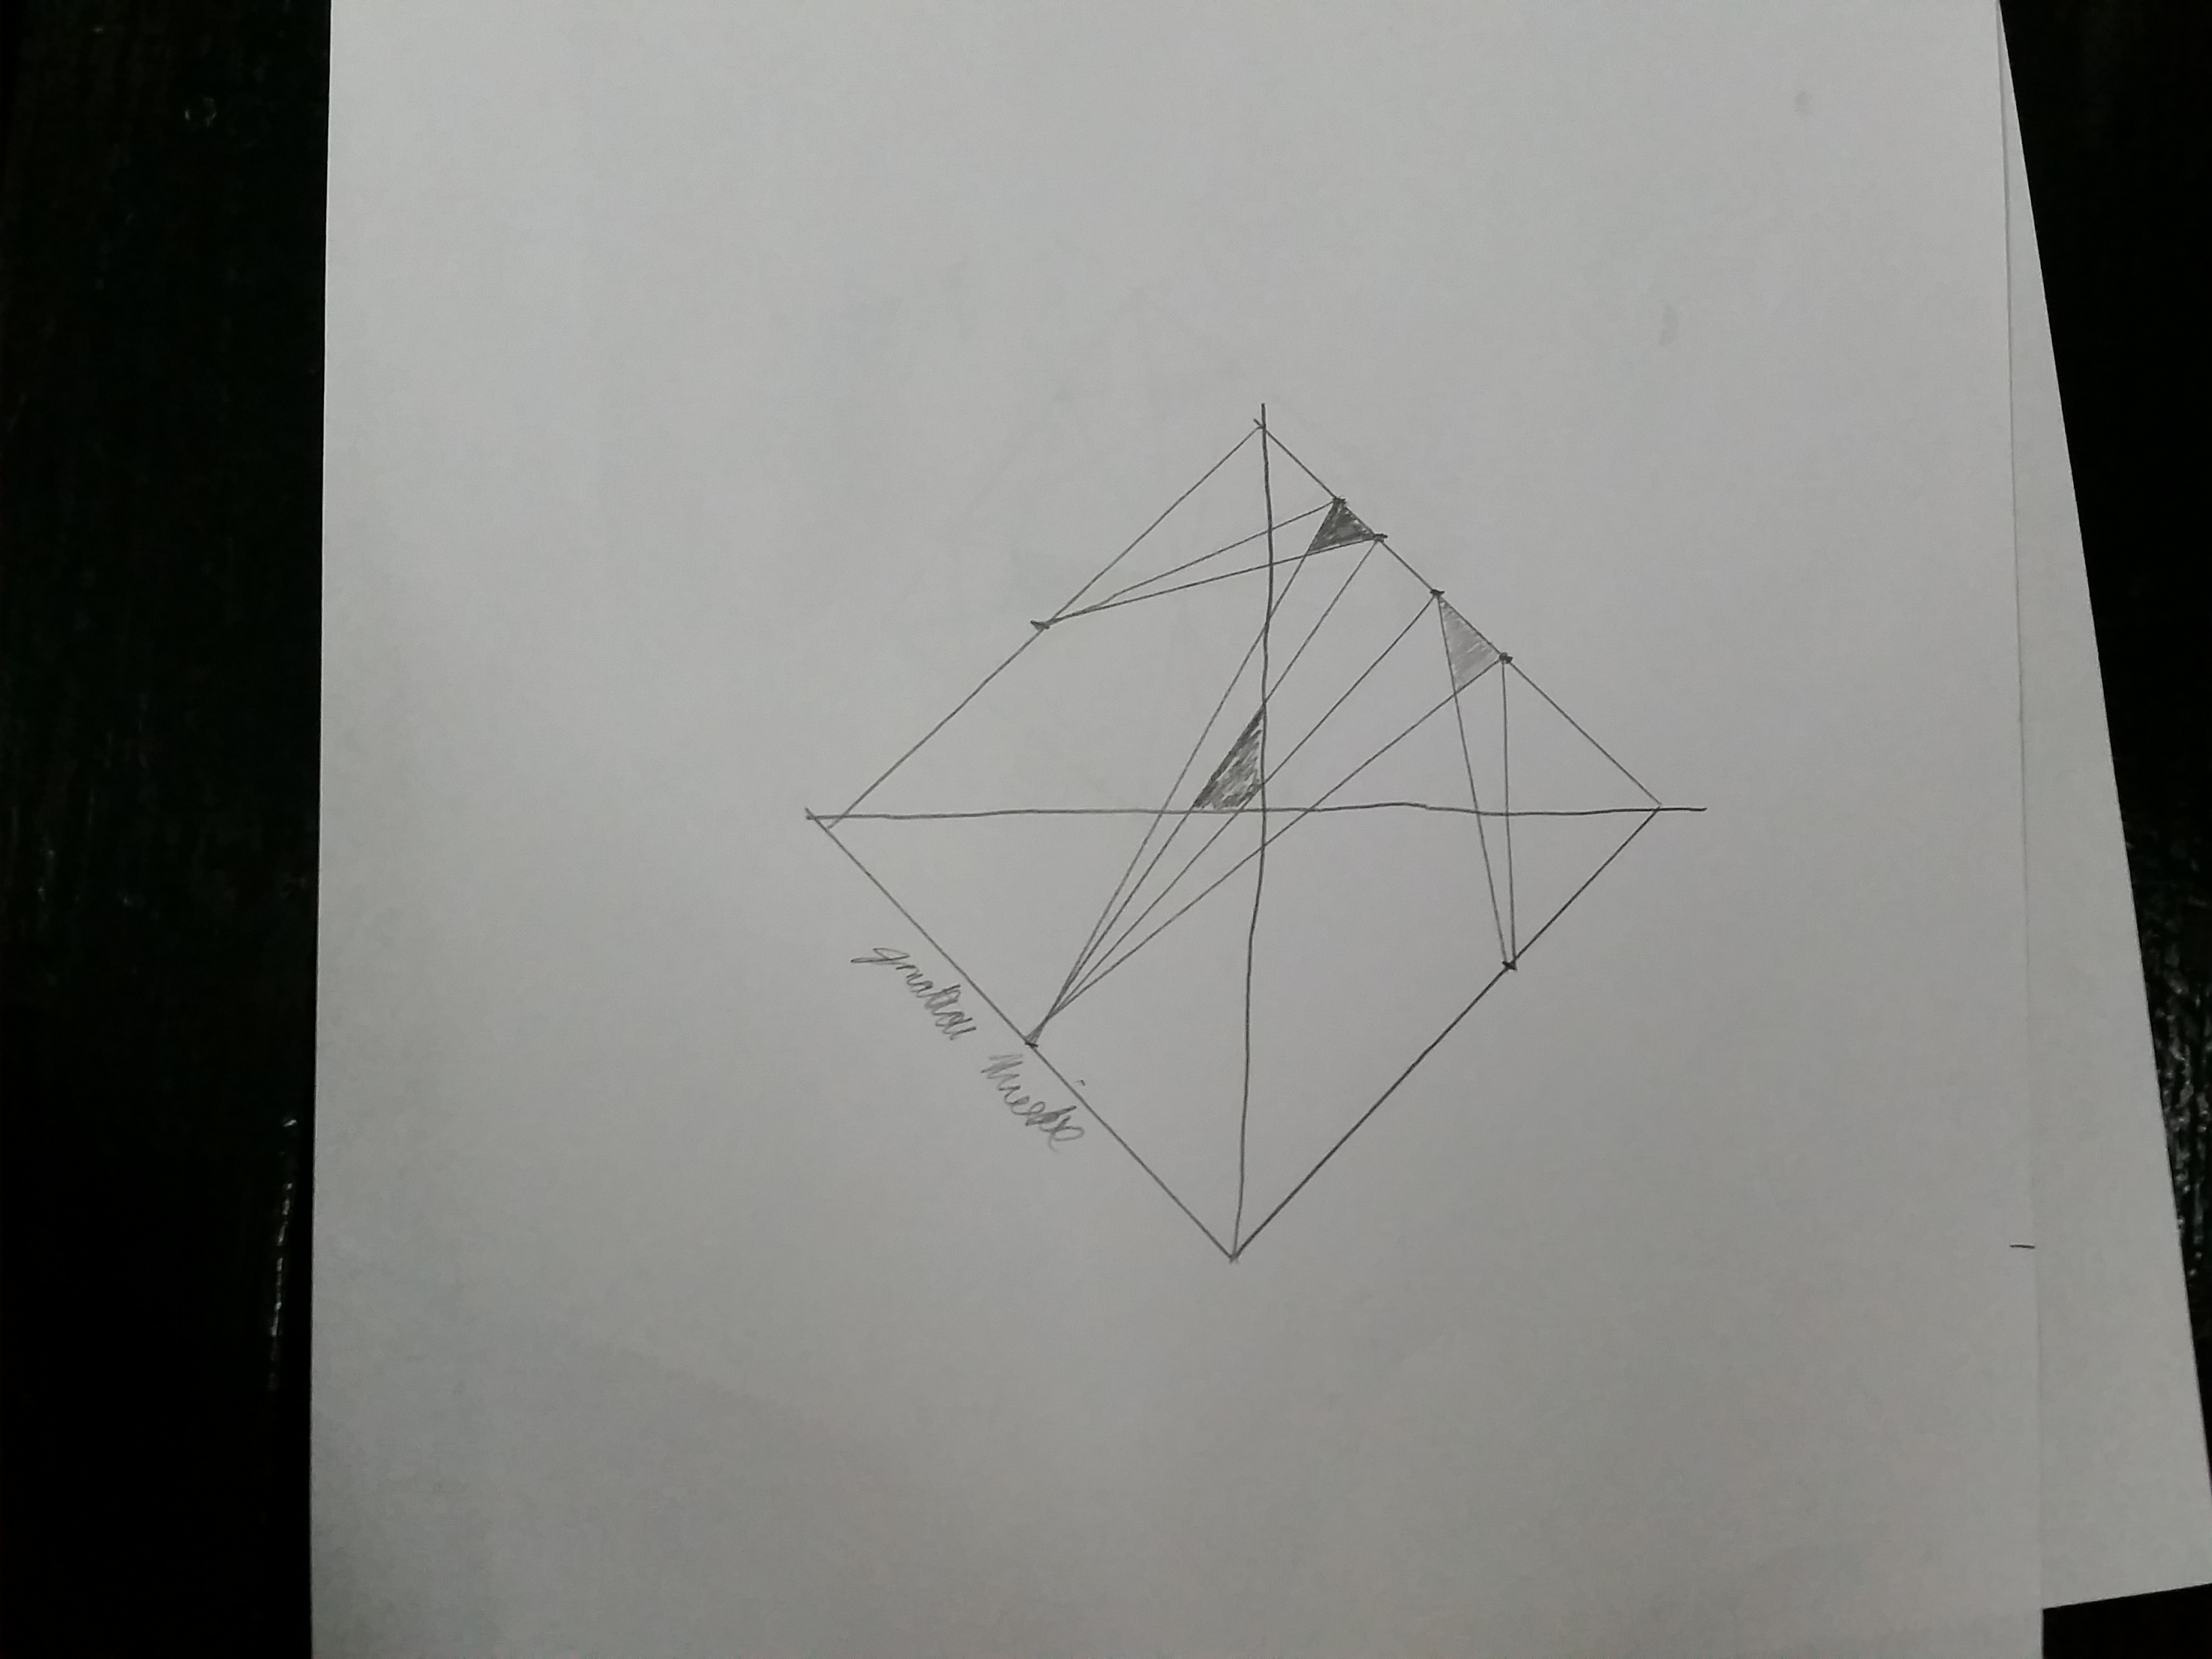
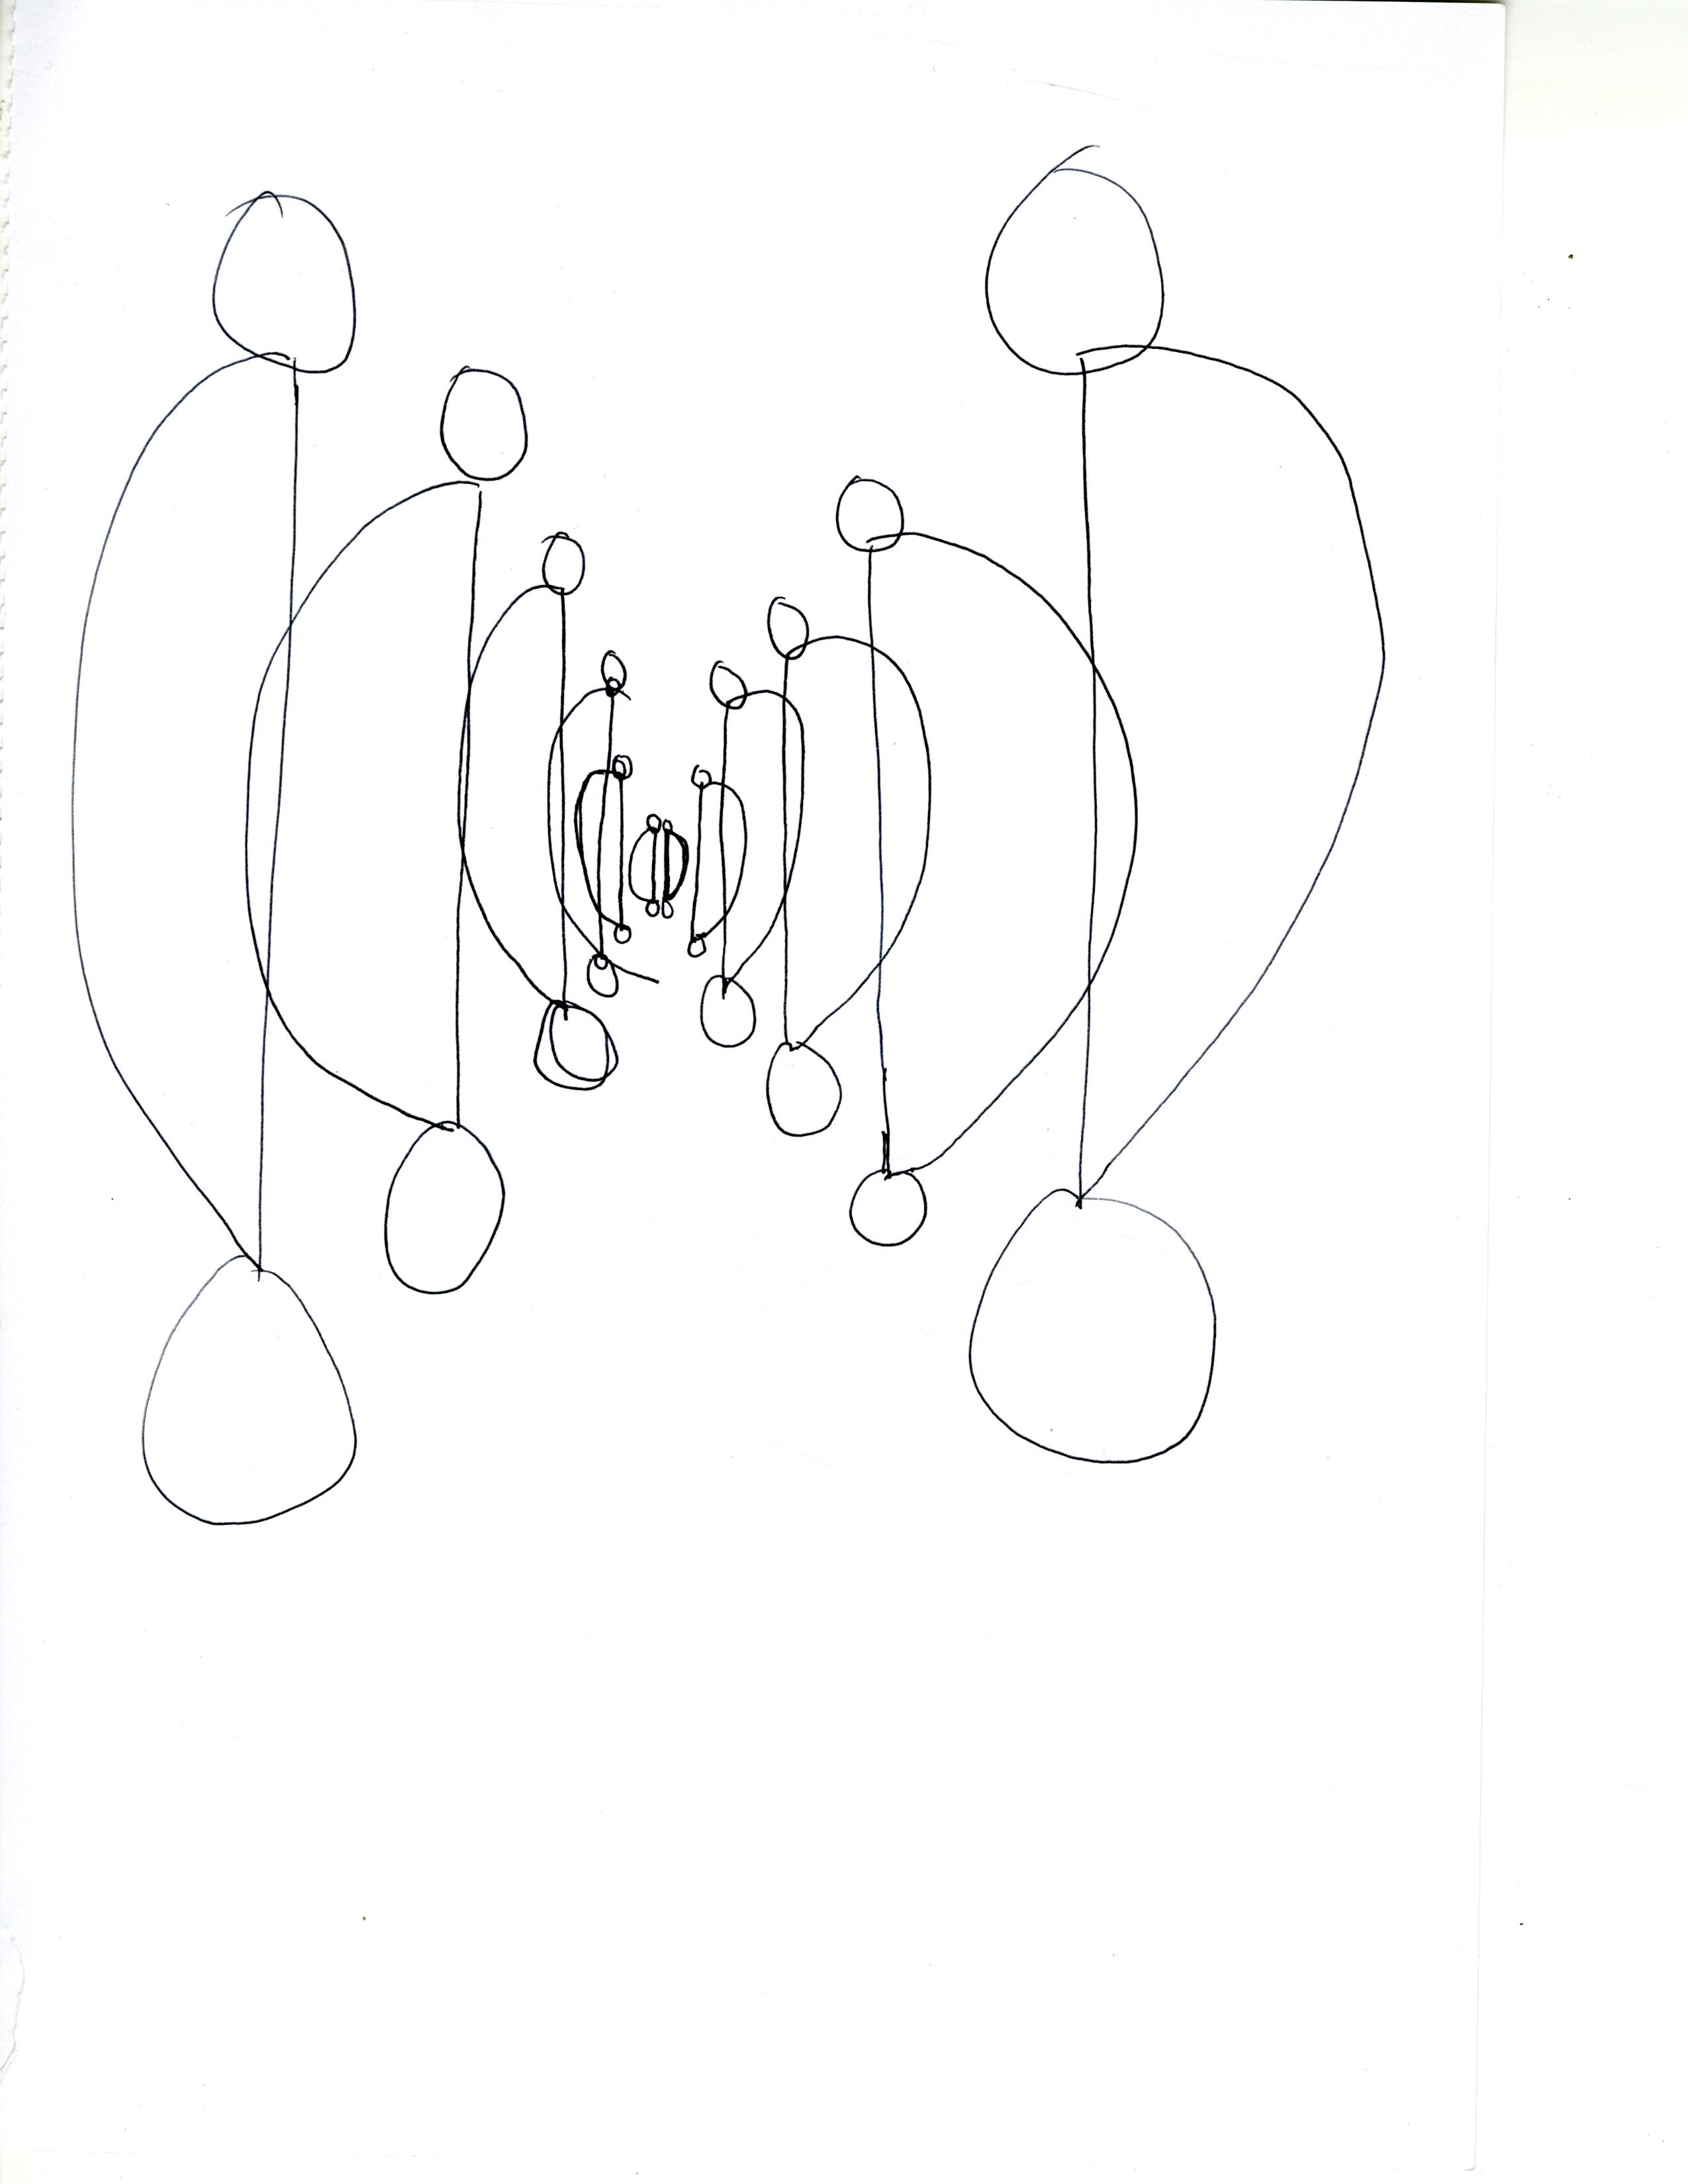
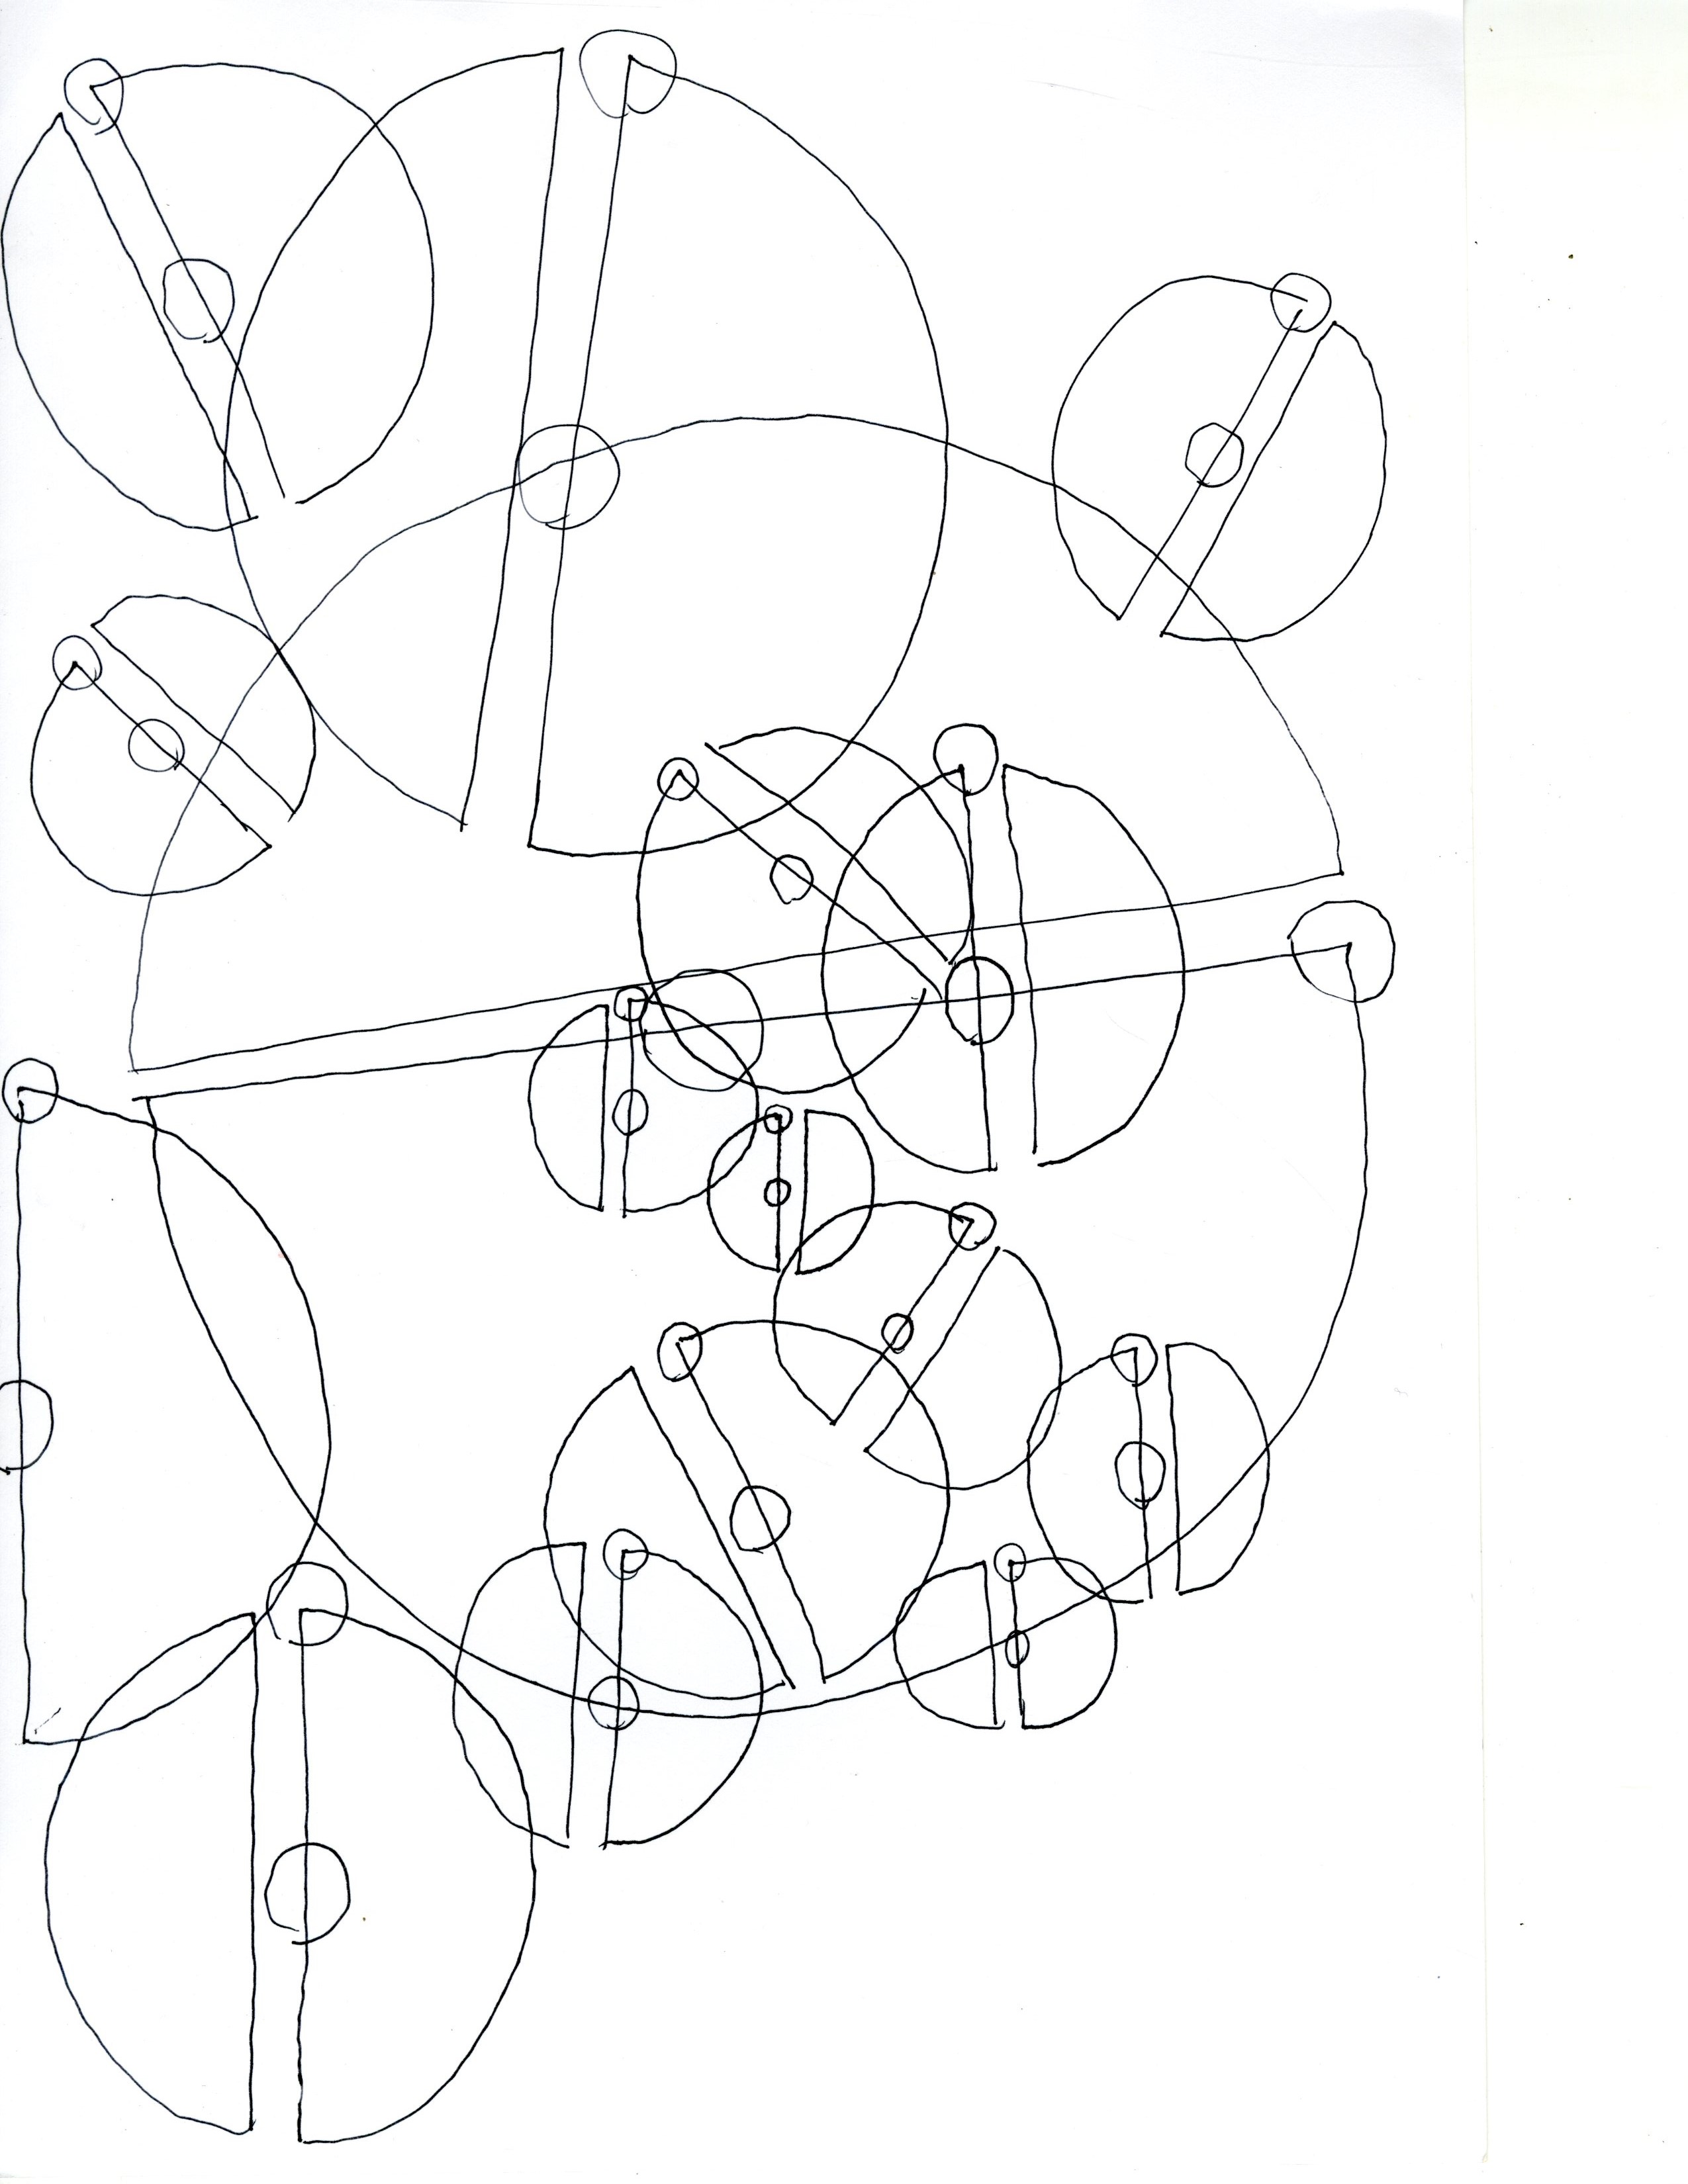
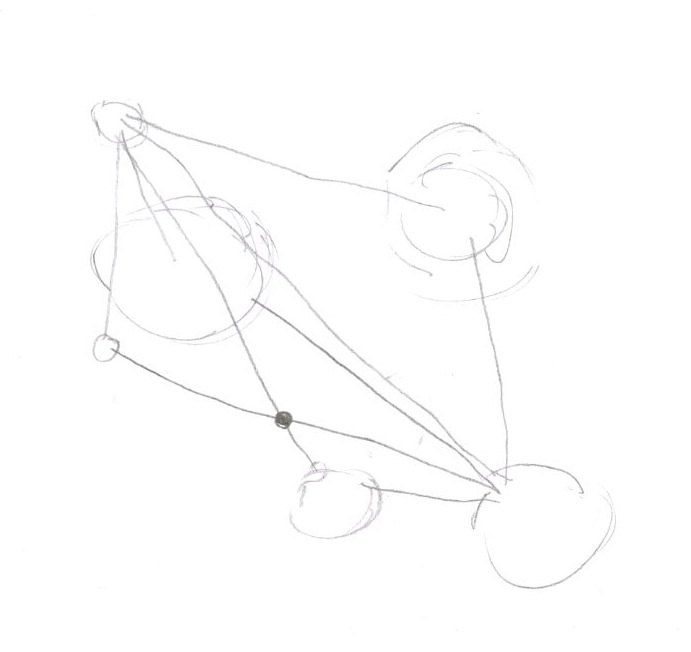
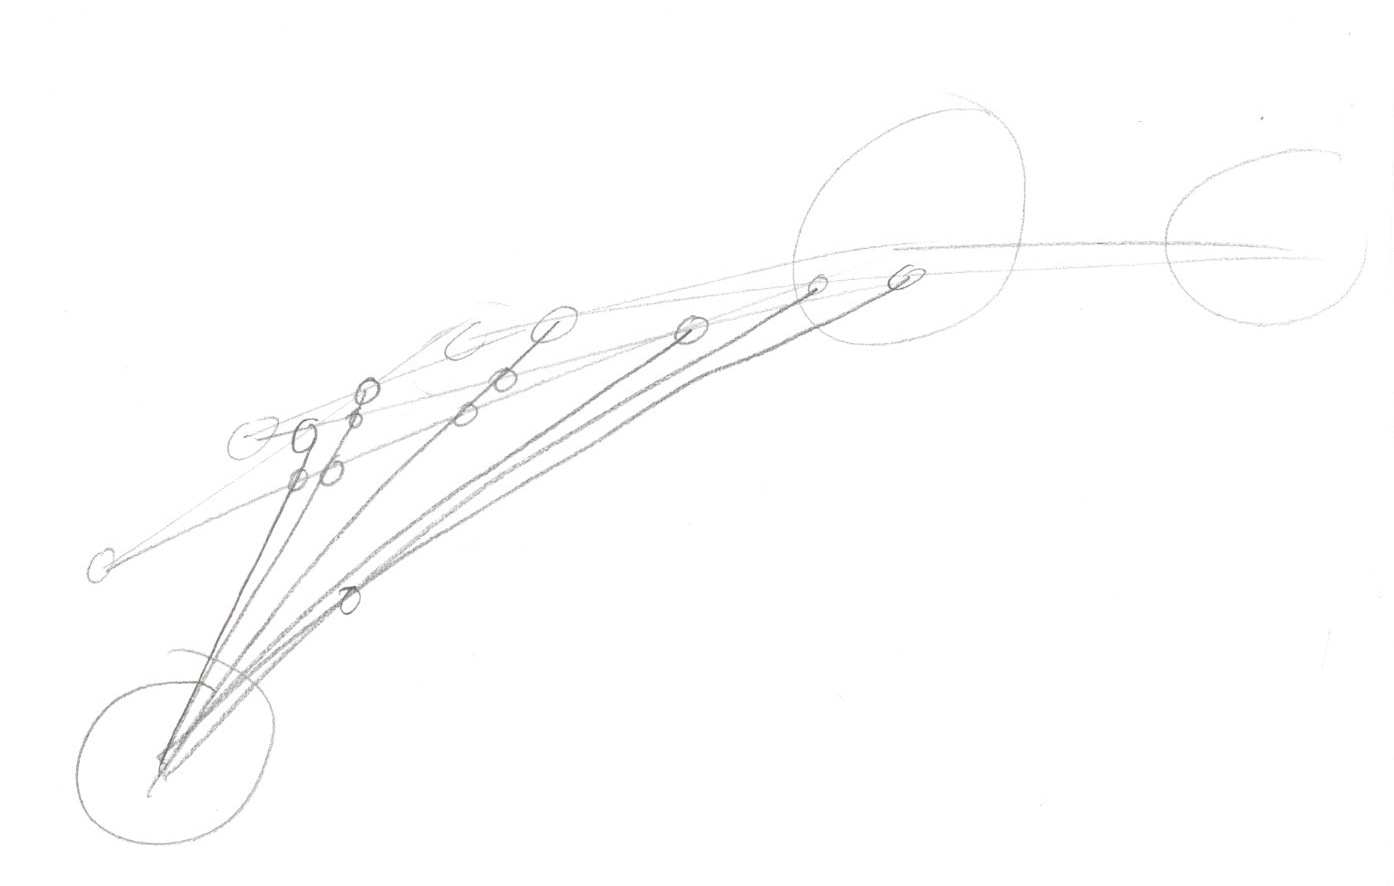
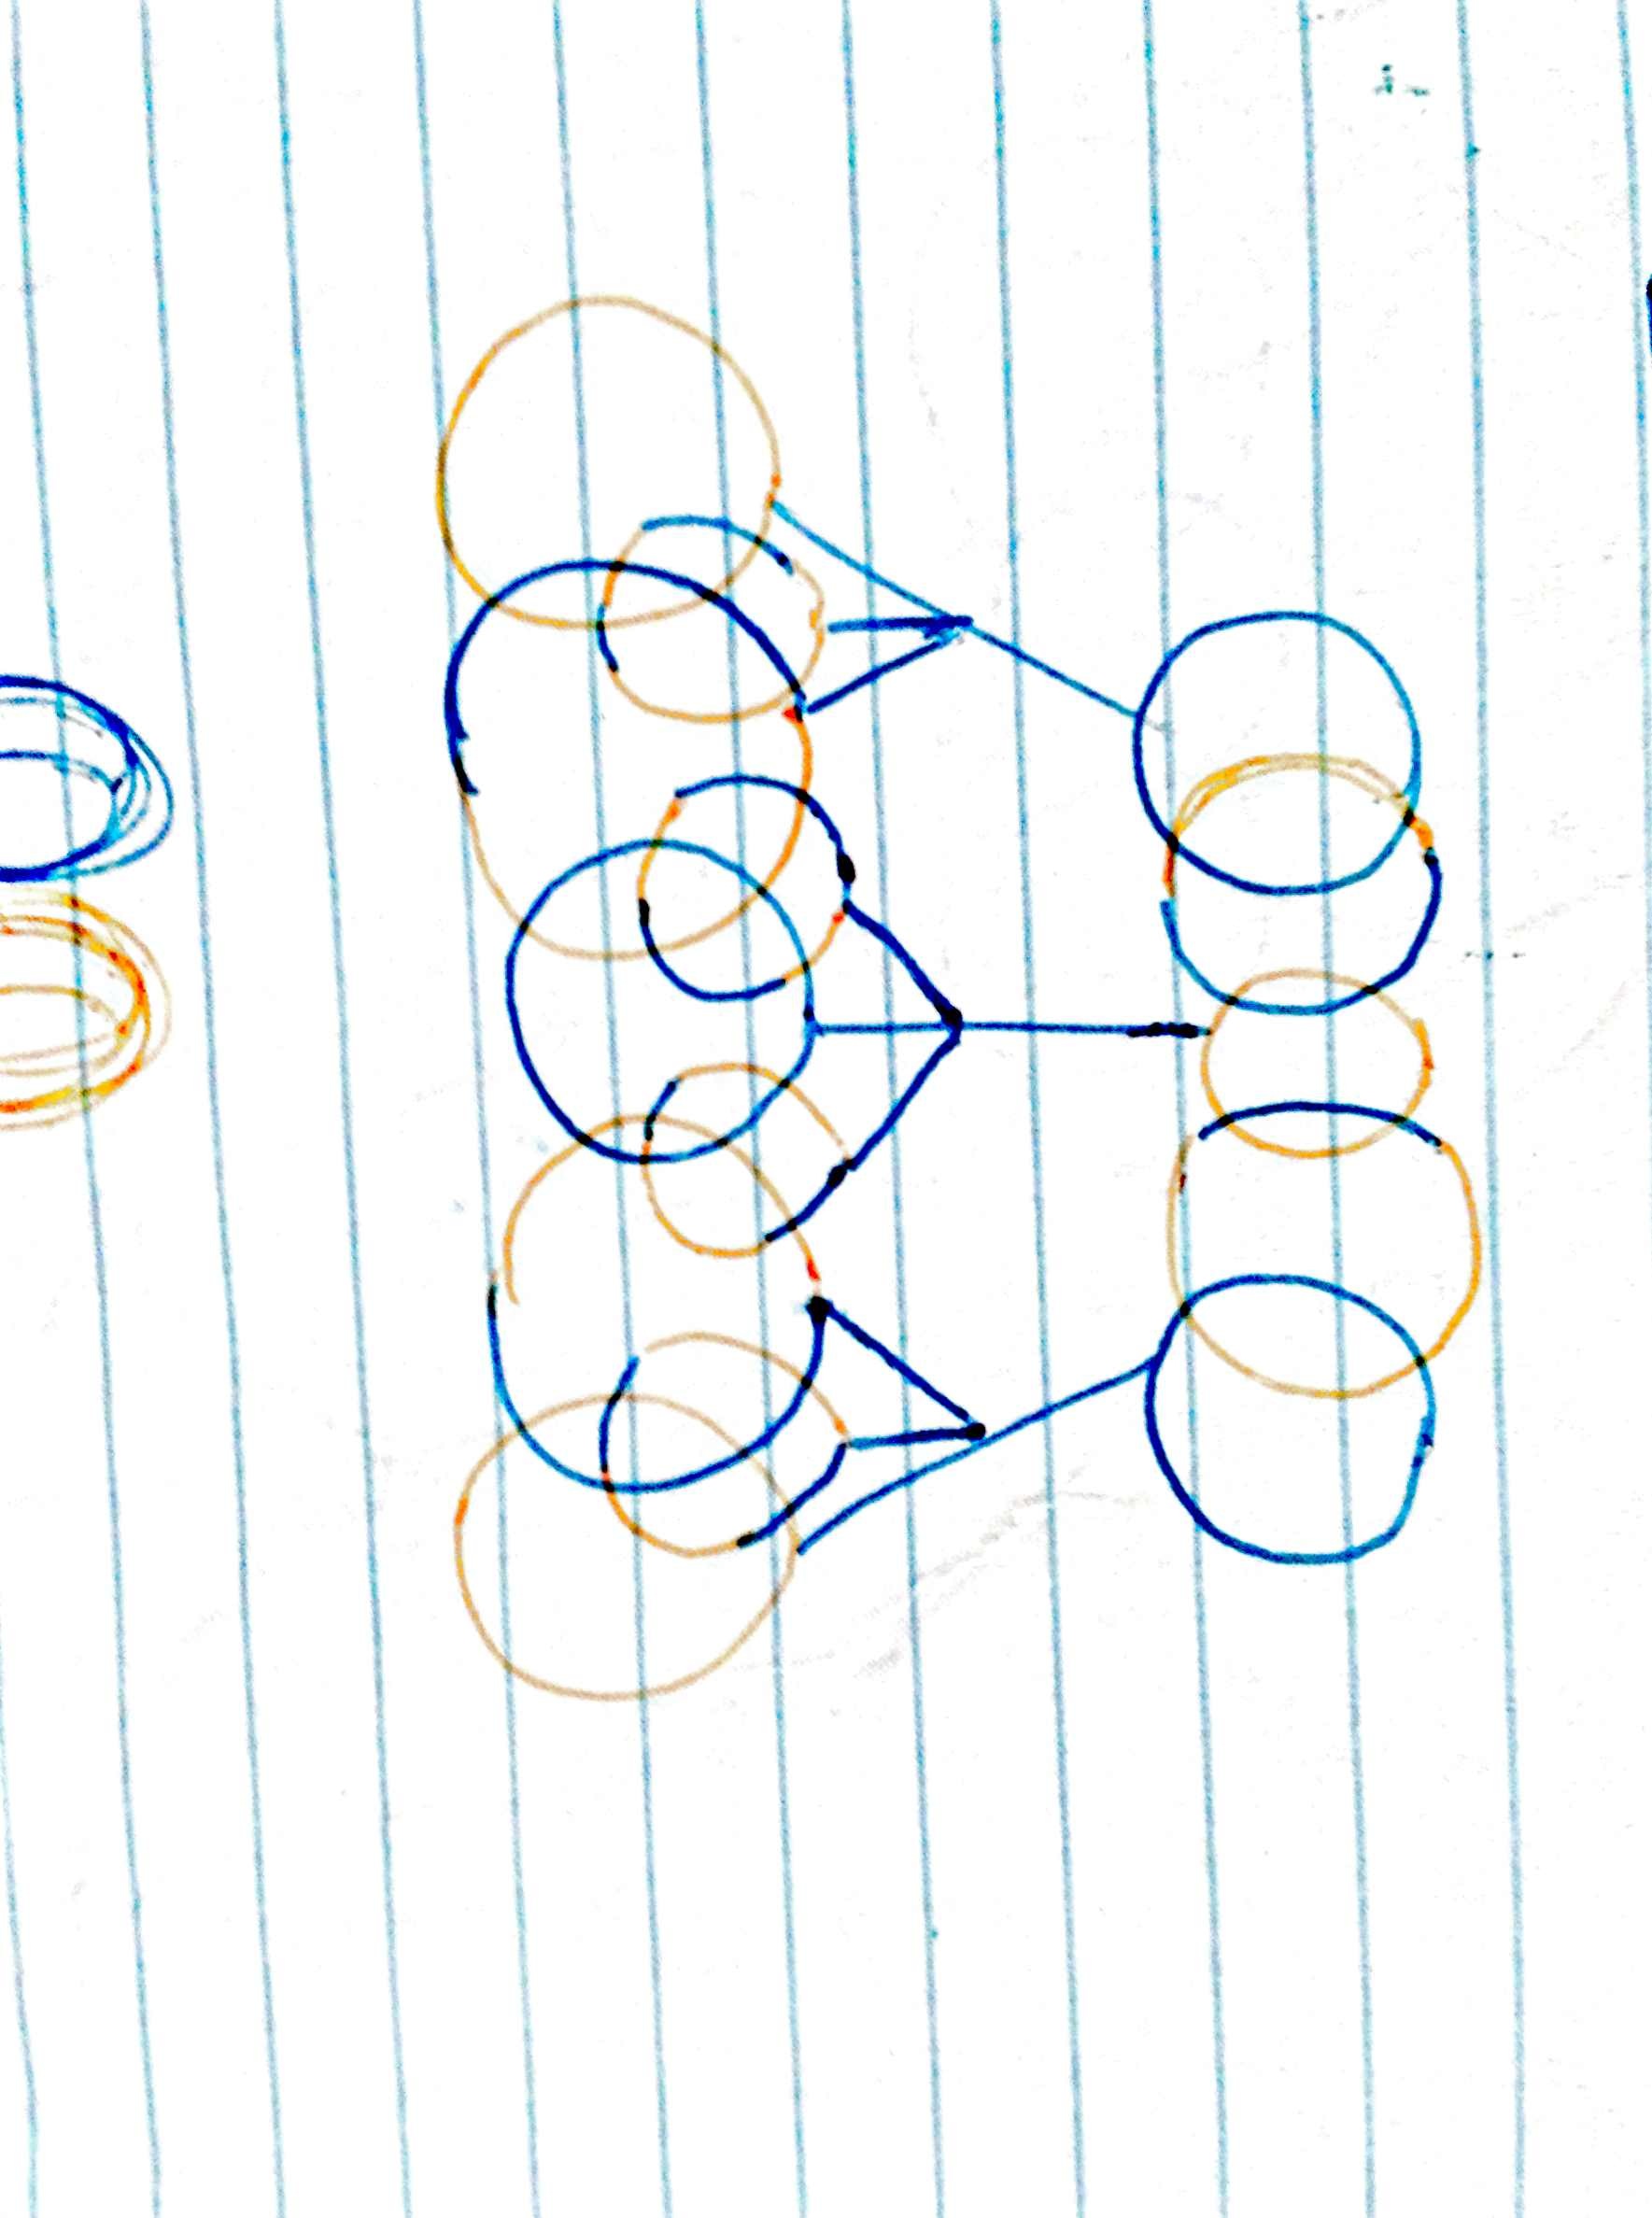
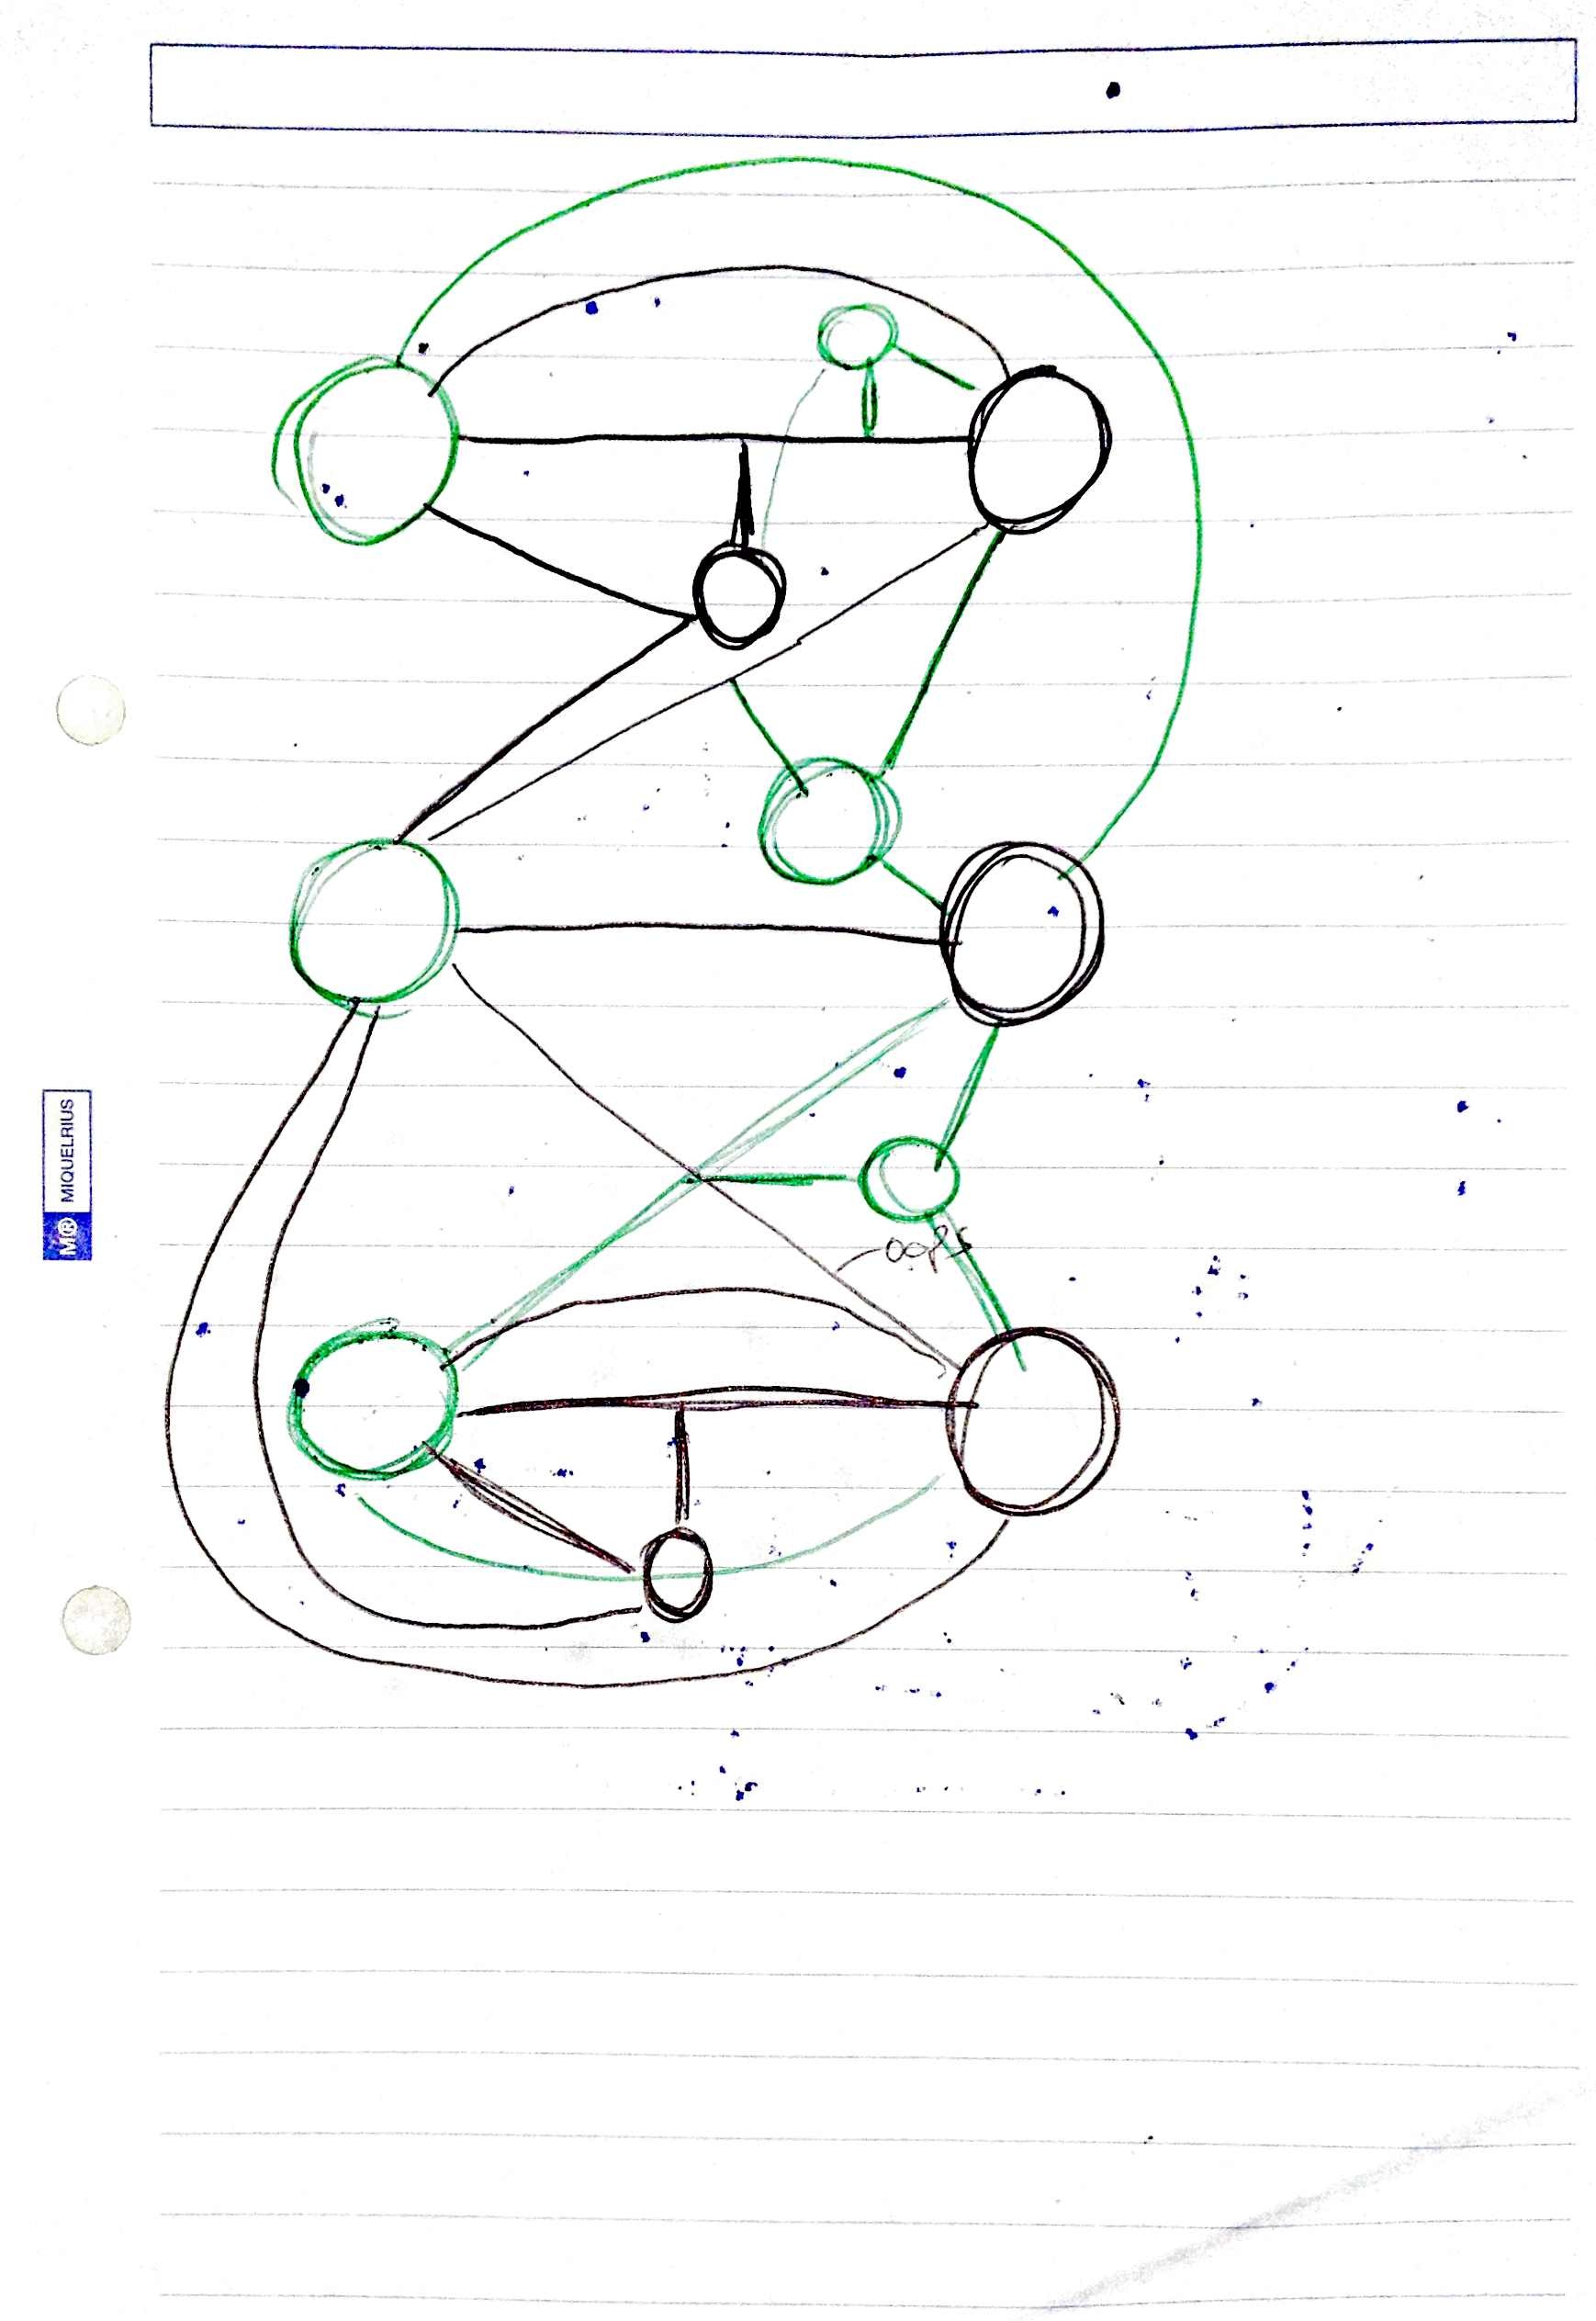
5) Draw the planets from your simulation in their final positions in a top-down view. Planets should be drawn as circles.

6) Connect the earth to all planets and the sun with a line. Connect Jupiter to all planets except earth.

7) If there are any intersections of these lines, this is the location of a MYSTERY PLANET. Draw them as filled-in circles.

8) Connect the MYSTERY PLANETS to planets that are not already connected to any other MYSTERY PLANETS.

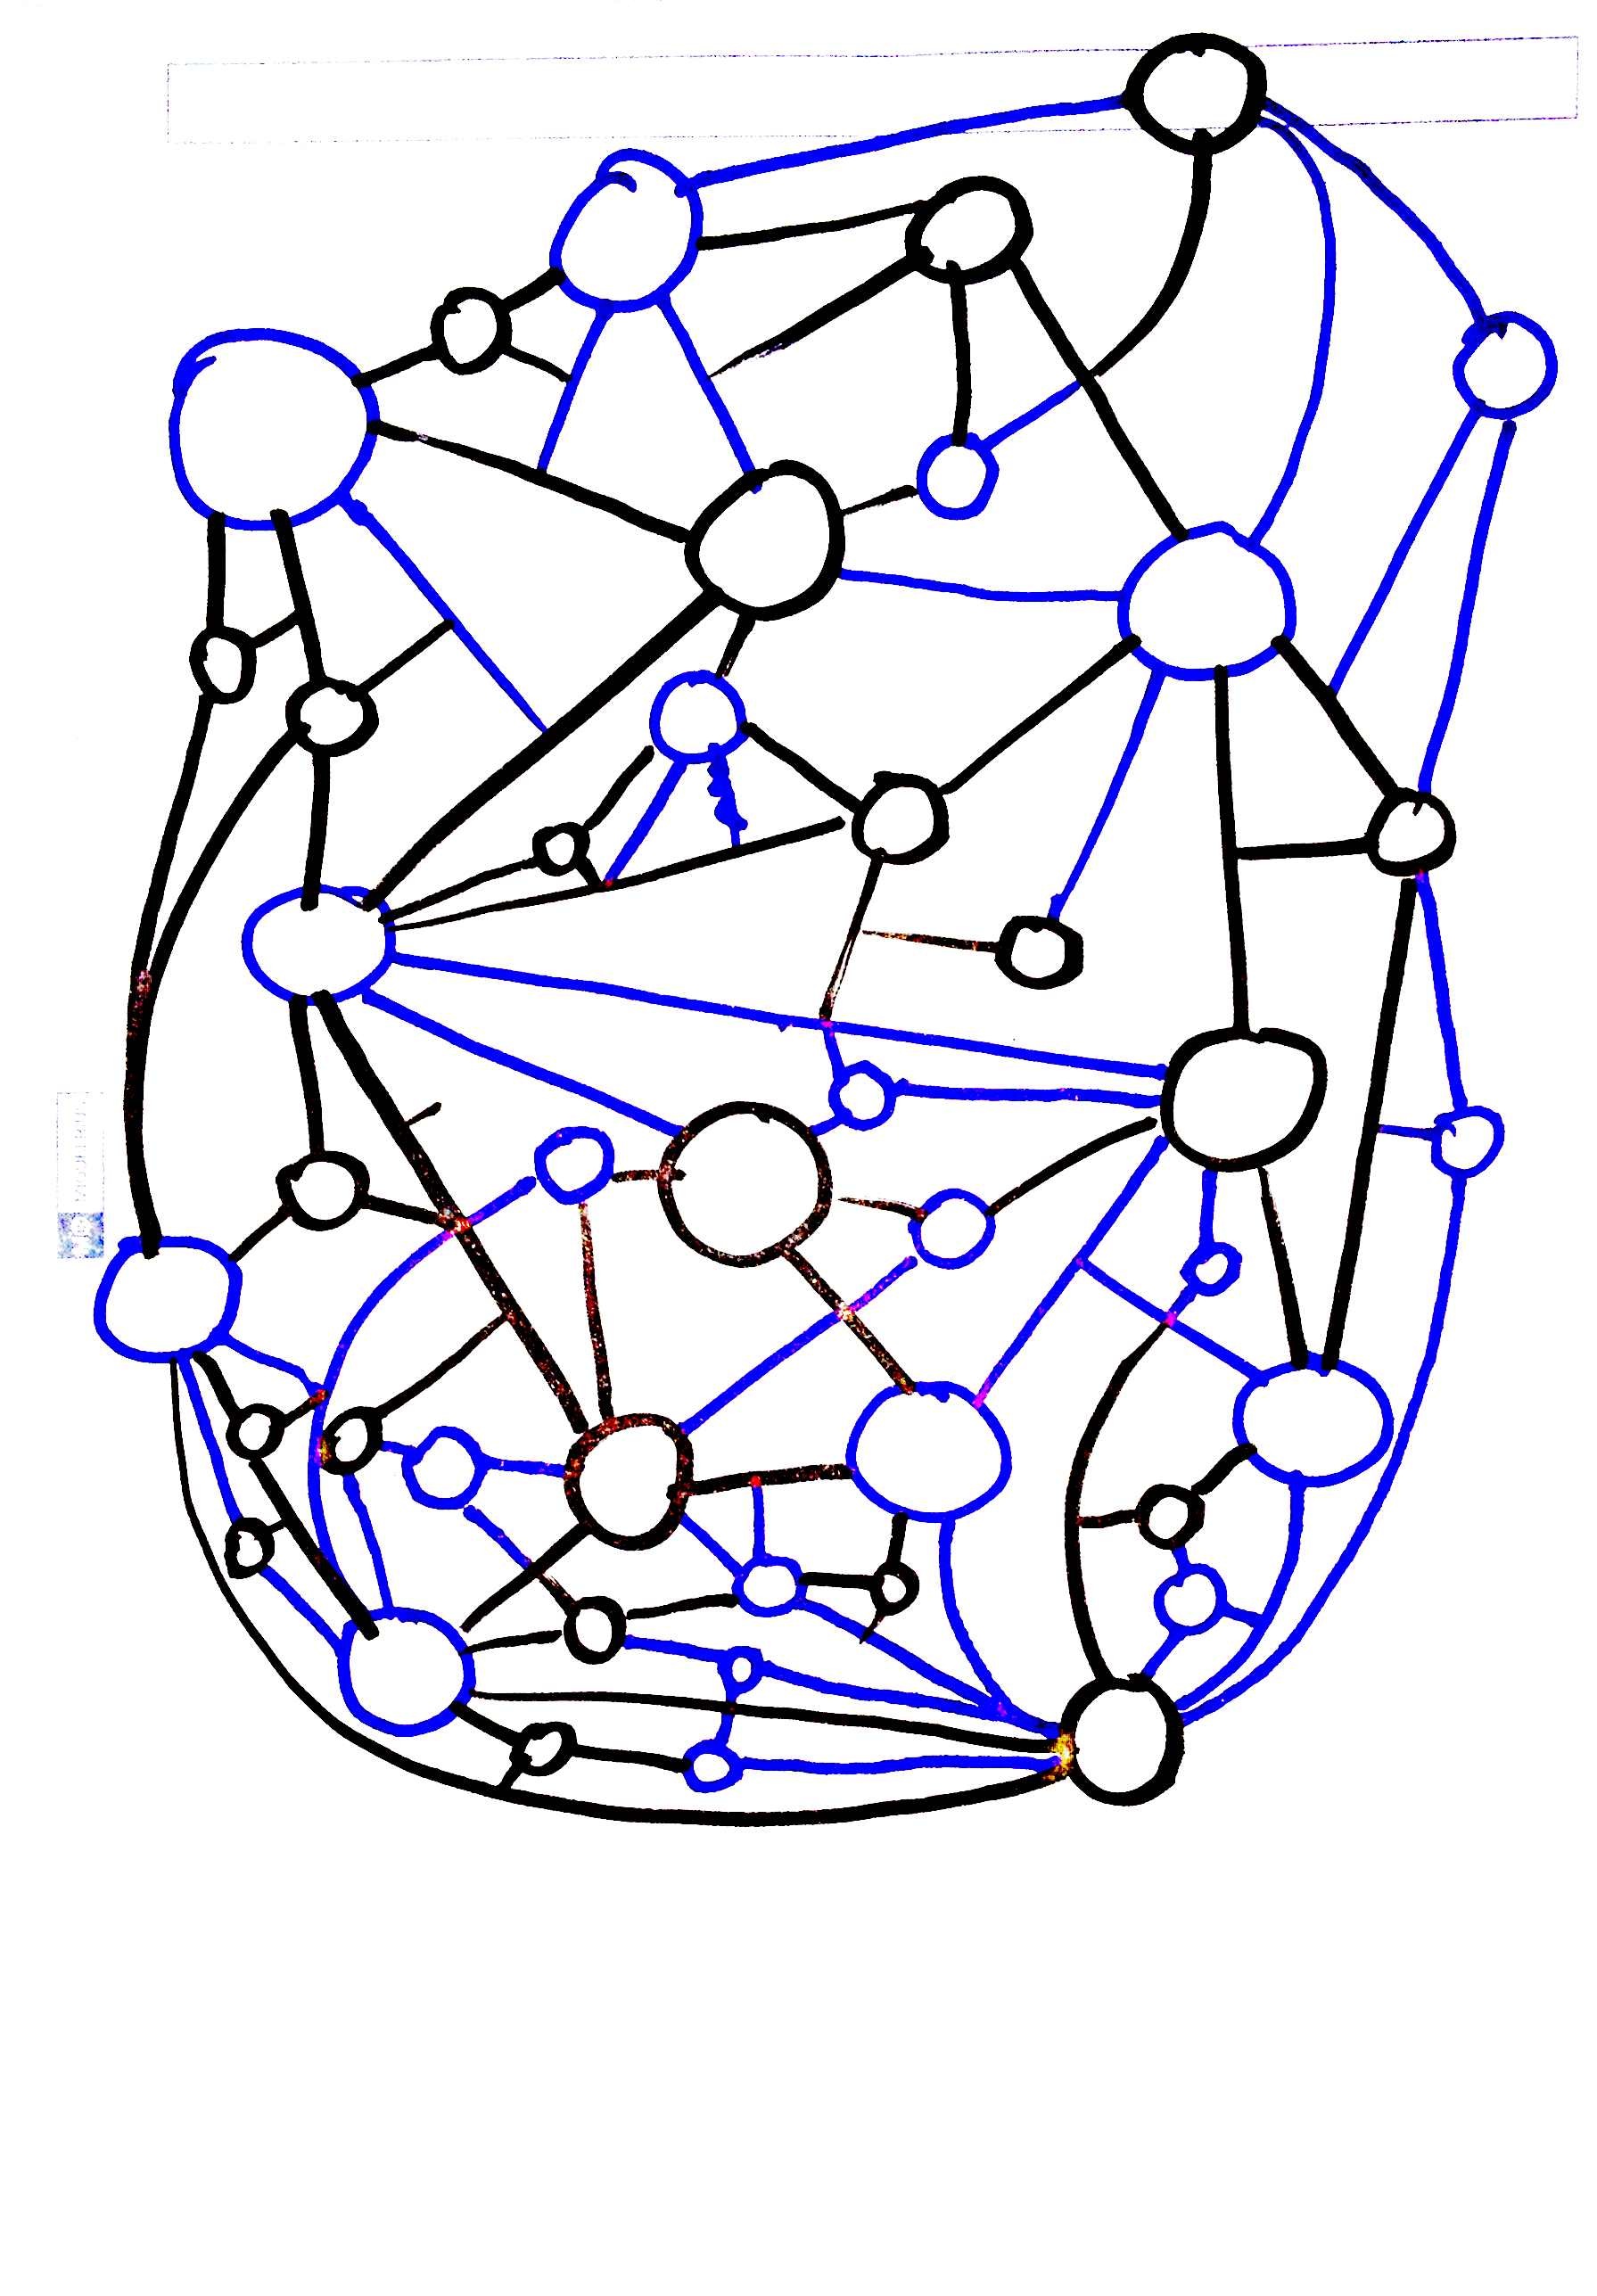
9) Repeat step 7 until no lines can be made, or until there are too many lines to see.

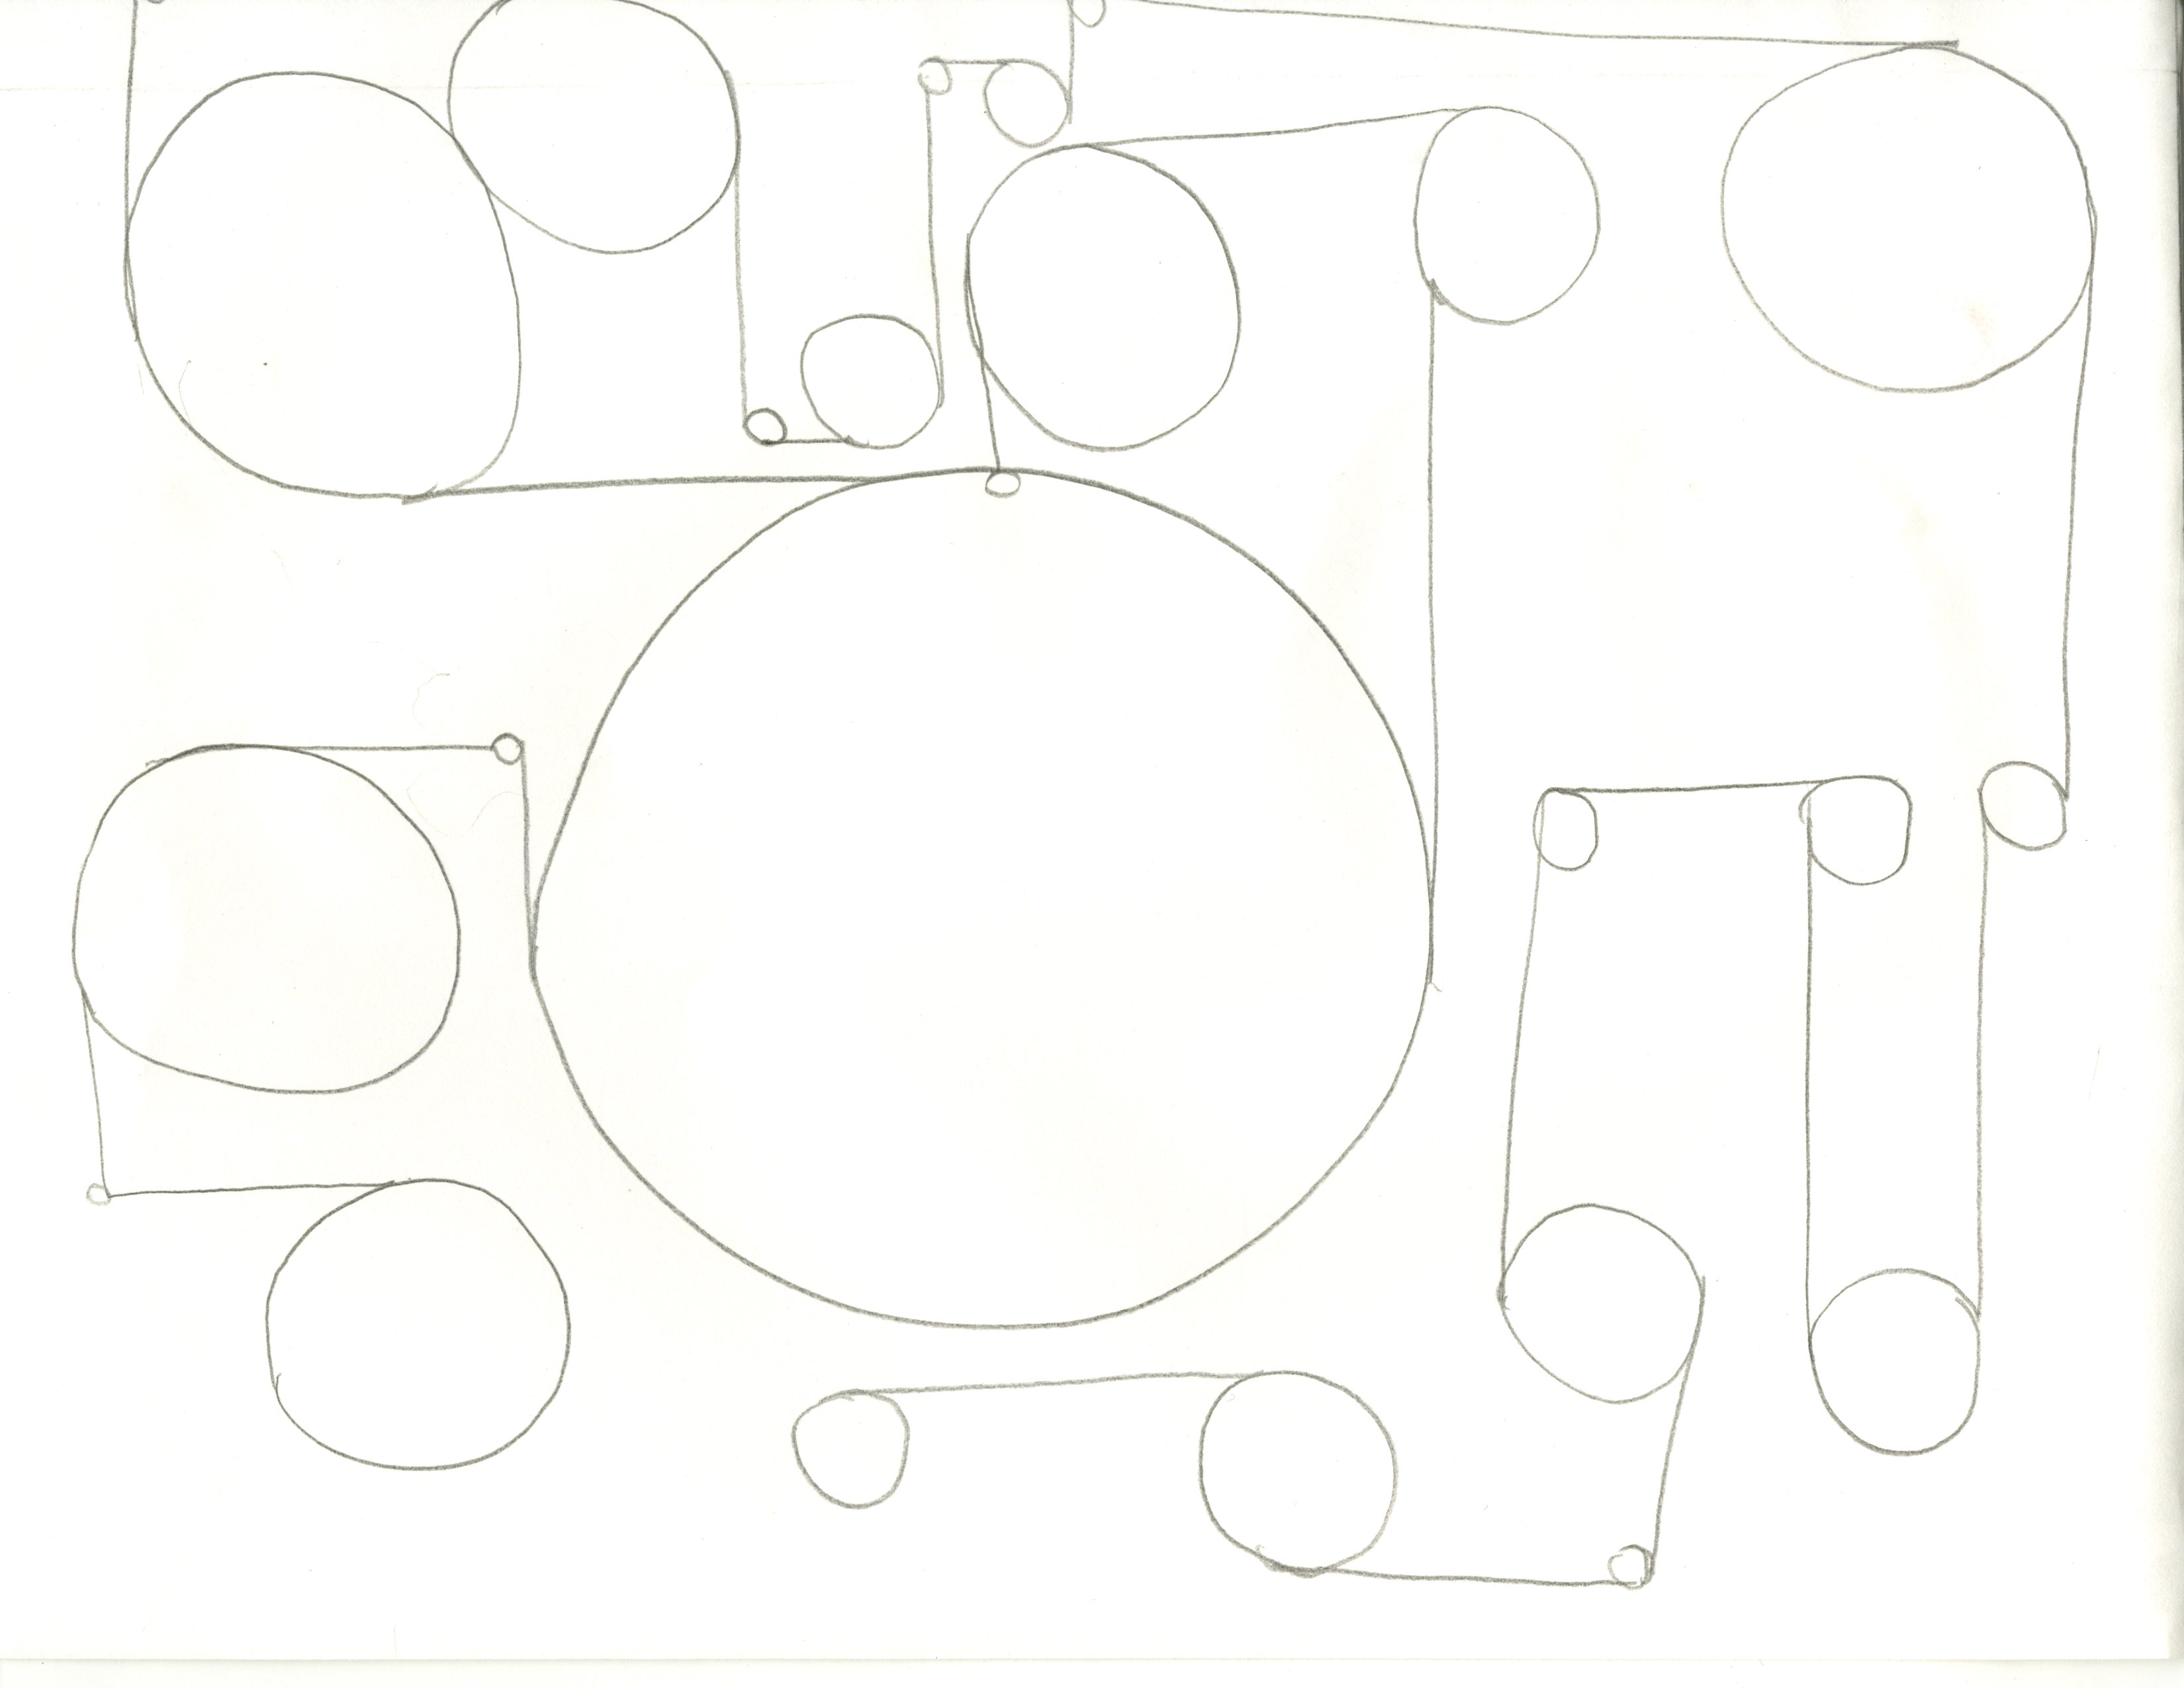
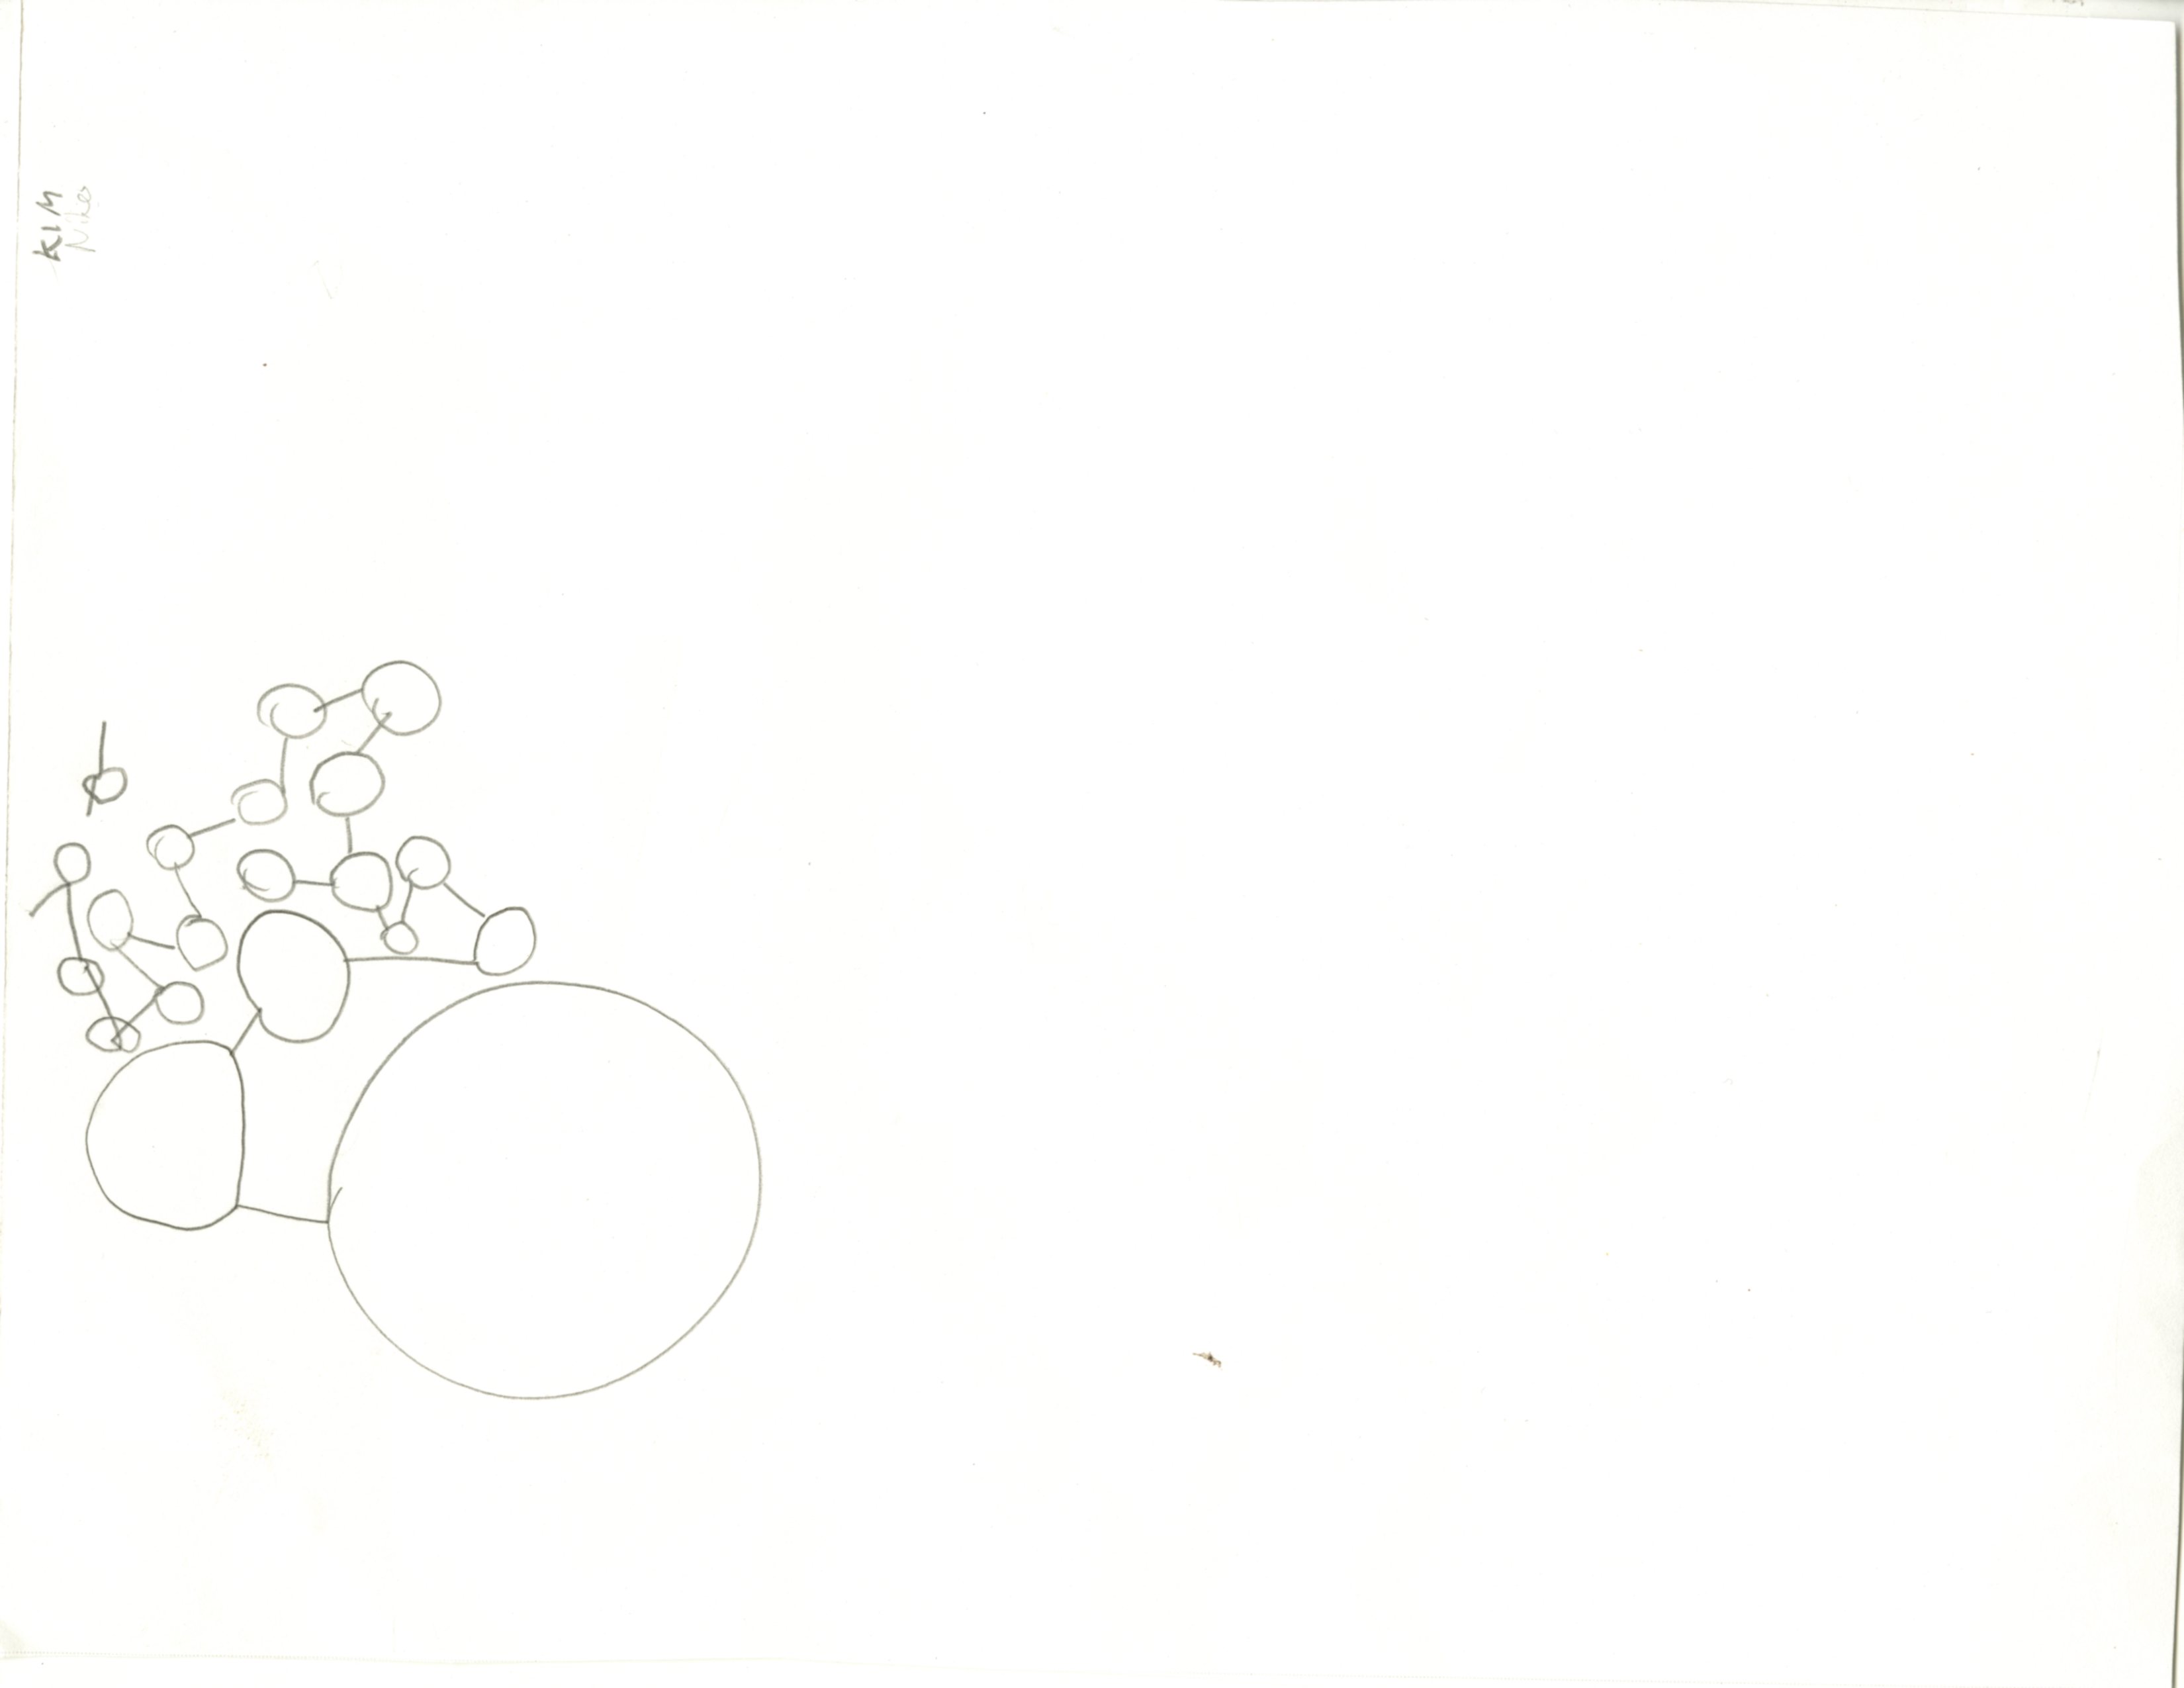
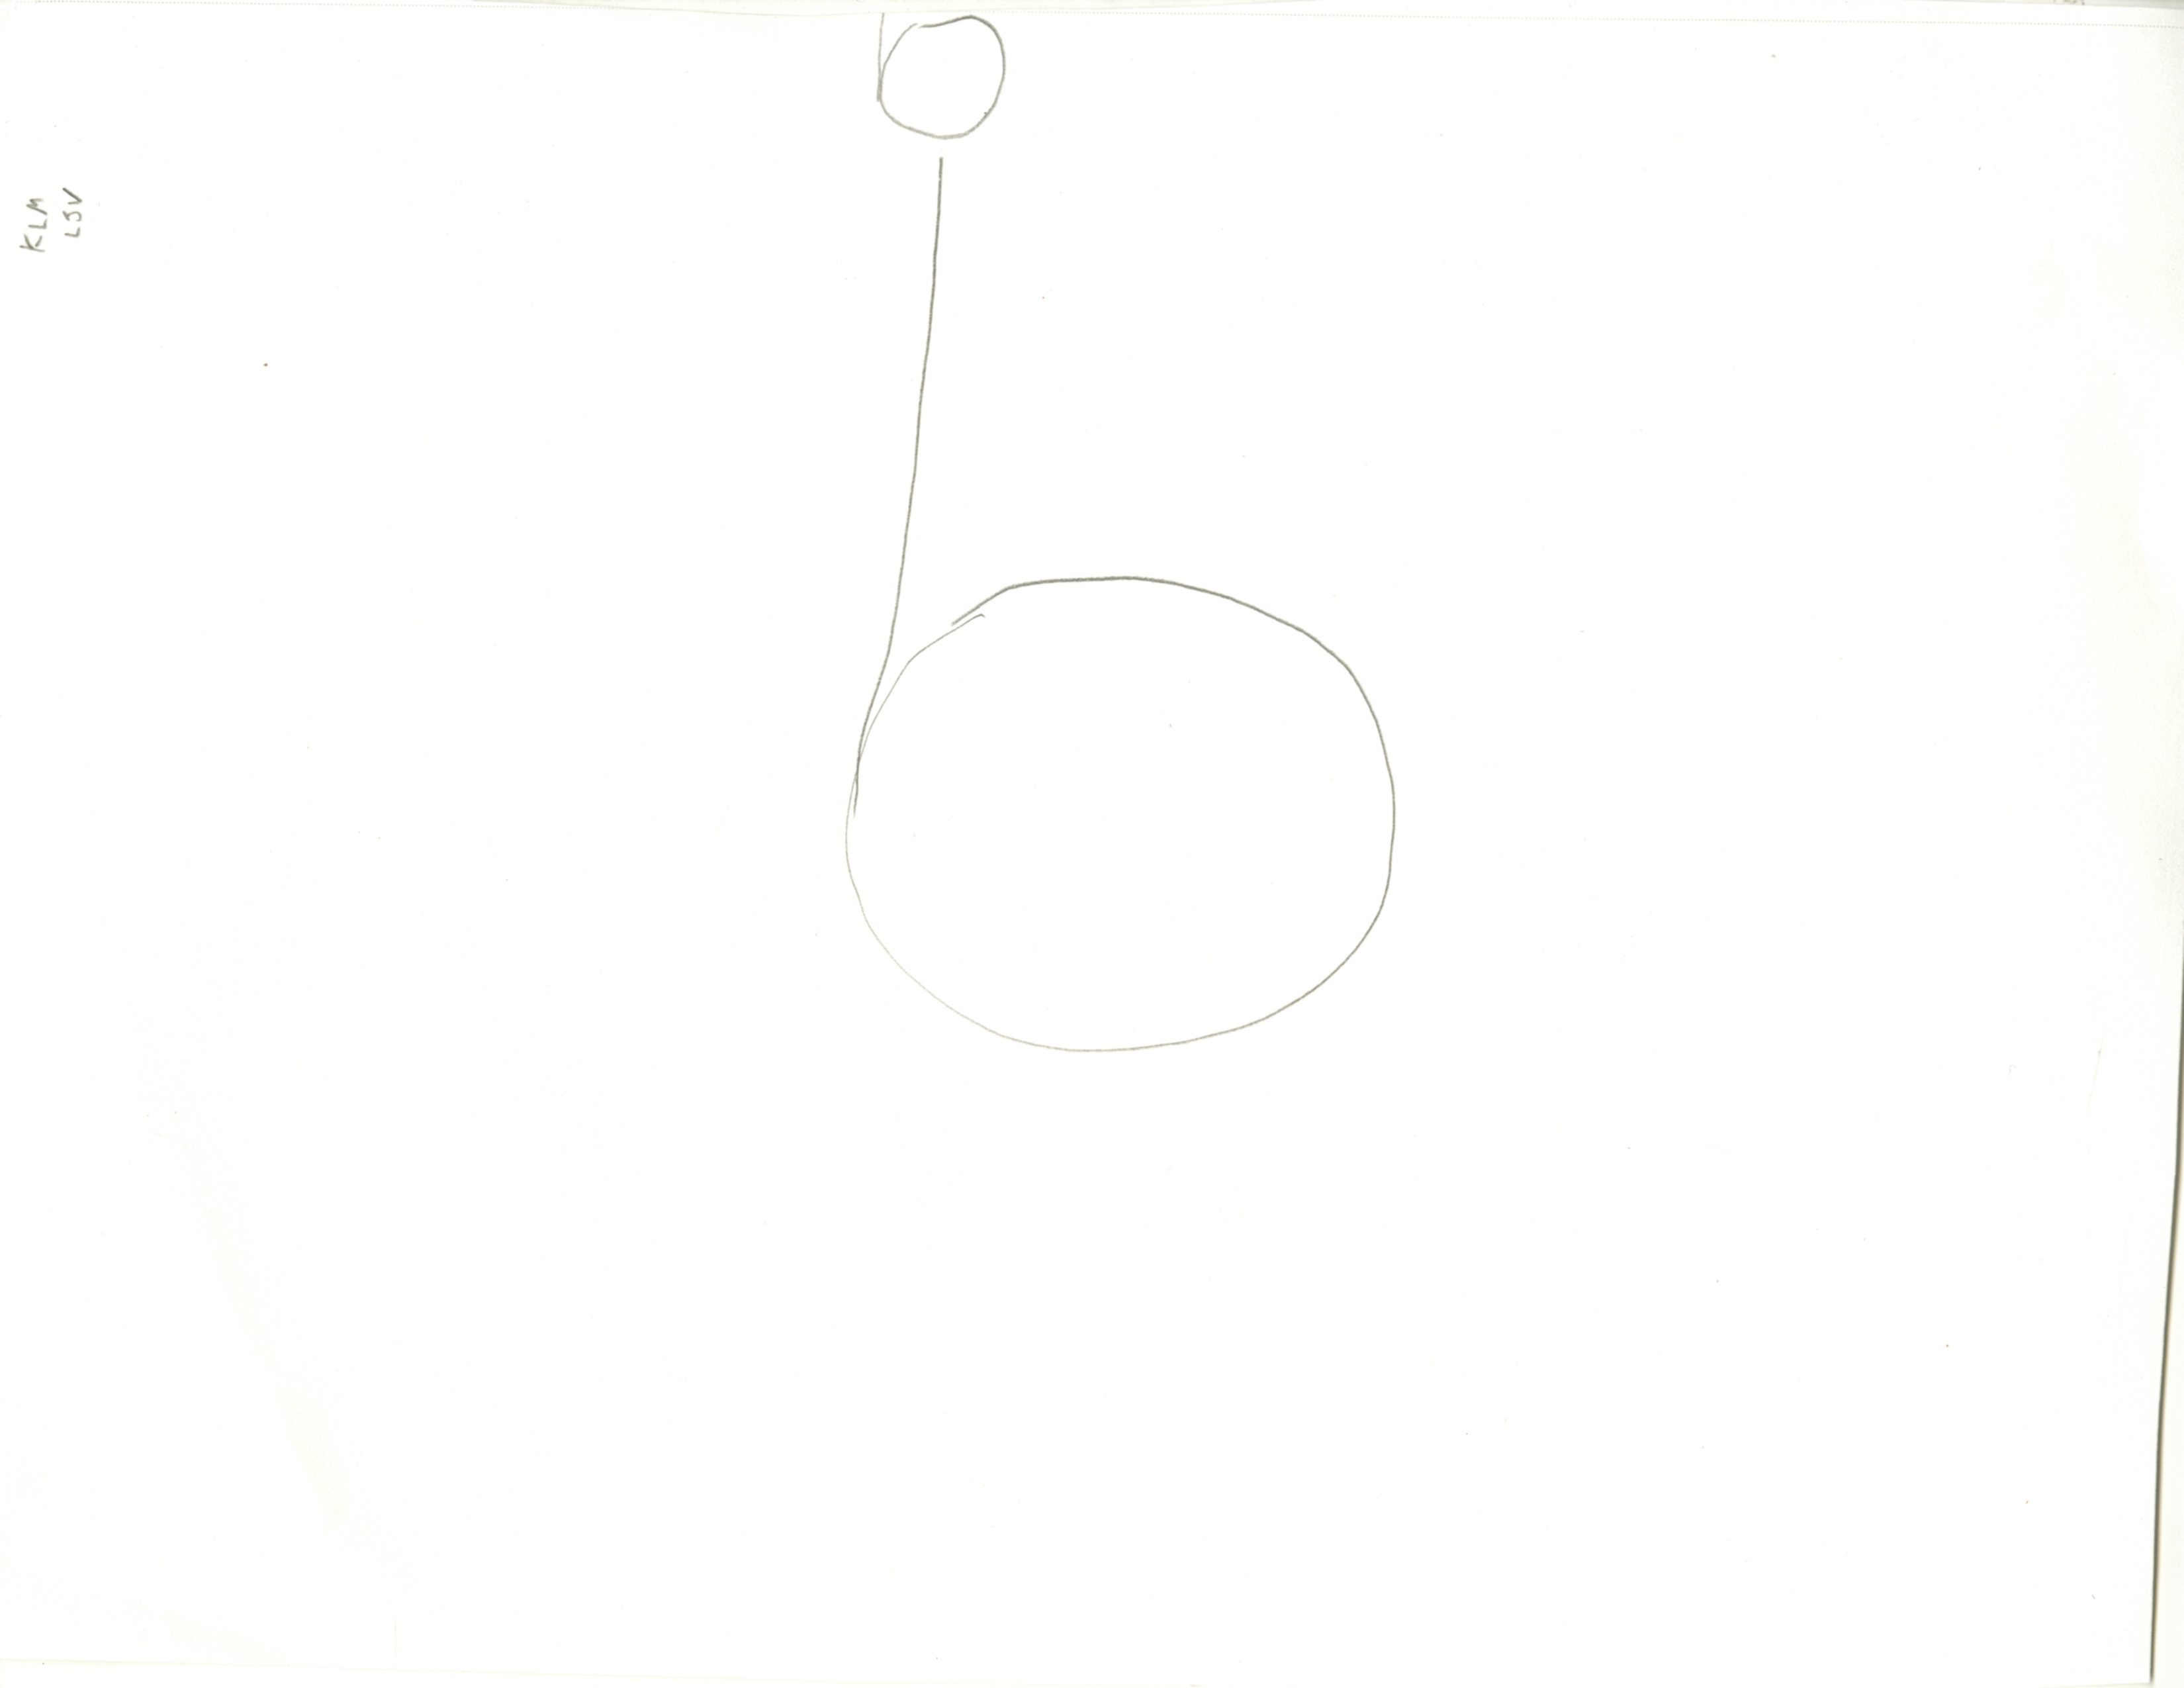
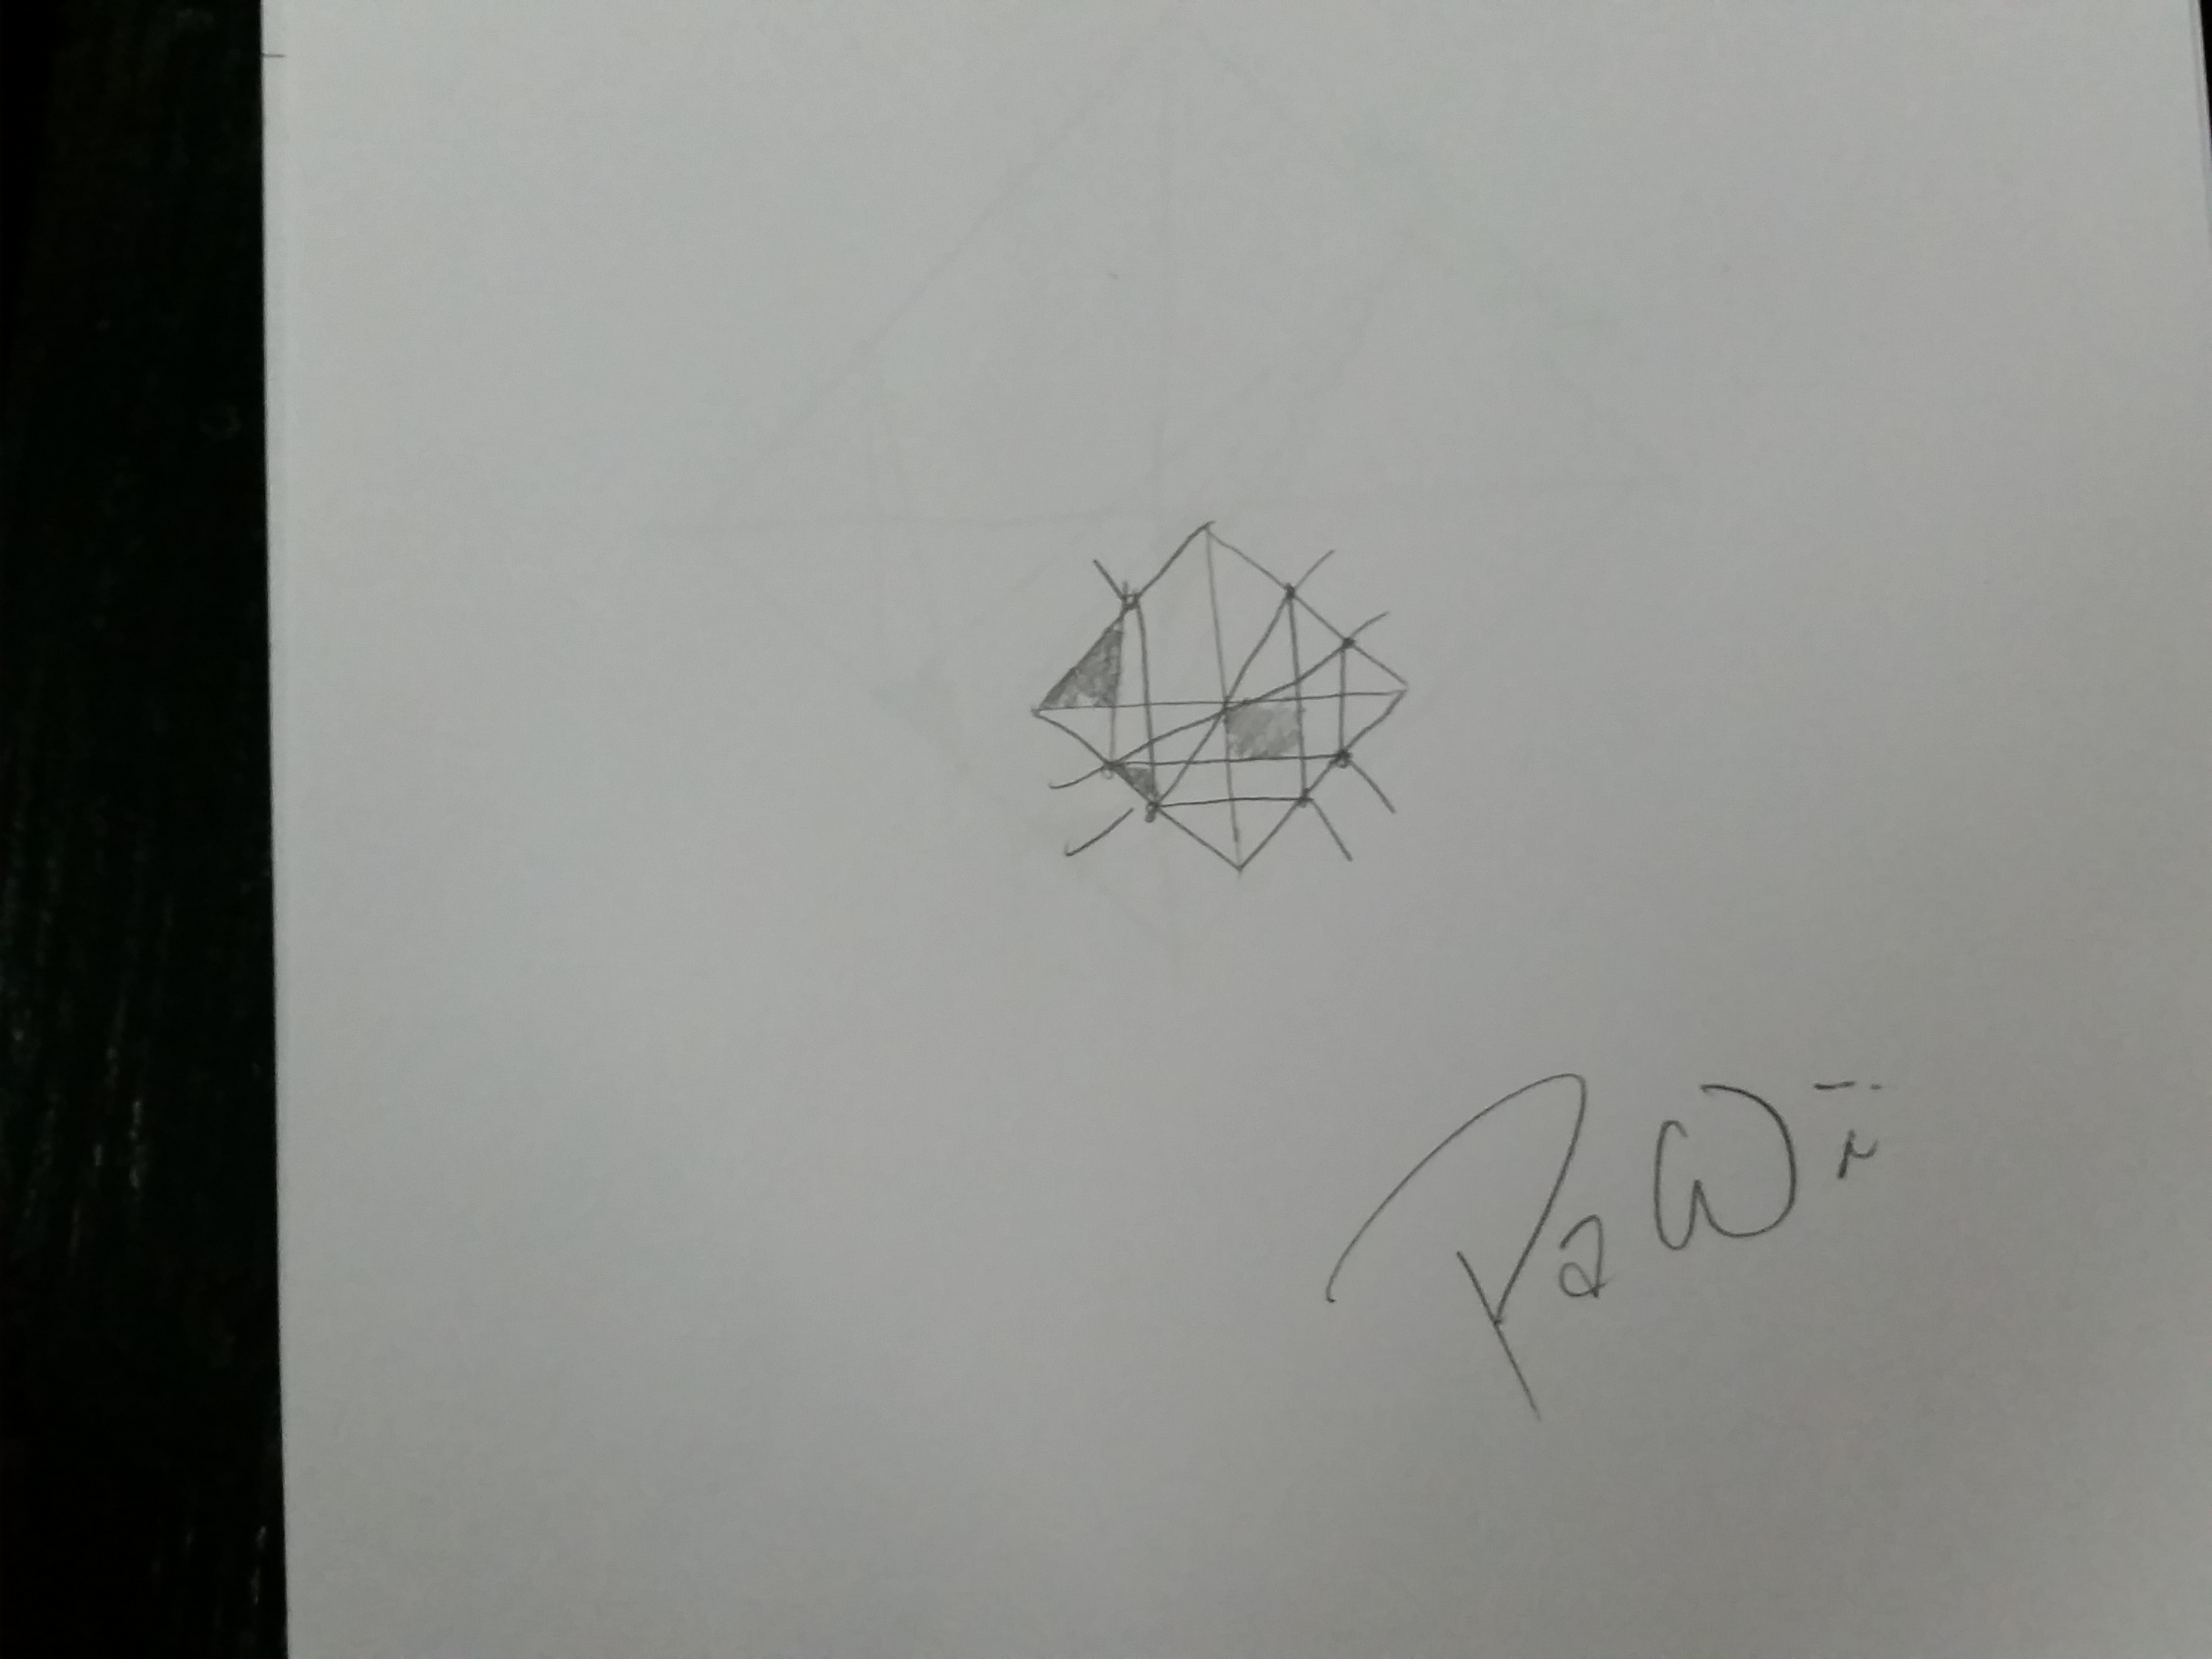
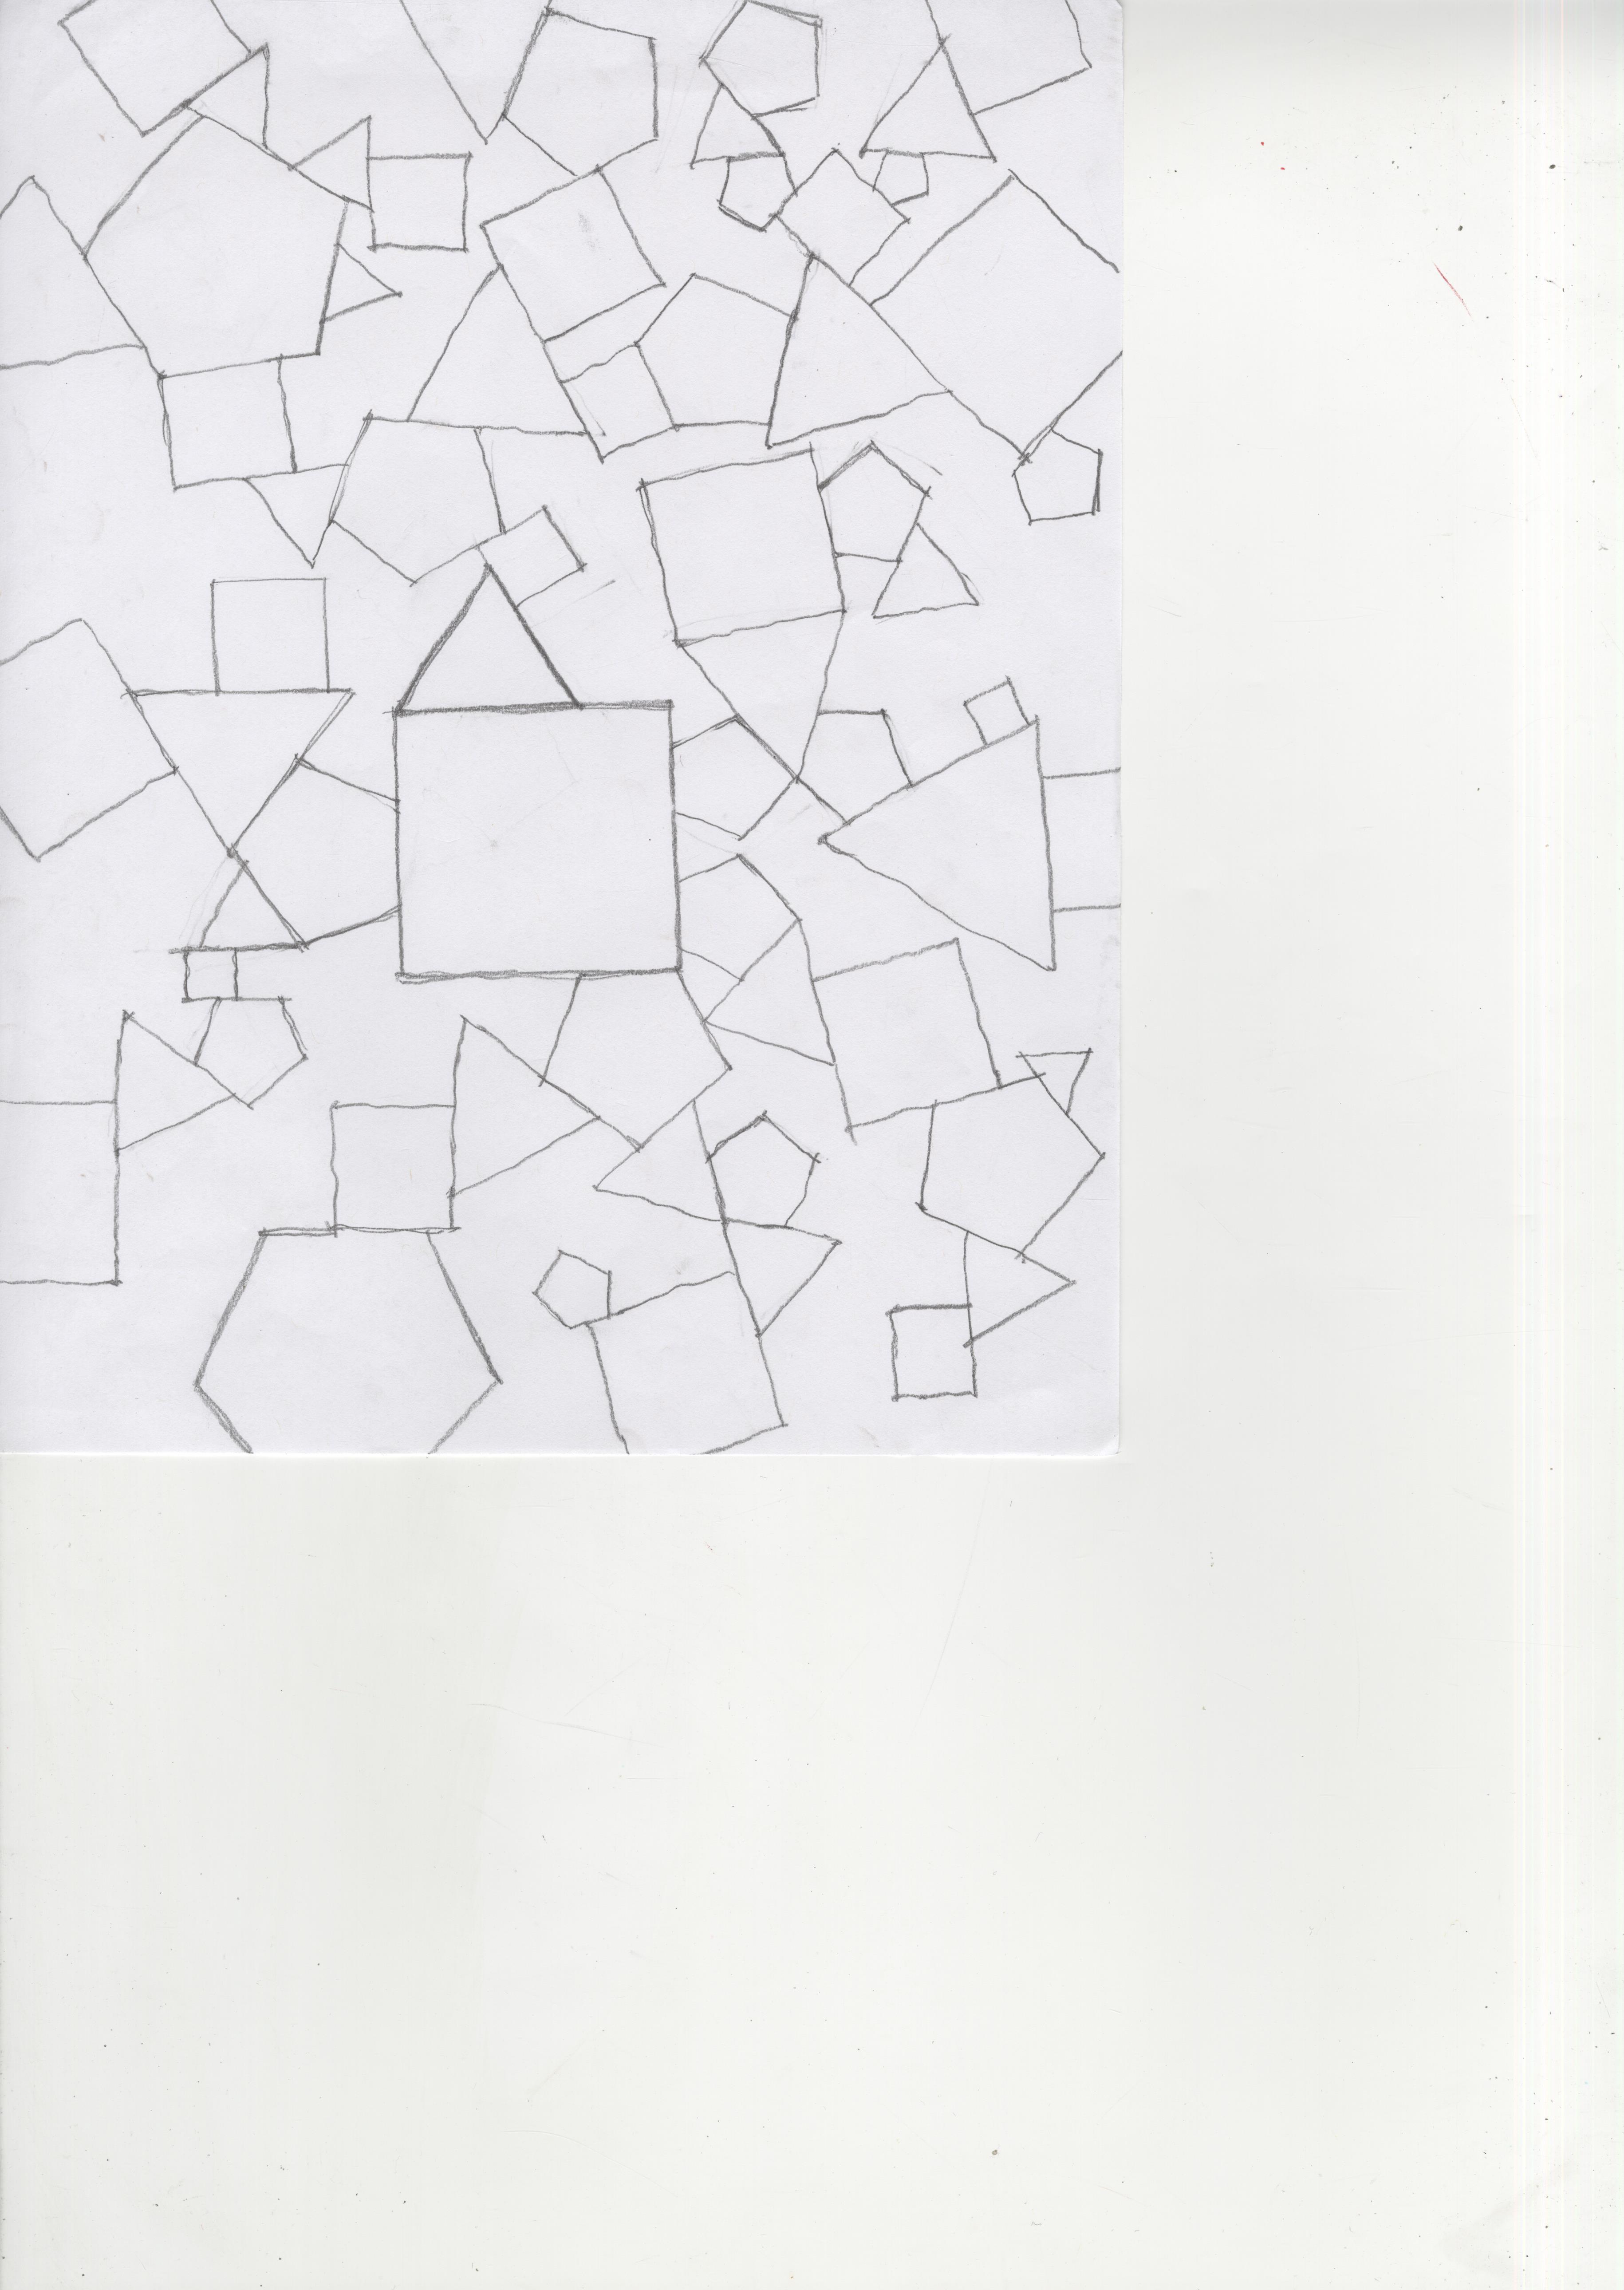
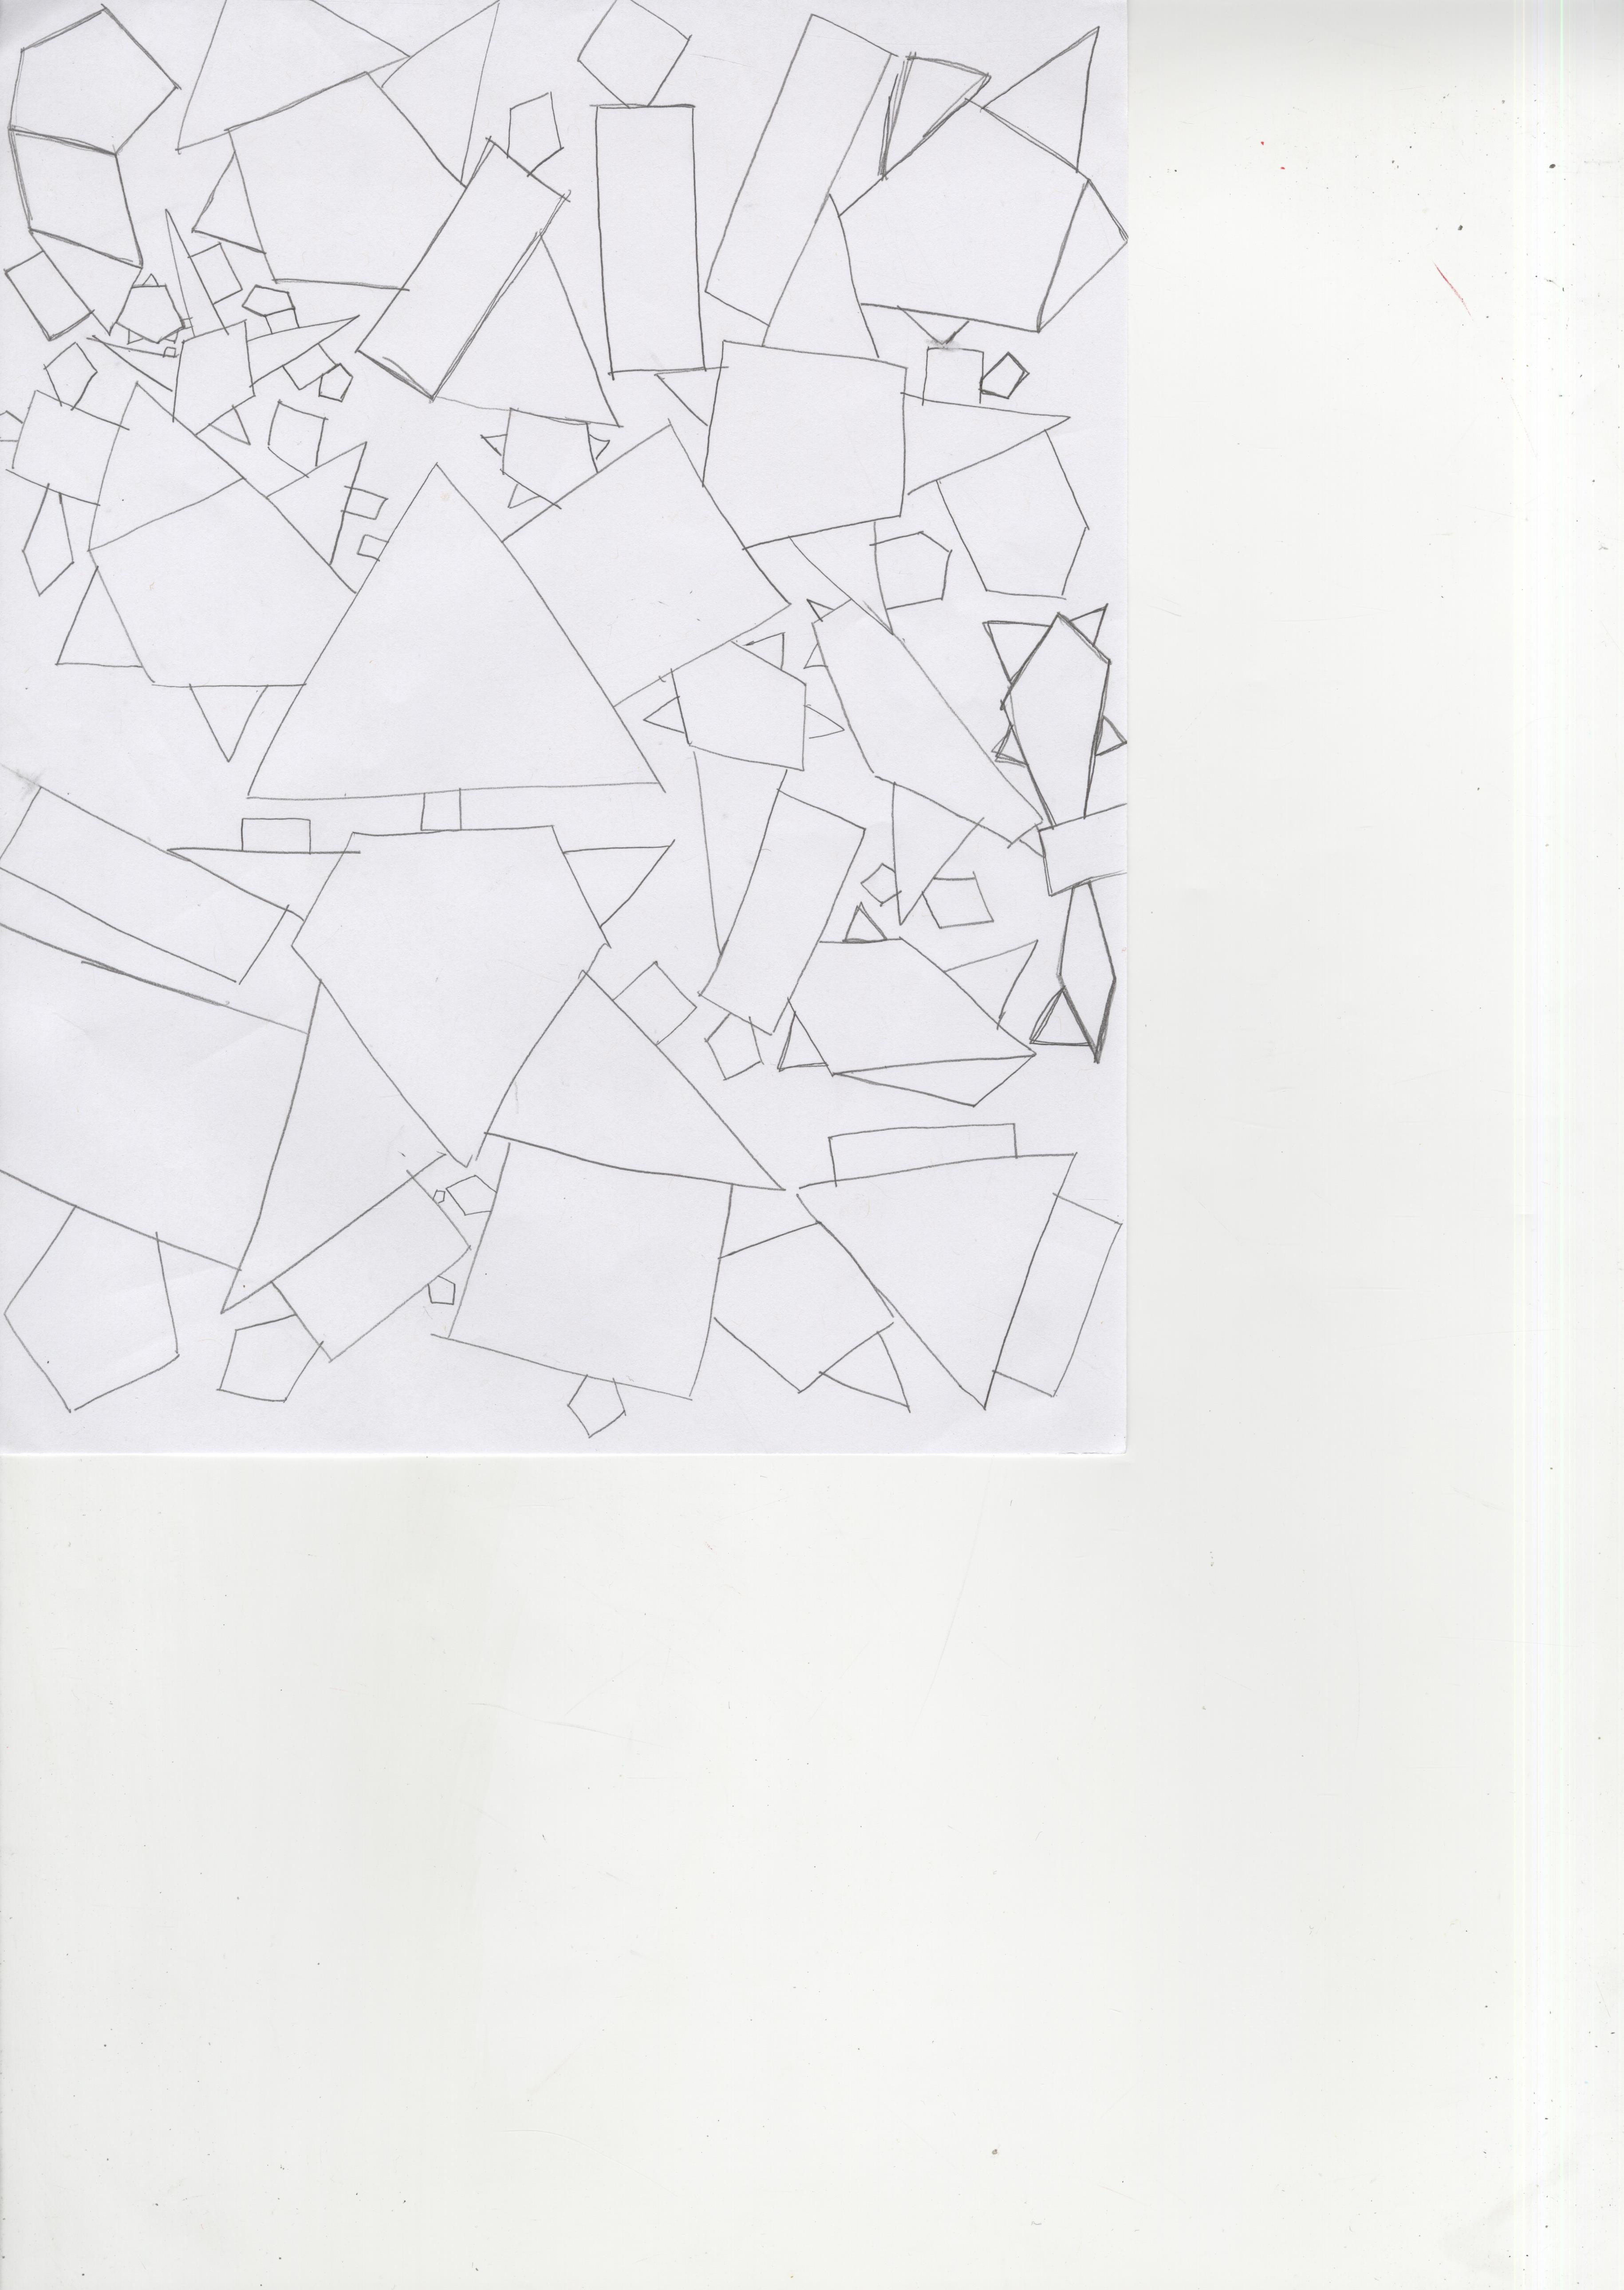
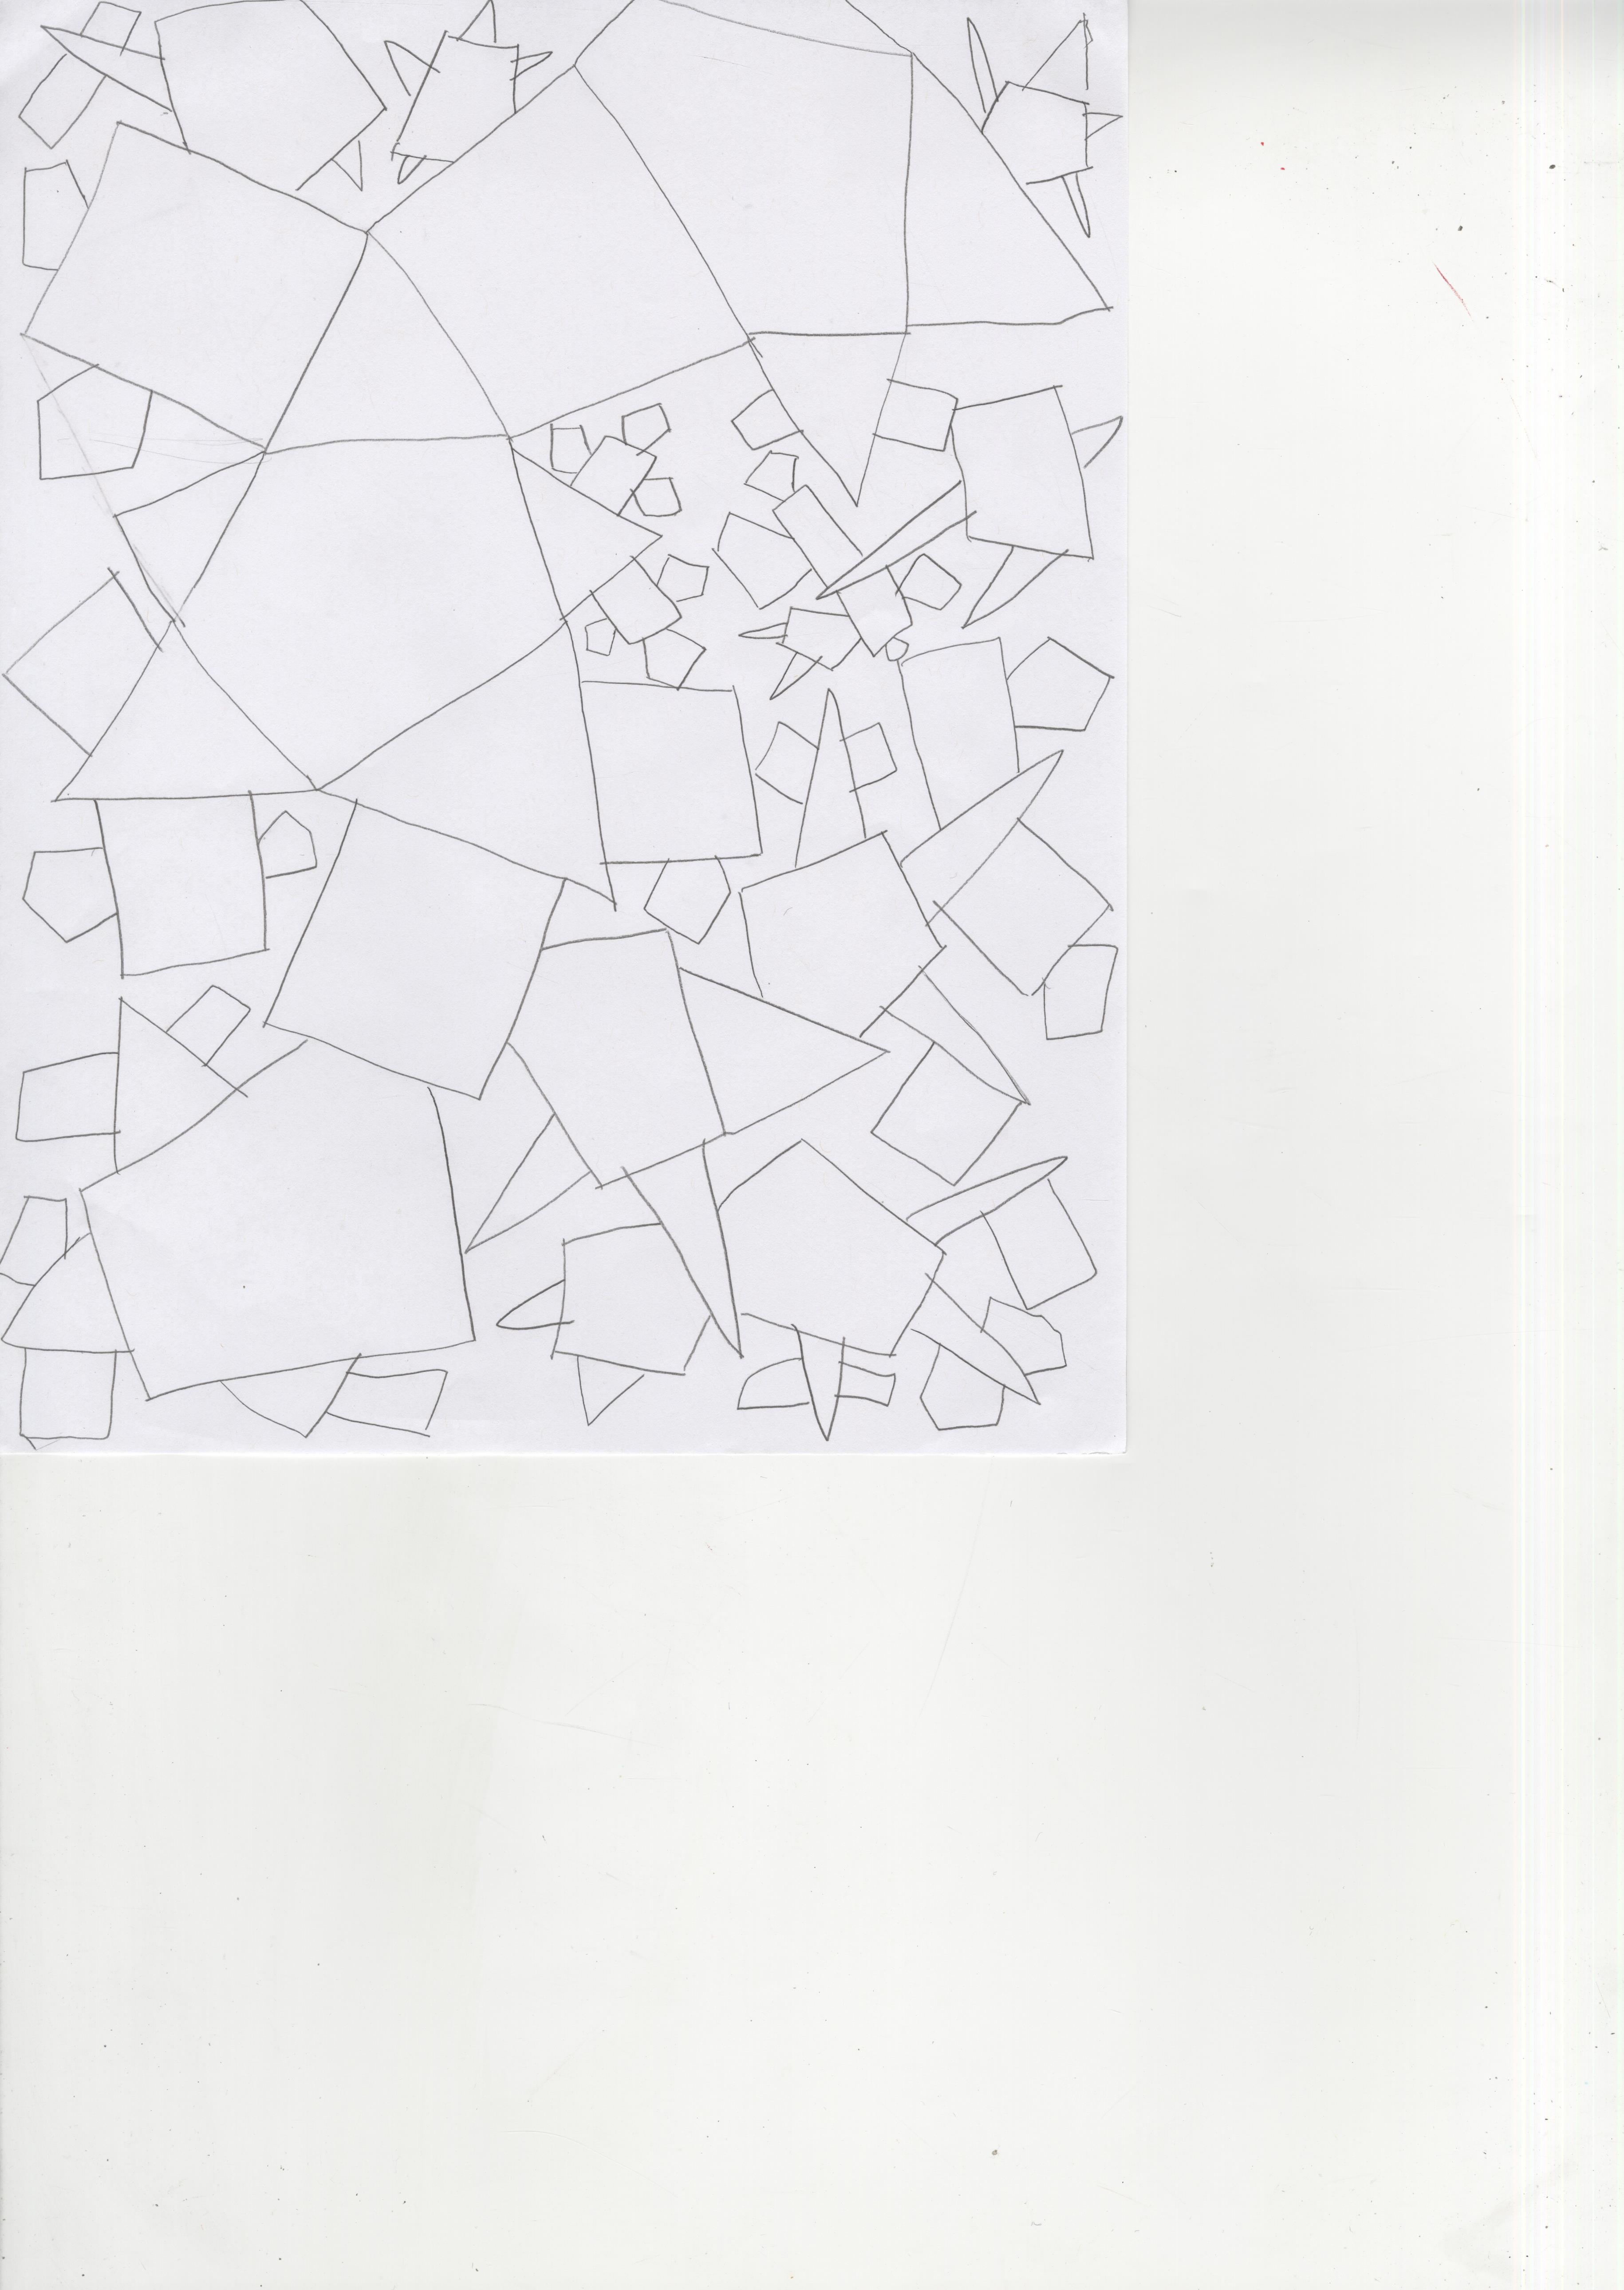
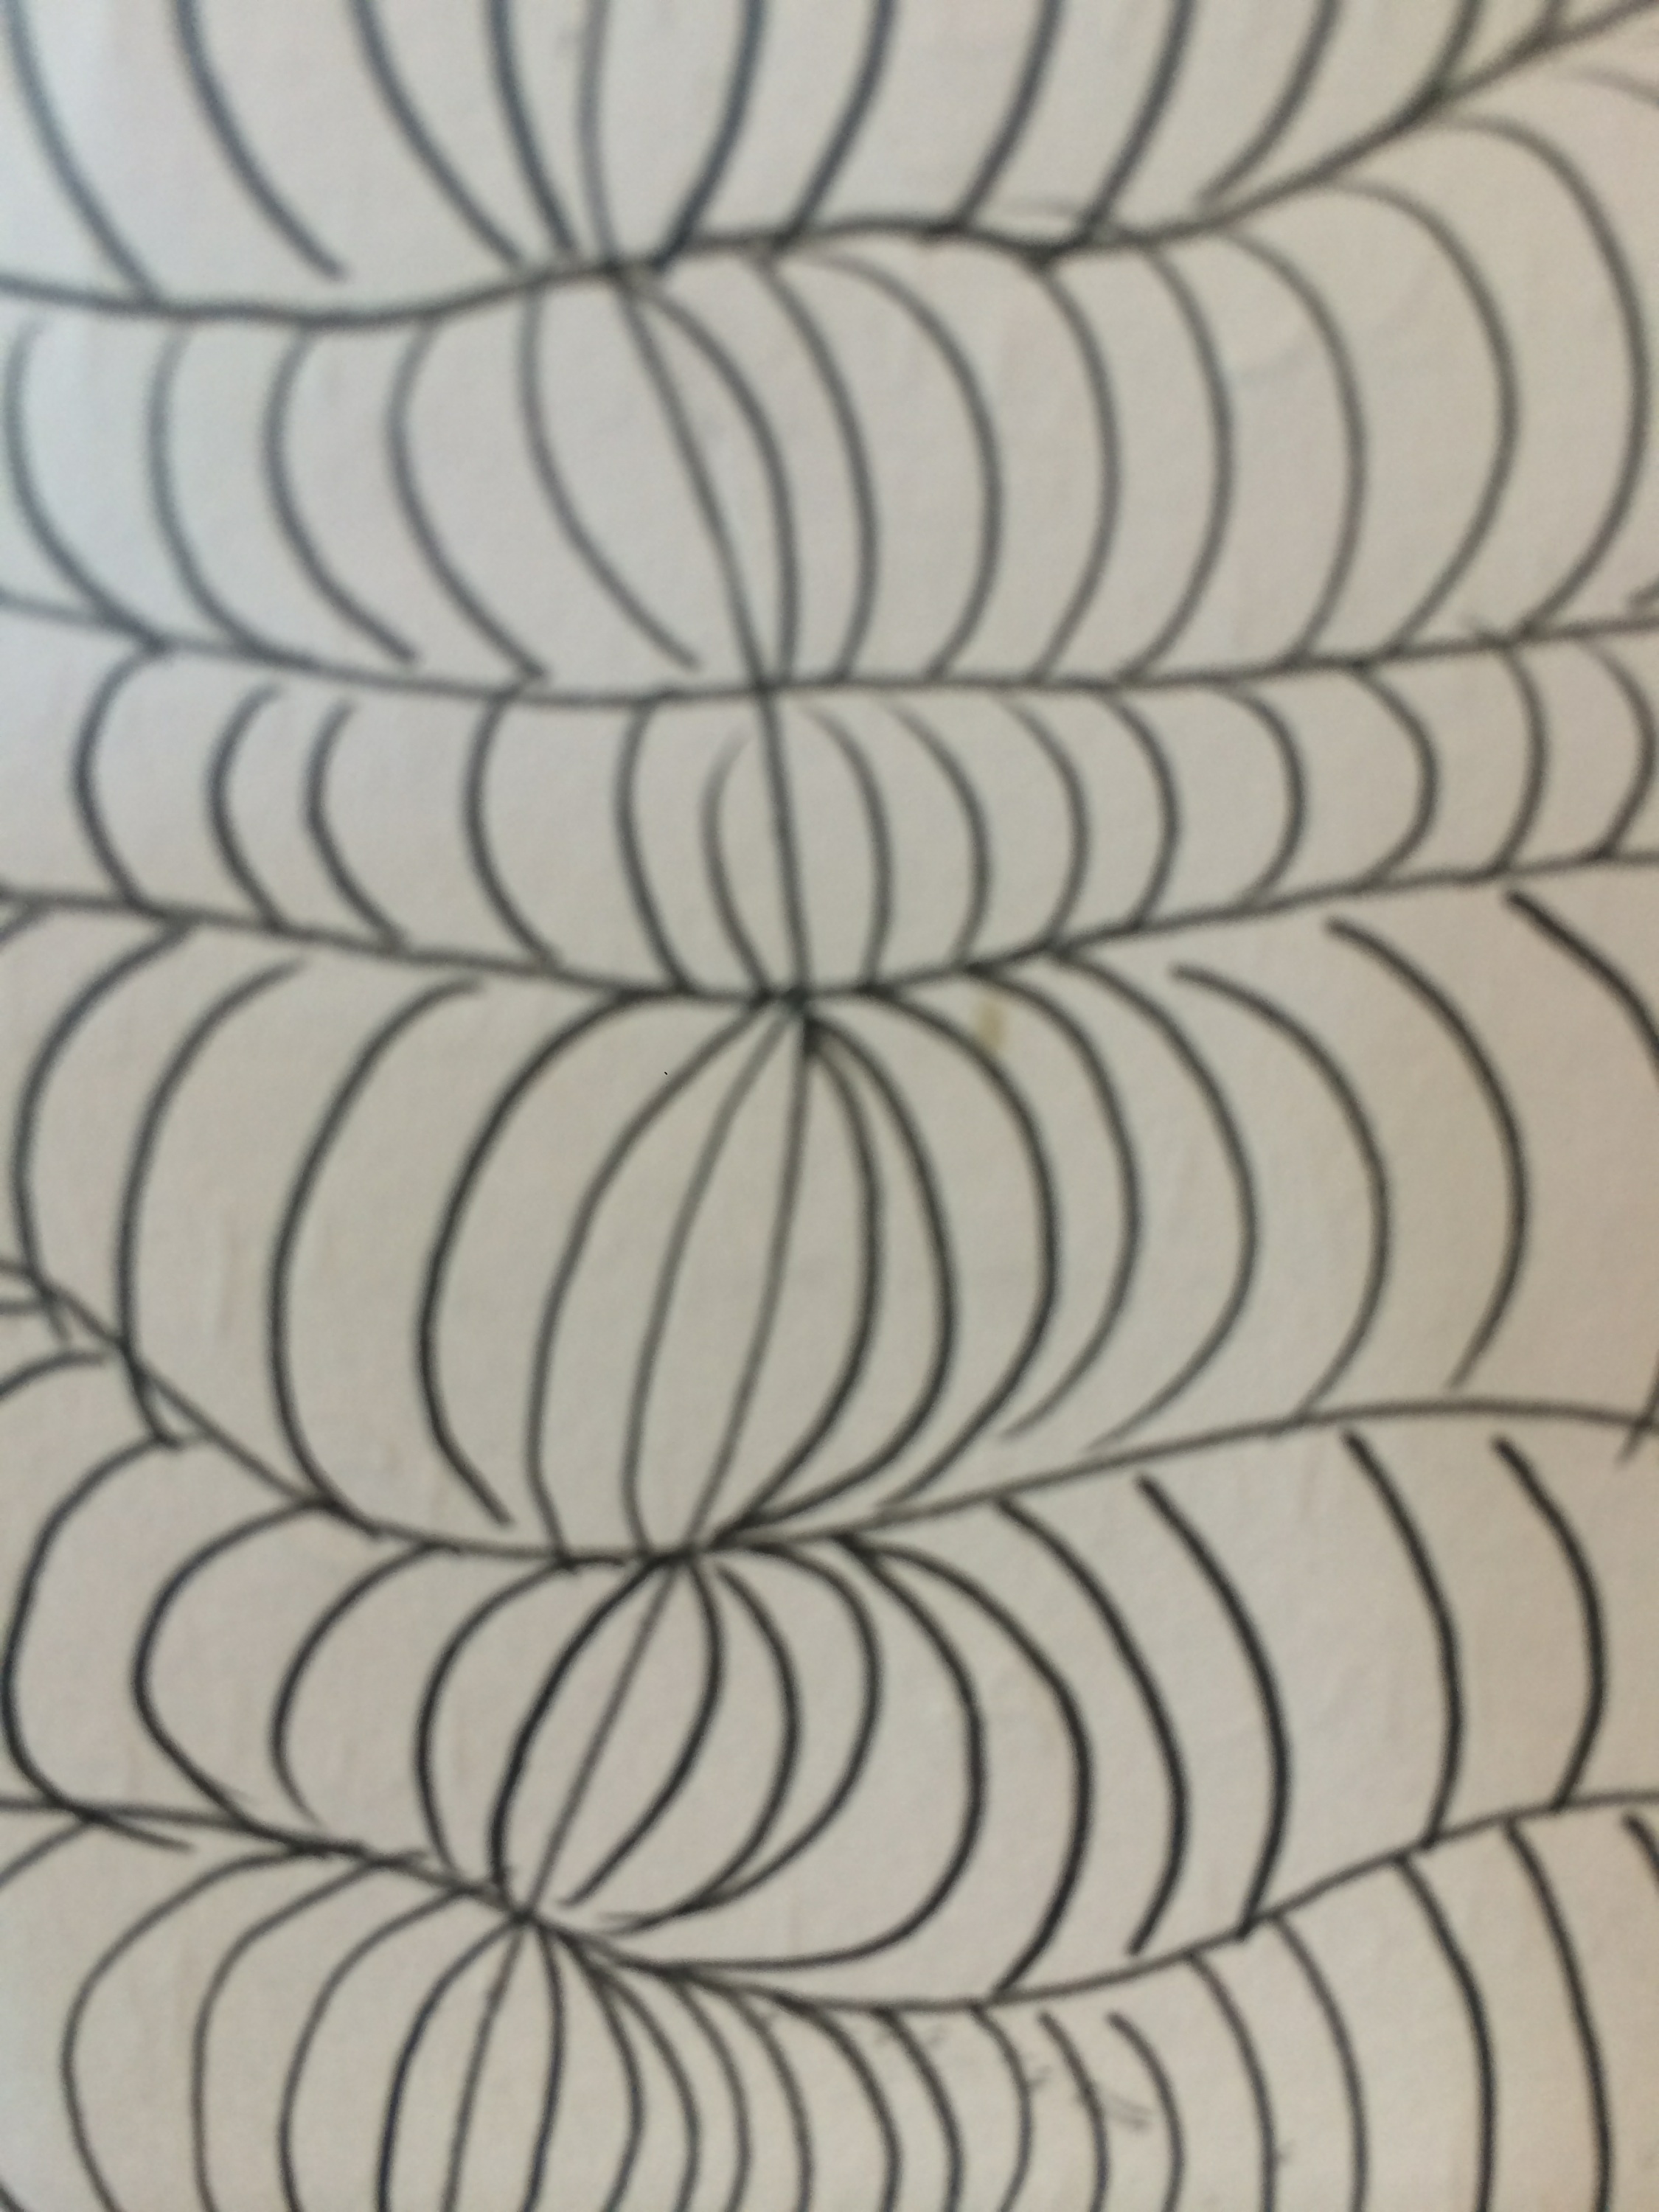
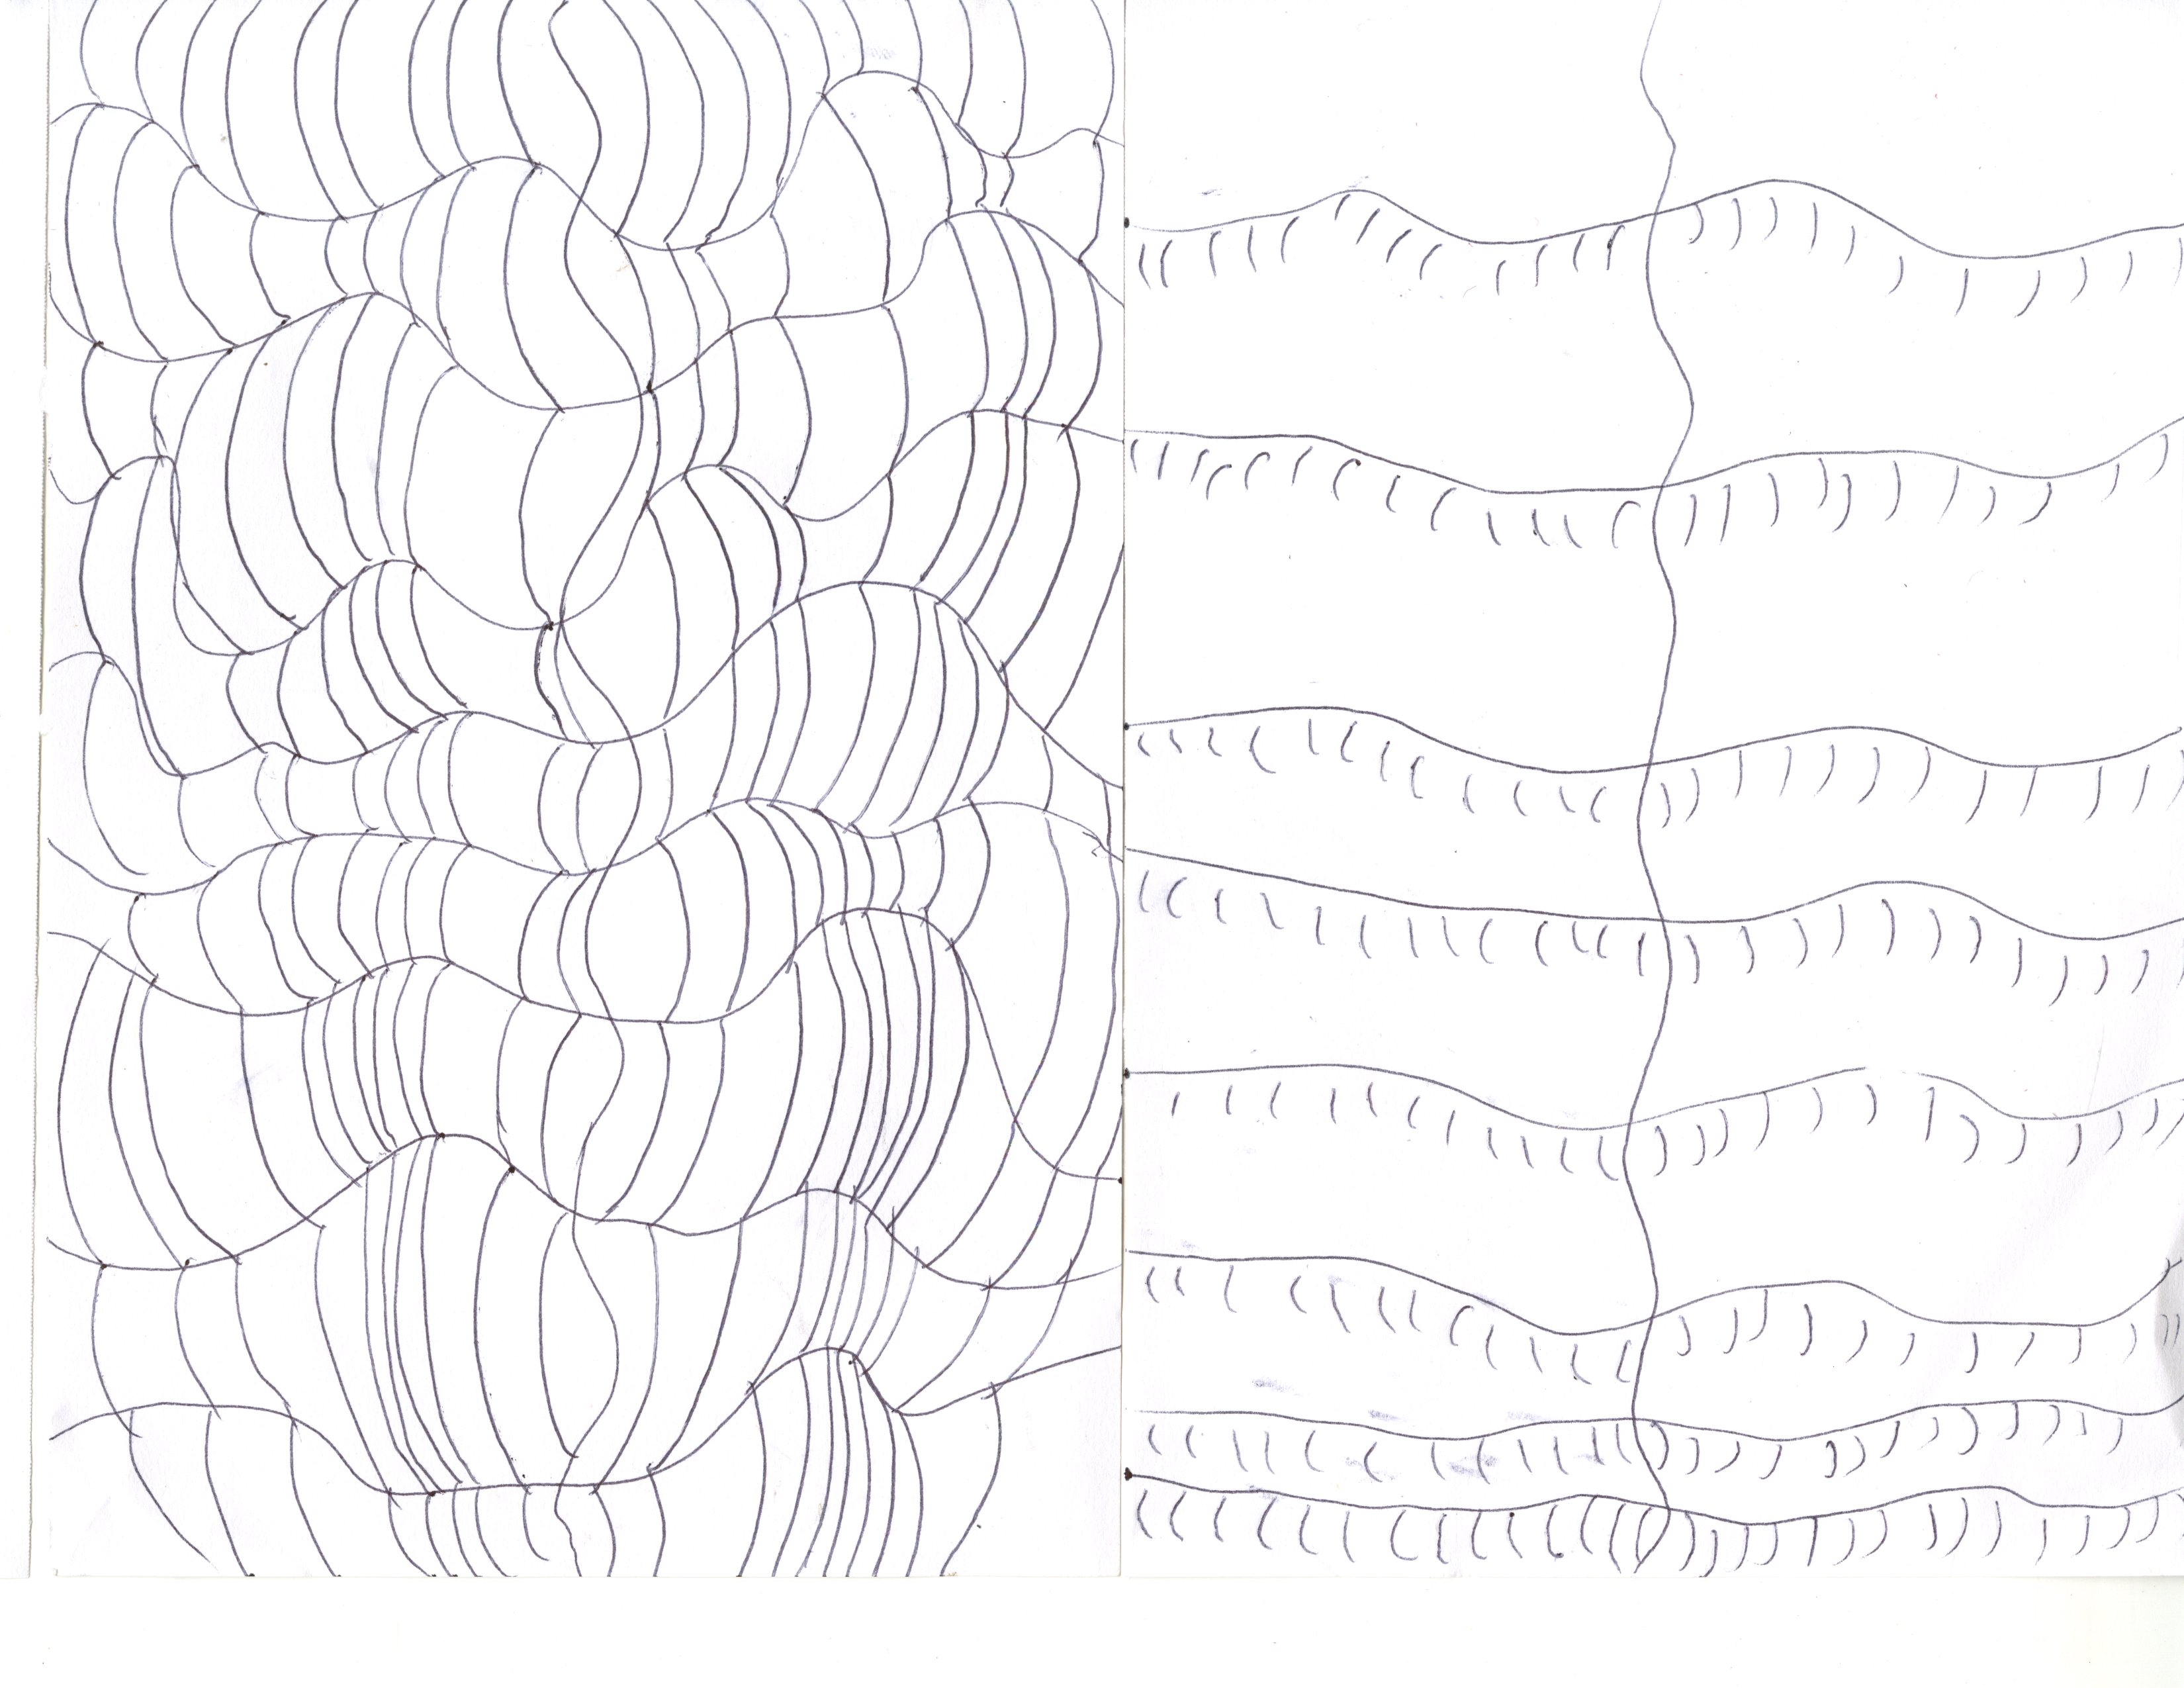
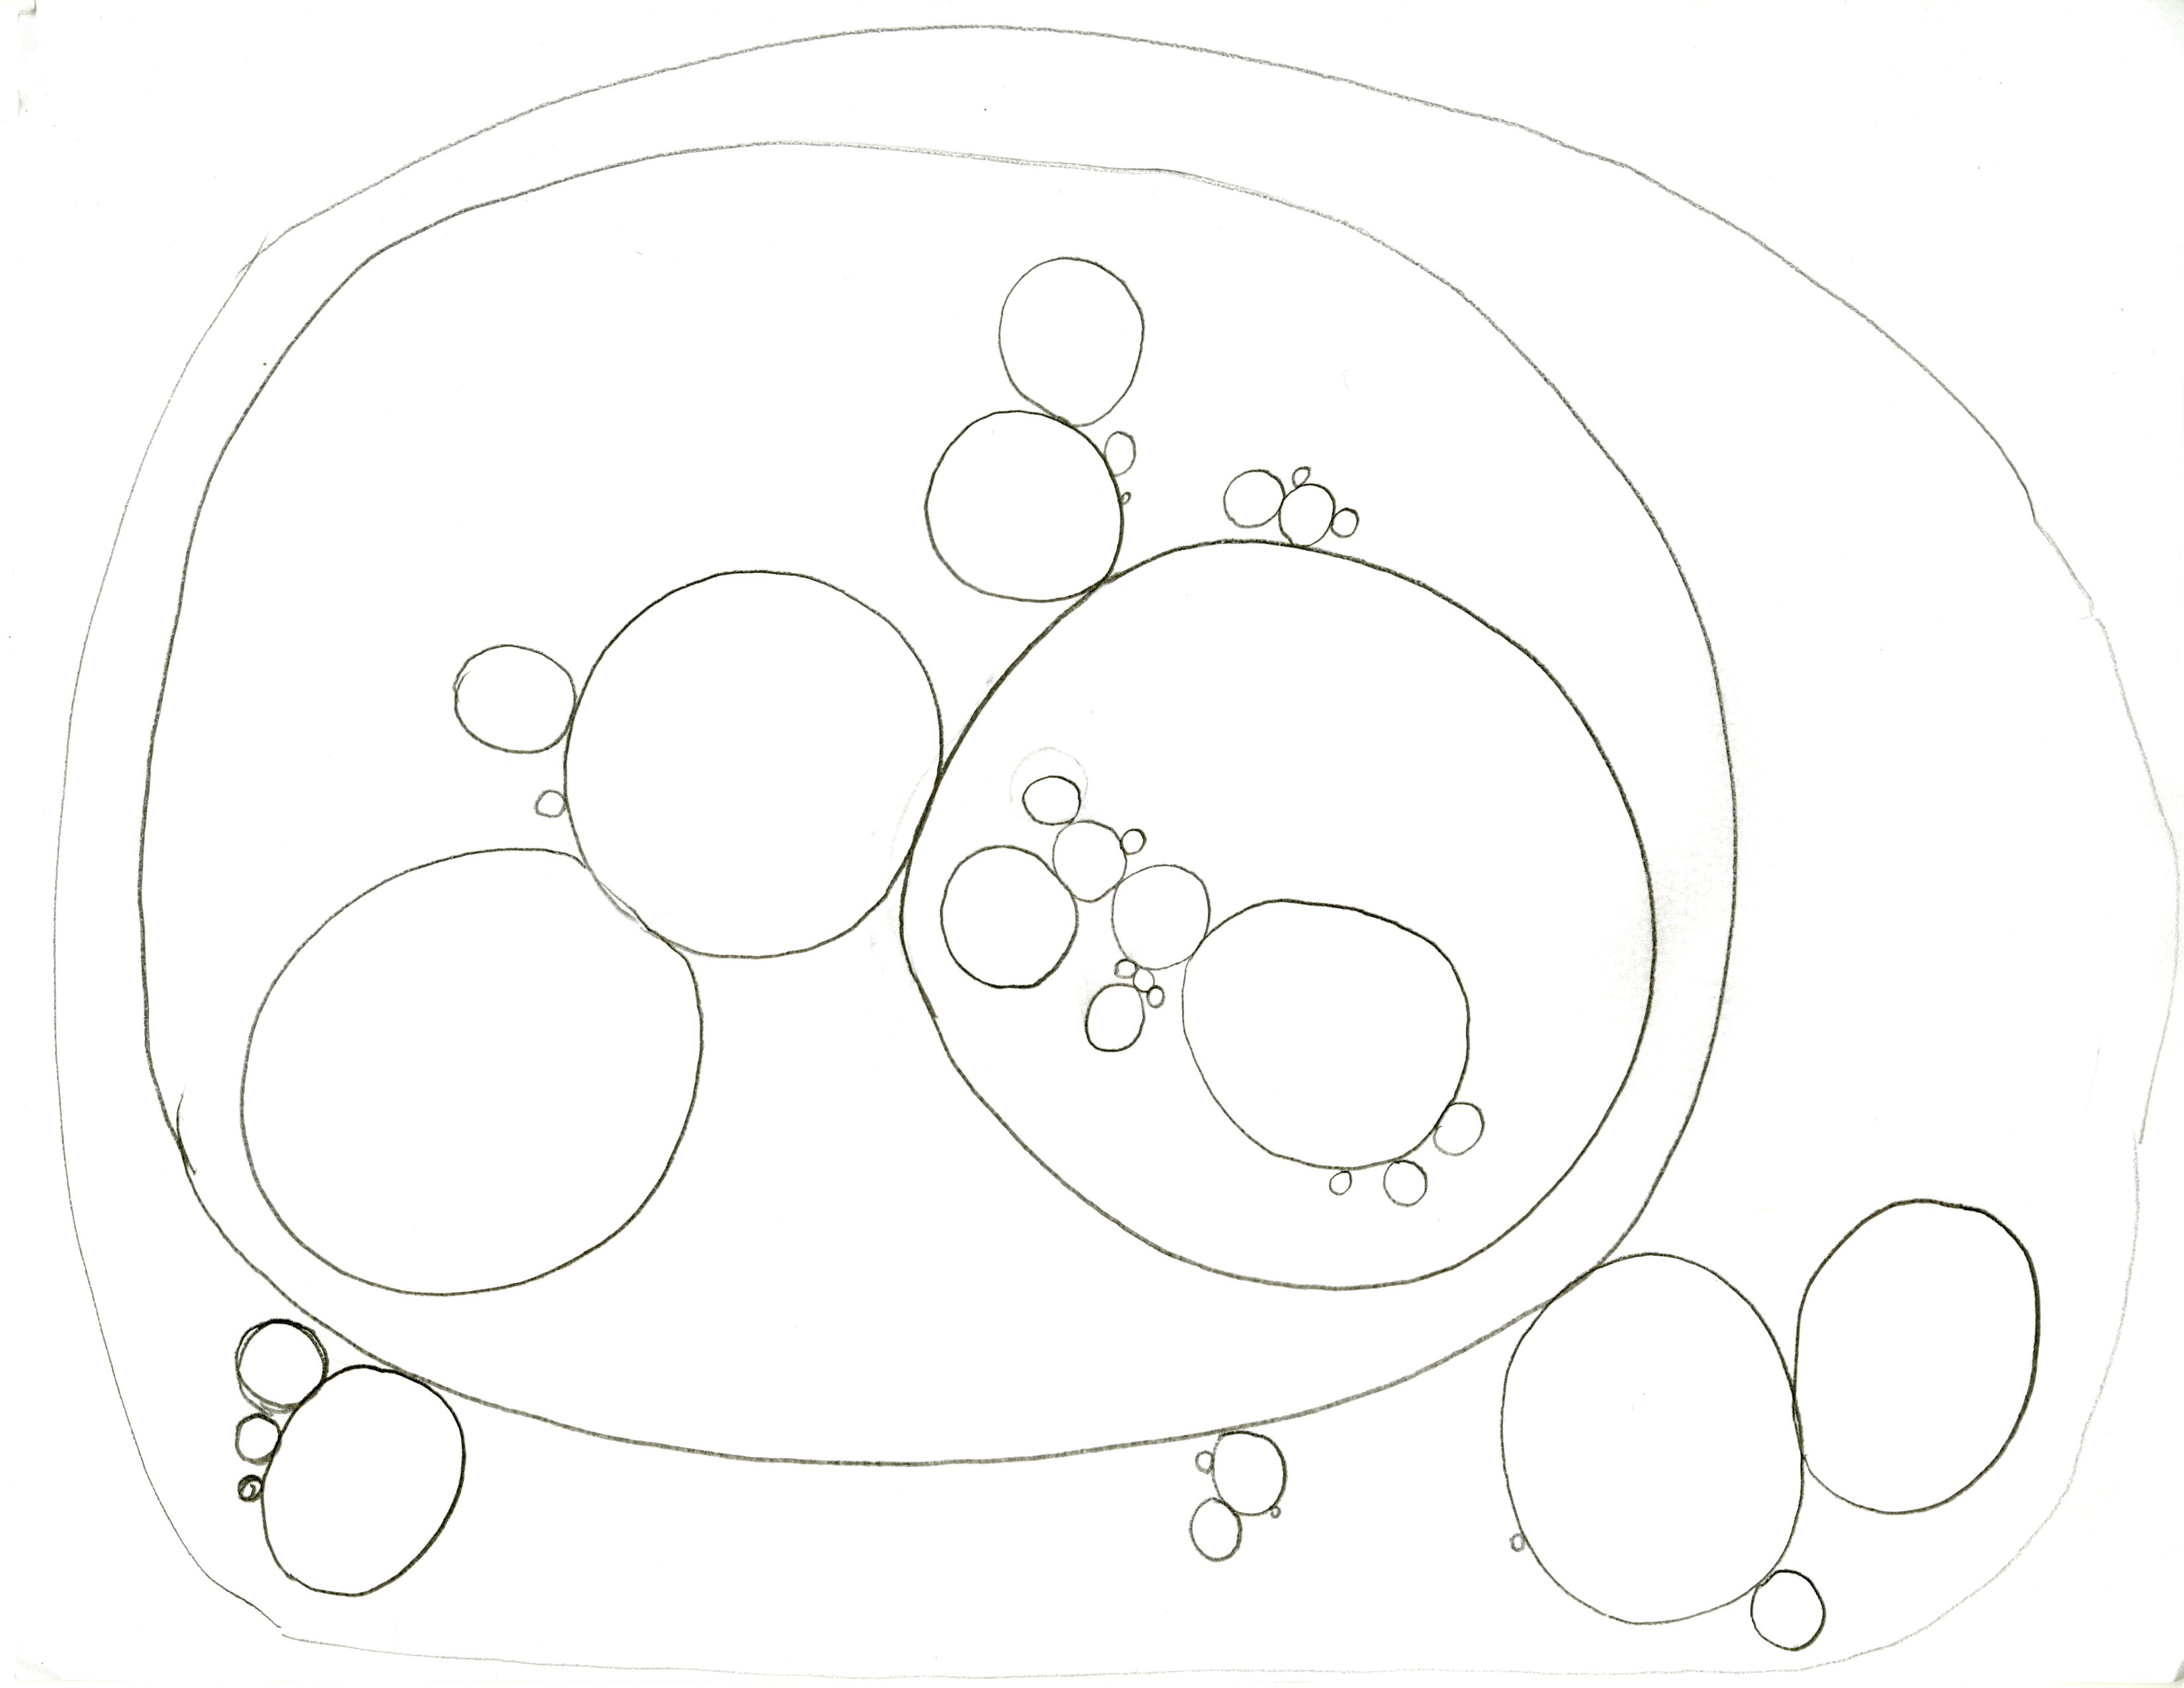
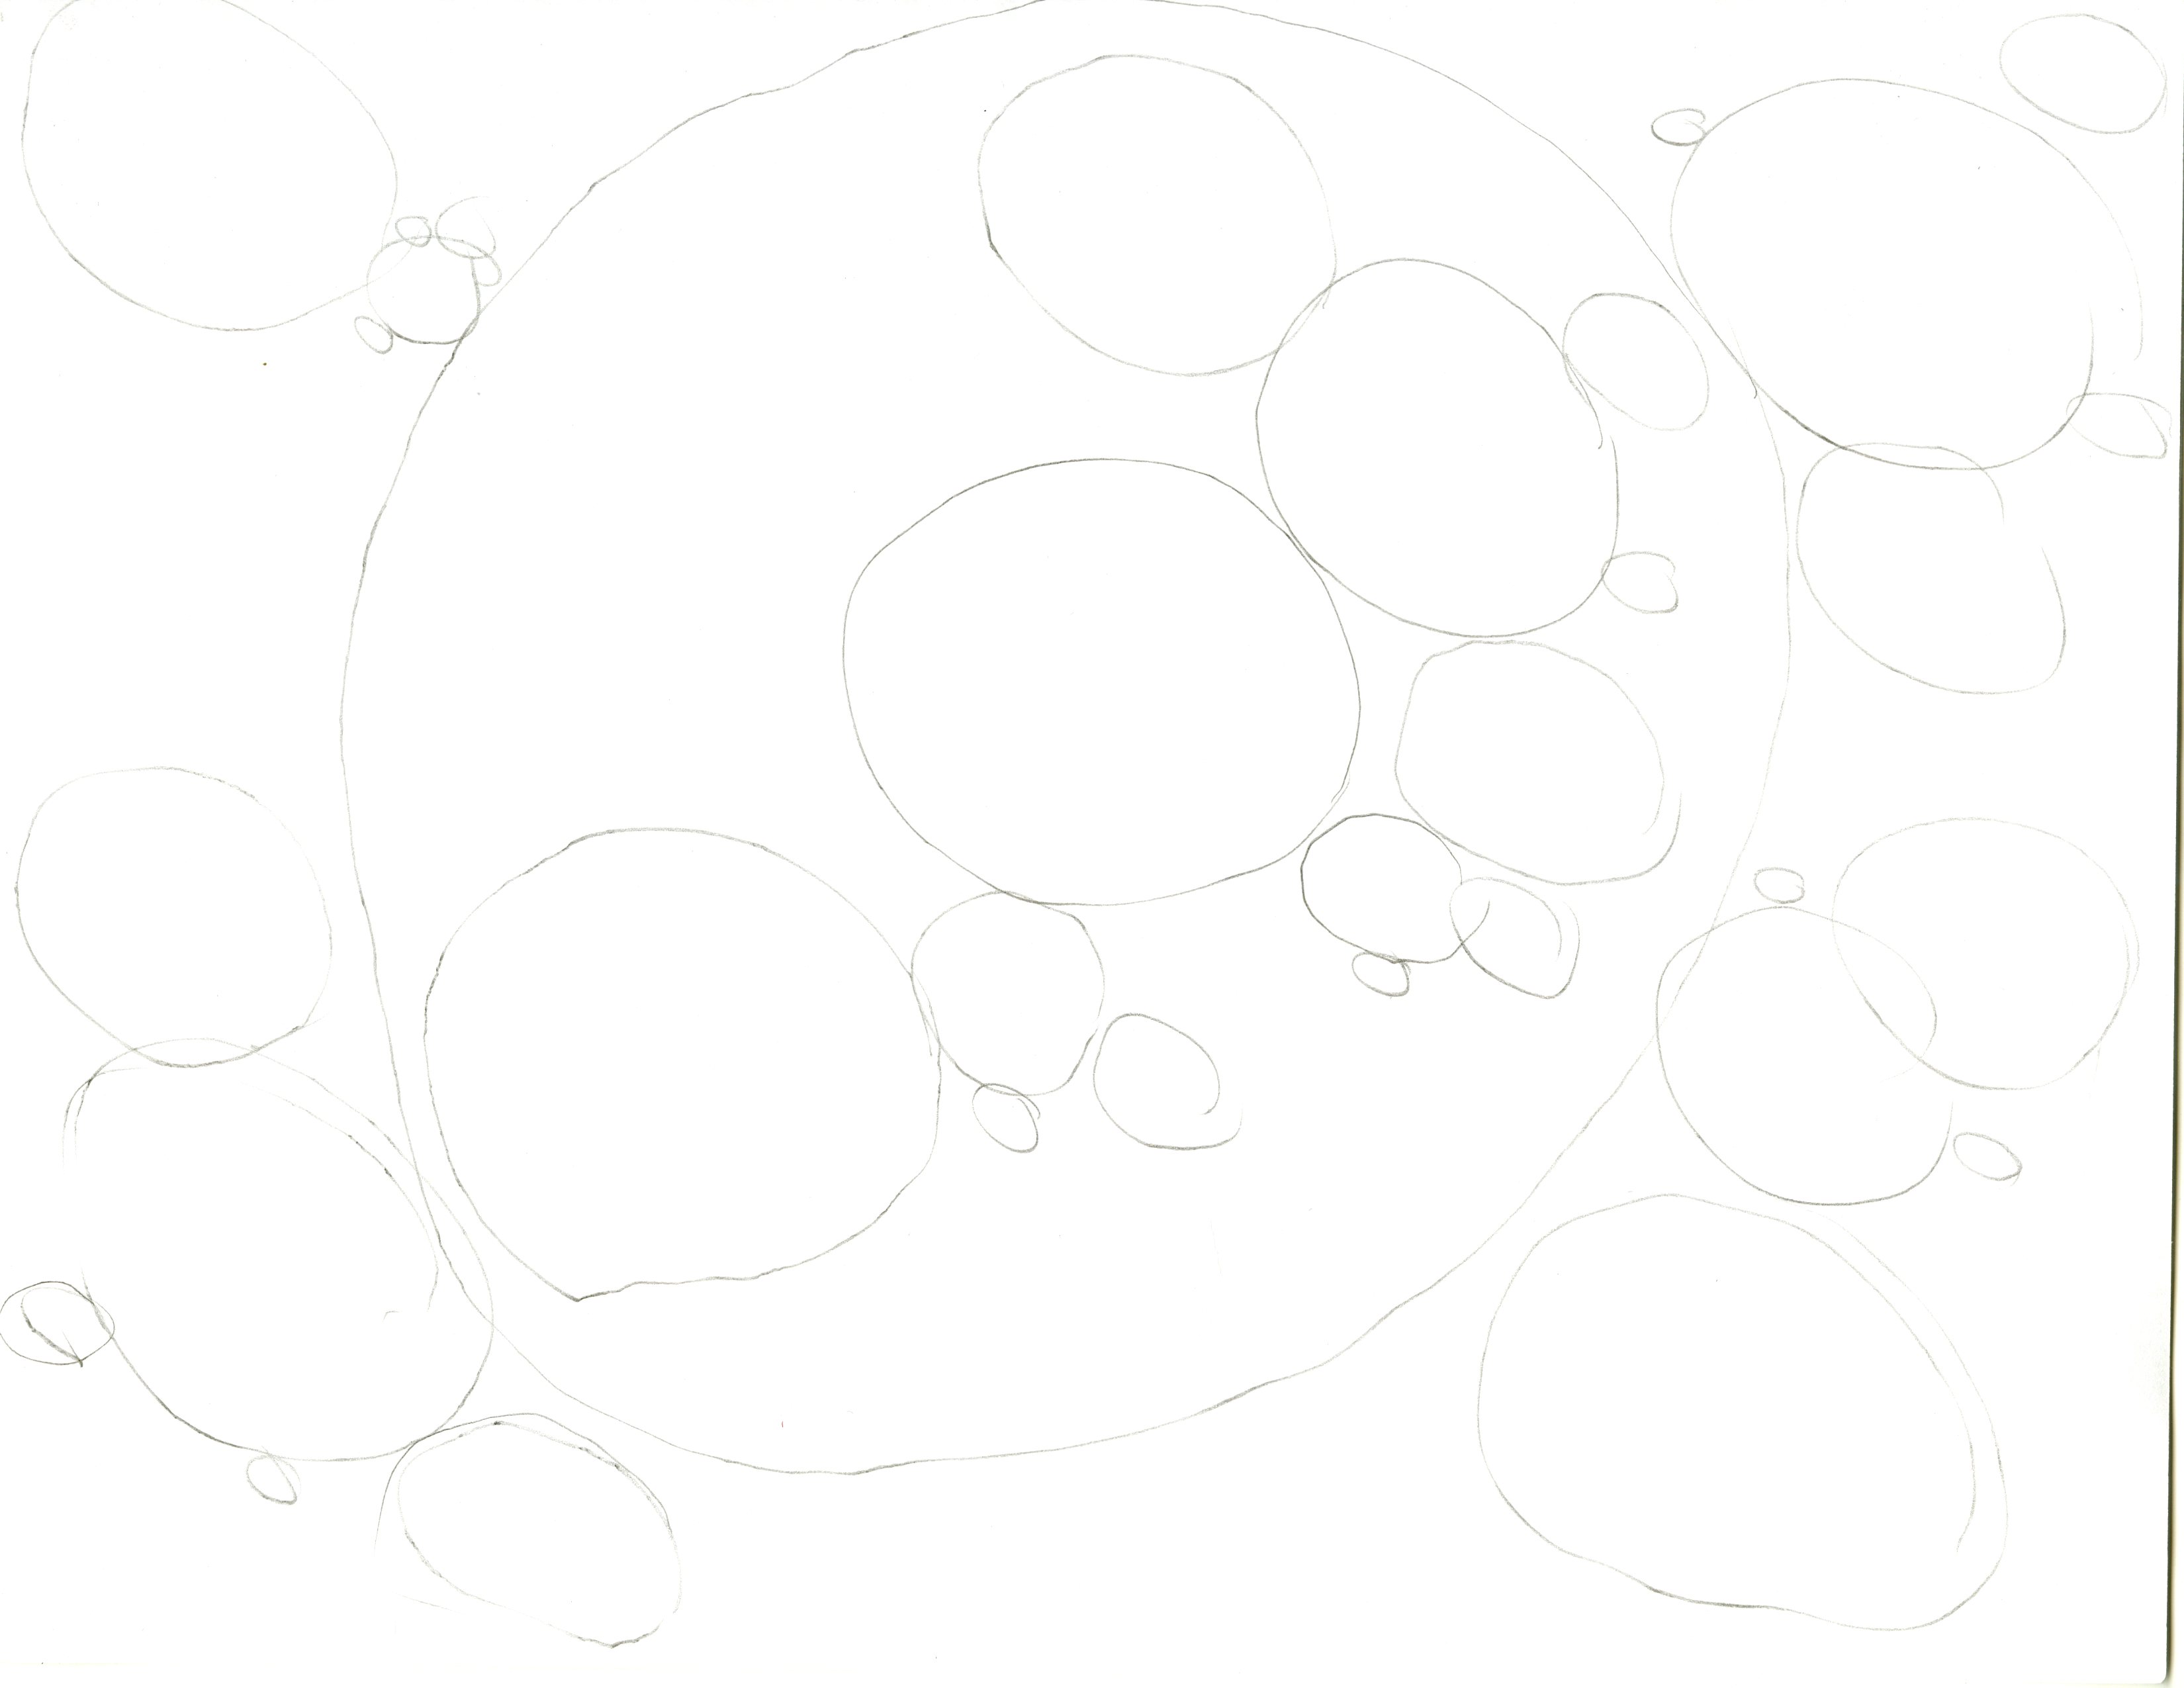
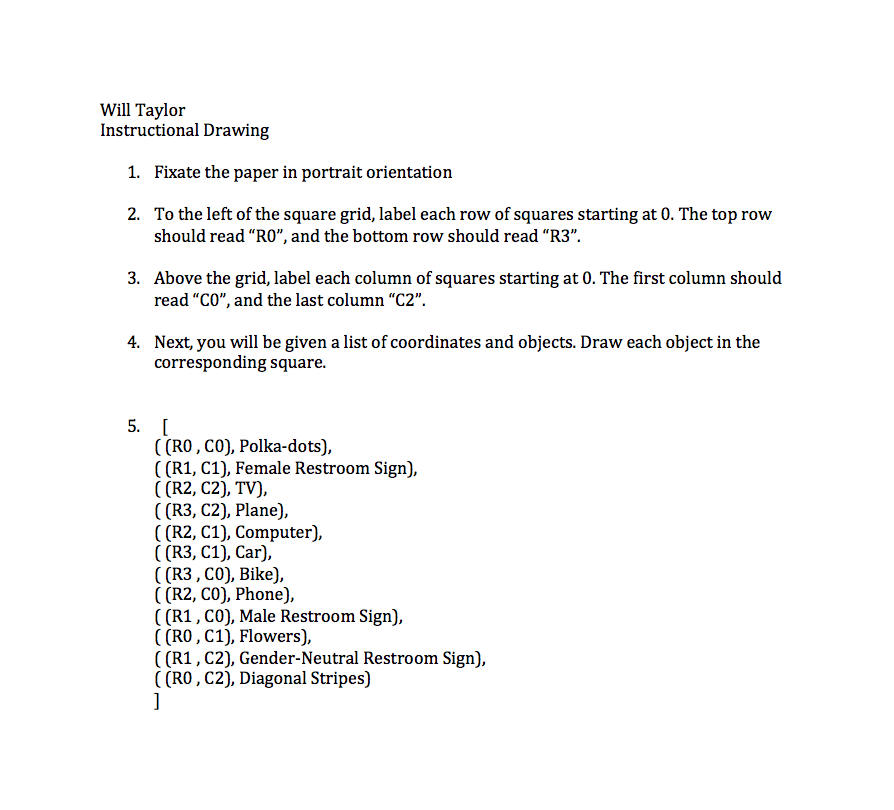
Here are the results:

img001 img002

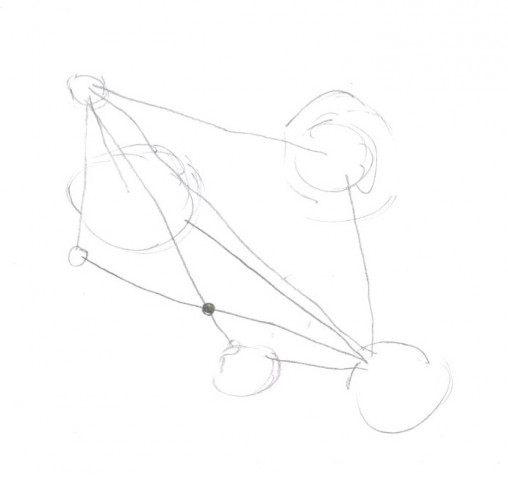
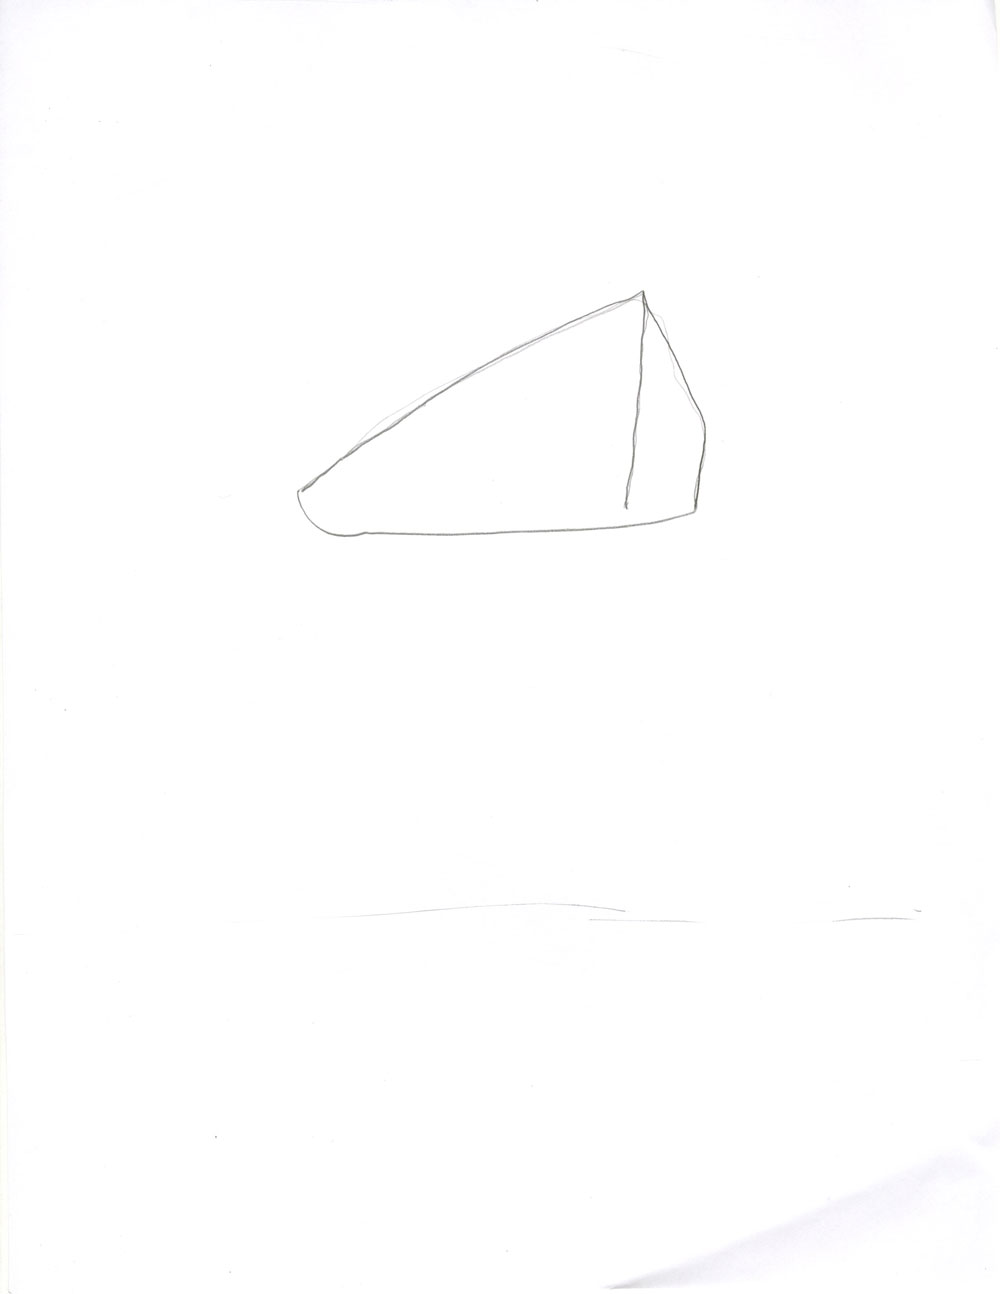
I should have been more specific as to what the planets were supposed to look like – the sun has to be much bigger than the planets, and the lines should have been straighter (I should have required a ruler). Also, depending on where your planets finally ended up, there might not be very many intersections of the lines connecting them, making the “program” end too early and not running enough iterations to make the final image interesting enough. This is what I had in mind for what the drawings were supposed to be (reminiscent of the style of the Pioneer Plaque and the Voyager Golden Record):

img003

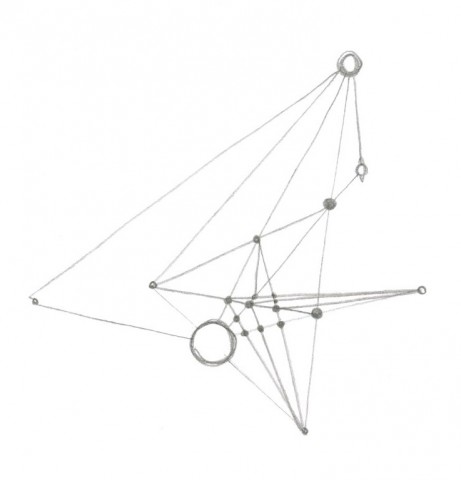
I guess the drawings were a bit successful – the executors of the drawings found it difficult to keep track of the positions of the planets in their heads. This acted as a sort of random number generator and ensures that a never before seen drawing will be generated. Also, I was hoping that someone would run into an infinite loop somehow, but it turns out that infinite loops are impossible unless MYSTERY PLANETS can be connected to other MYSTERY PLANETS.

Instructional Assignment- HC

Instructions:

Screen Shot 2014-09-03 at 5.41.34 PMResults:

September_03__2014_at_0434PM (1) September_03__2014_at_0434PM (3) September_03__2014_at_0434PM

Evaluation:

The first image (last to be created) was the most shocking and different. I had imagined my instructions to be clear and result in the other two images, but I never imagined the drawer would read into the directions and really overthink it and think outside the box like that. No rules were broken- I never stated the circles shouldn’t be connected to each other physically by its outline, and I never stated the circles have to be a single color. Although I know that I would revise those rules later to have a more set design standard.


Creating a Conditional Drawing


001 002 003 004 005


I was surprised by the fact that everyone had started out big and went into smaller parts instead of the other way around or messing with the sizes. I thought that when I put the condition that the two lines doesn’t have to be the same size I thought that people would play with the sizes a little more than when there was no condition. But that expectation had passed. I also thought that rather than creating a pattern people would try to fill up the page when they were given the conditions since the conditions allow you to draw small and big sizes no matter what. I think I might tinker with the shapes a little more since many people drew rectangle and not so octagon looking octagon rather than the actual conditions given.

Instructional Drawing: Make an optical illusion

I wanted my doodlers to be happily amused by following my process that should result in a cool optical illusion. Some were pleased with the outcome while some found my rough instructions confusing.

This first photo is how I anticipated the drawings would come out. The later are my IMG_2845img001directions and audrey002directions and the 3 drawings that were produced

Instructional Drawings


1)   Draw a circle in the center of the page.

2)   Draw 3 circles, of different sizes, that are tangent to the old circle.

3)   Each new circle should then have a set of 3 more circles, of different sizes, drawn tangent to it.

4)   Draw a circle around the entire form.

5)    Repeat steps 2-4, adding one more circle to steps 2 and 3 for each new cycle, until page is full

img003 img005 img006 img004This assignment was also quite tricky because I tried to devise a set of 5 instructions that would create a random pattern.  And unlike the cycle example shown in class, I wanted to expand the form instead of constricting it.  My first few drafts of the instructions had people drawing circles encompassing other circles kind of like a cross section of onion layers.  Therefore, I had to sit down and thing about specific words that meant touching two circles without engulfing one another.  Finally I reached the conclusion of the word “tangent”.  from then on all the drawings started looking the way I intended then to look. I was surprised that some people interpreted tangent as putting the circle inside the first circle rather than outside. I think that in the future, I would add an instruction that would allow the drawer to fill in the empty space. that appeared in many of the drawings.


WT Instructional Drawing

Screen Shot 2014-09-03 at 4.45.27 PMEMS Instr1EMS Instr 3EMS instr 2


One thing that interested me during the creation of the instructions was what people would draw when I asked them to draw technology. Would they draw flatscreen TV’s? Cellphones or telephones? Laptops or desktops? Another thing that interested me was what people would put for Gender neutral bathroom signs.

If I had to improve one thing, I would have created more rows and columns and asked more people to partake in the instructional drawing. I think it’d be really cool to see the different illustrations over a large group, while taking gender, age, and socioeconomic status into account.