Instructional Drawing: Bird and Squiggy
Firstly, a big thanks to everyone who volunteered to create an instructional drawing. All participants are credited by name in the caption of their respective drawing(s).
All participants were given an 8.5 x 11 sheet of paper, a fine point black sharpie, and asked to choose between two sets of instructions, hereafter known as “bird” and “squiggy”.
Interestingly, three out of the five people who volunteered first tried the “bird” instruction set, and then asked to try the “squiggy” instruction set. (The other two stuck with their initial choice.)
Why the switch? Well, here’s the instruction set for “bird”:
Begin by drawing the top half of a circle with the diameter of half an inch.
Place a dot in the center of where the half-circle’s full circle would be.
On an edge of the half-circle that is parallel with the dot, draw an acute angle so that each of the two lines creating the angle is the length of the half-circle’s radius, and so that the interior of the acute angle faces the dot.
From the edge of the acute angle that is not connected to the half-circle, draw a half-inch long straight vertical line that travels away from the dot.
Continued from the straight line, draw a quarter-circle that mirrors the half-circle.
Go back to the half-circle. At the side opposite from the acute angle, draw a horizontal line that is one inch long, and travels away from the dot.
From the end of the one inch horizontal line to the end of the quarter-circle, draw and arc.
Find the intersection between the half-circle and the one inch line. Move vertically away from this point by a half-inch, and place a new dot.
Draw an arc between the new dot and the three fourths of an inch point of the one inch line.
Starting from the quarter-inch point on the one inch line, move down until you encounter the edge of the shape. At this edge, draw a half-inch vertical line traveling away from the shape.
At a right angle to the half inch line (180 degrees on the unit circle), draw a horizontal quarter-inch line.
This is now a finished shape. You must continue making this shape until the page is full, with the condition that you may only draw this shape where the right angle quarter-inch line can connect to a previously drawn shape.
Compared to the instruction set for “squiggy”:
Draw a squiggly shape that is a closed space and does not have overlapping lines.
Fill this shape with horizontal lines. The lines may not pass through the outline of the shape.
Fill this shape with vertical lines. The lines may not pass through the outline of the shape.
Repeat until page is full of squiggly shapes filled with horizontal and vertical lines.
Repeat until page is full of squiggly shapes filled with horizontal and vertical lines.
As “bird” is a bit hard to visualize, below is a digitally-assisted image to help make sense of the instructions.
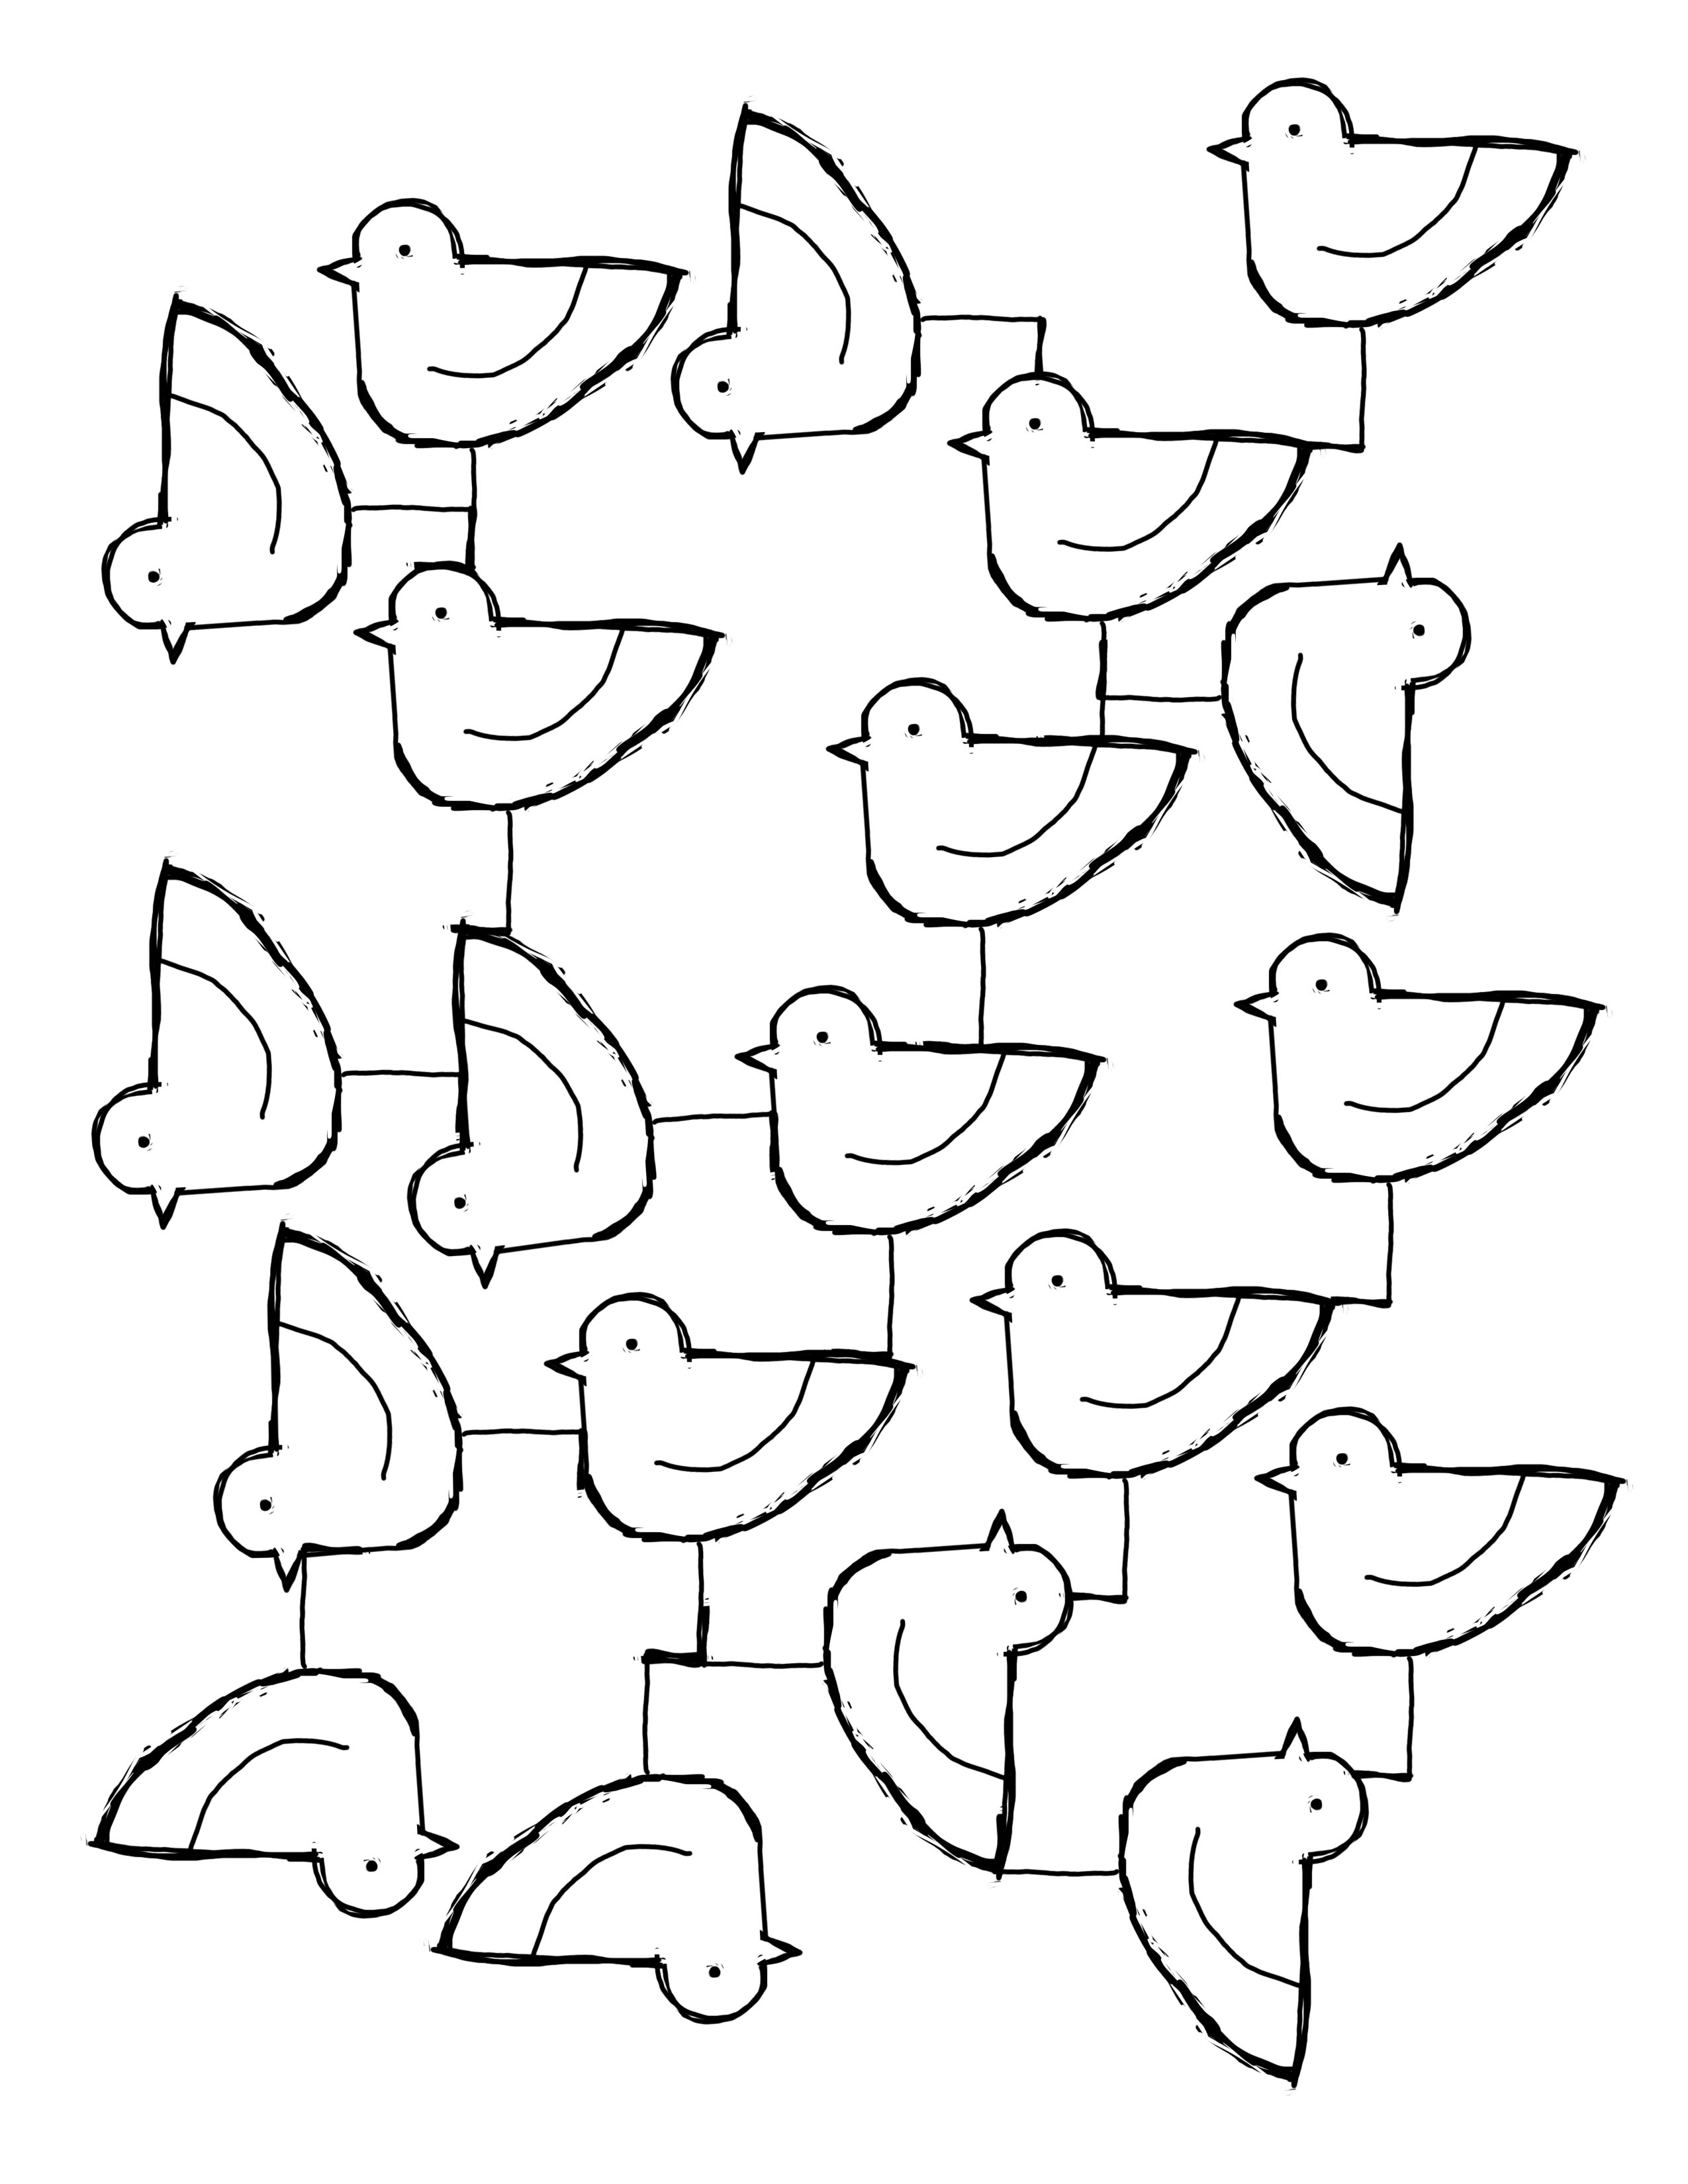 Miranda Jacoby’s (digitally assisted) Bird Drawing
Now for the submissions.
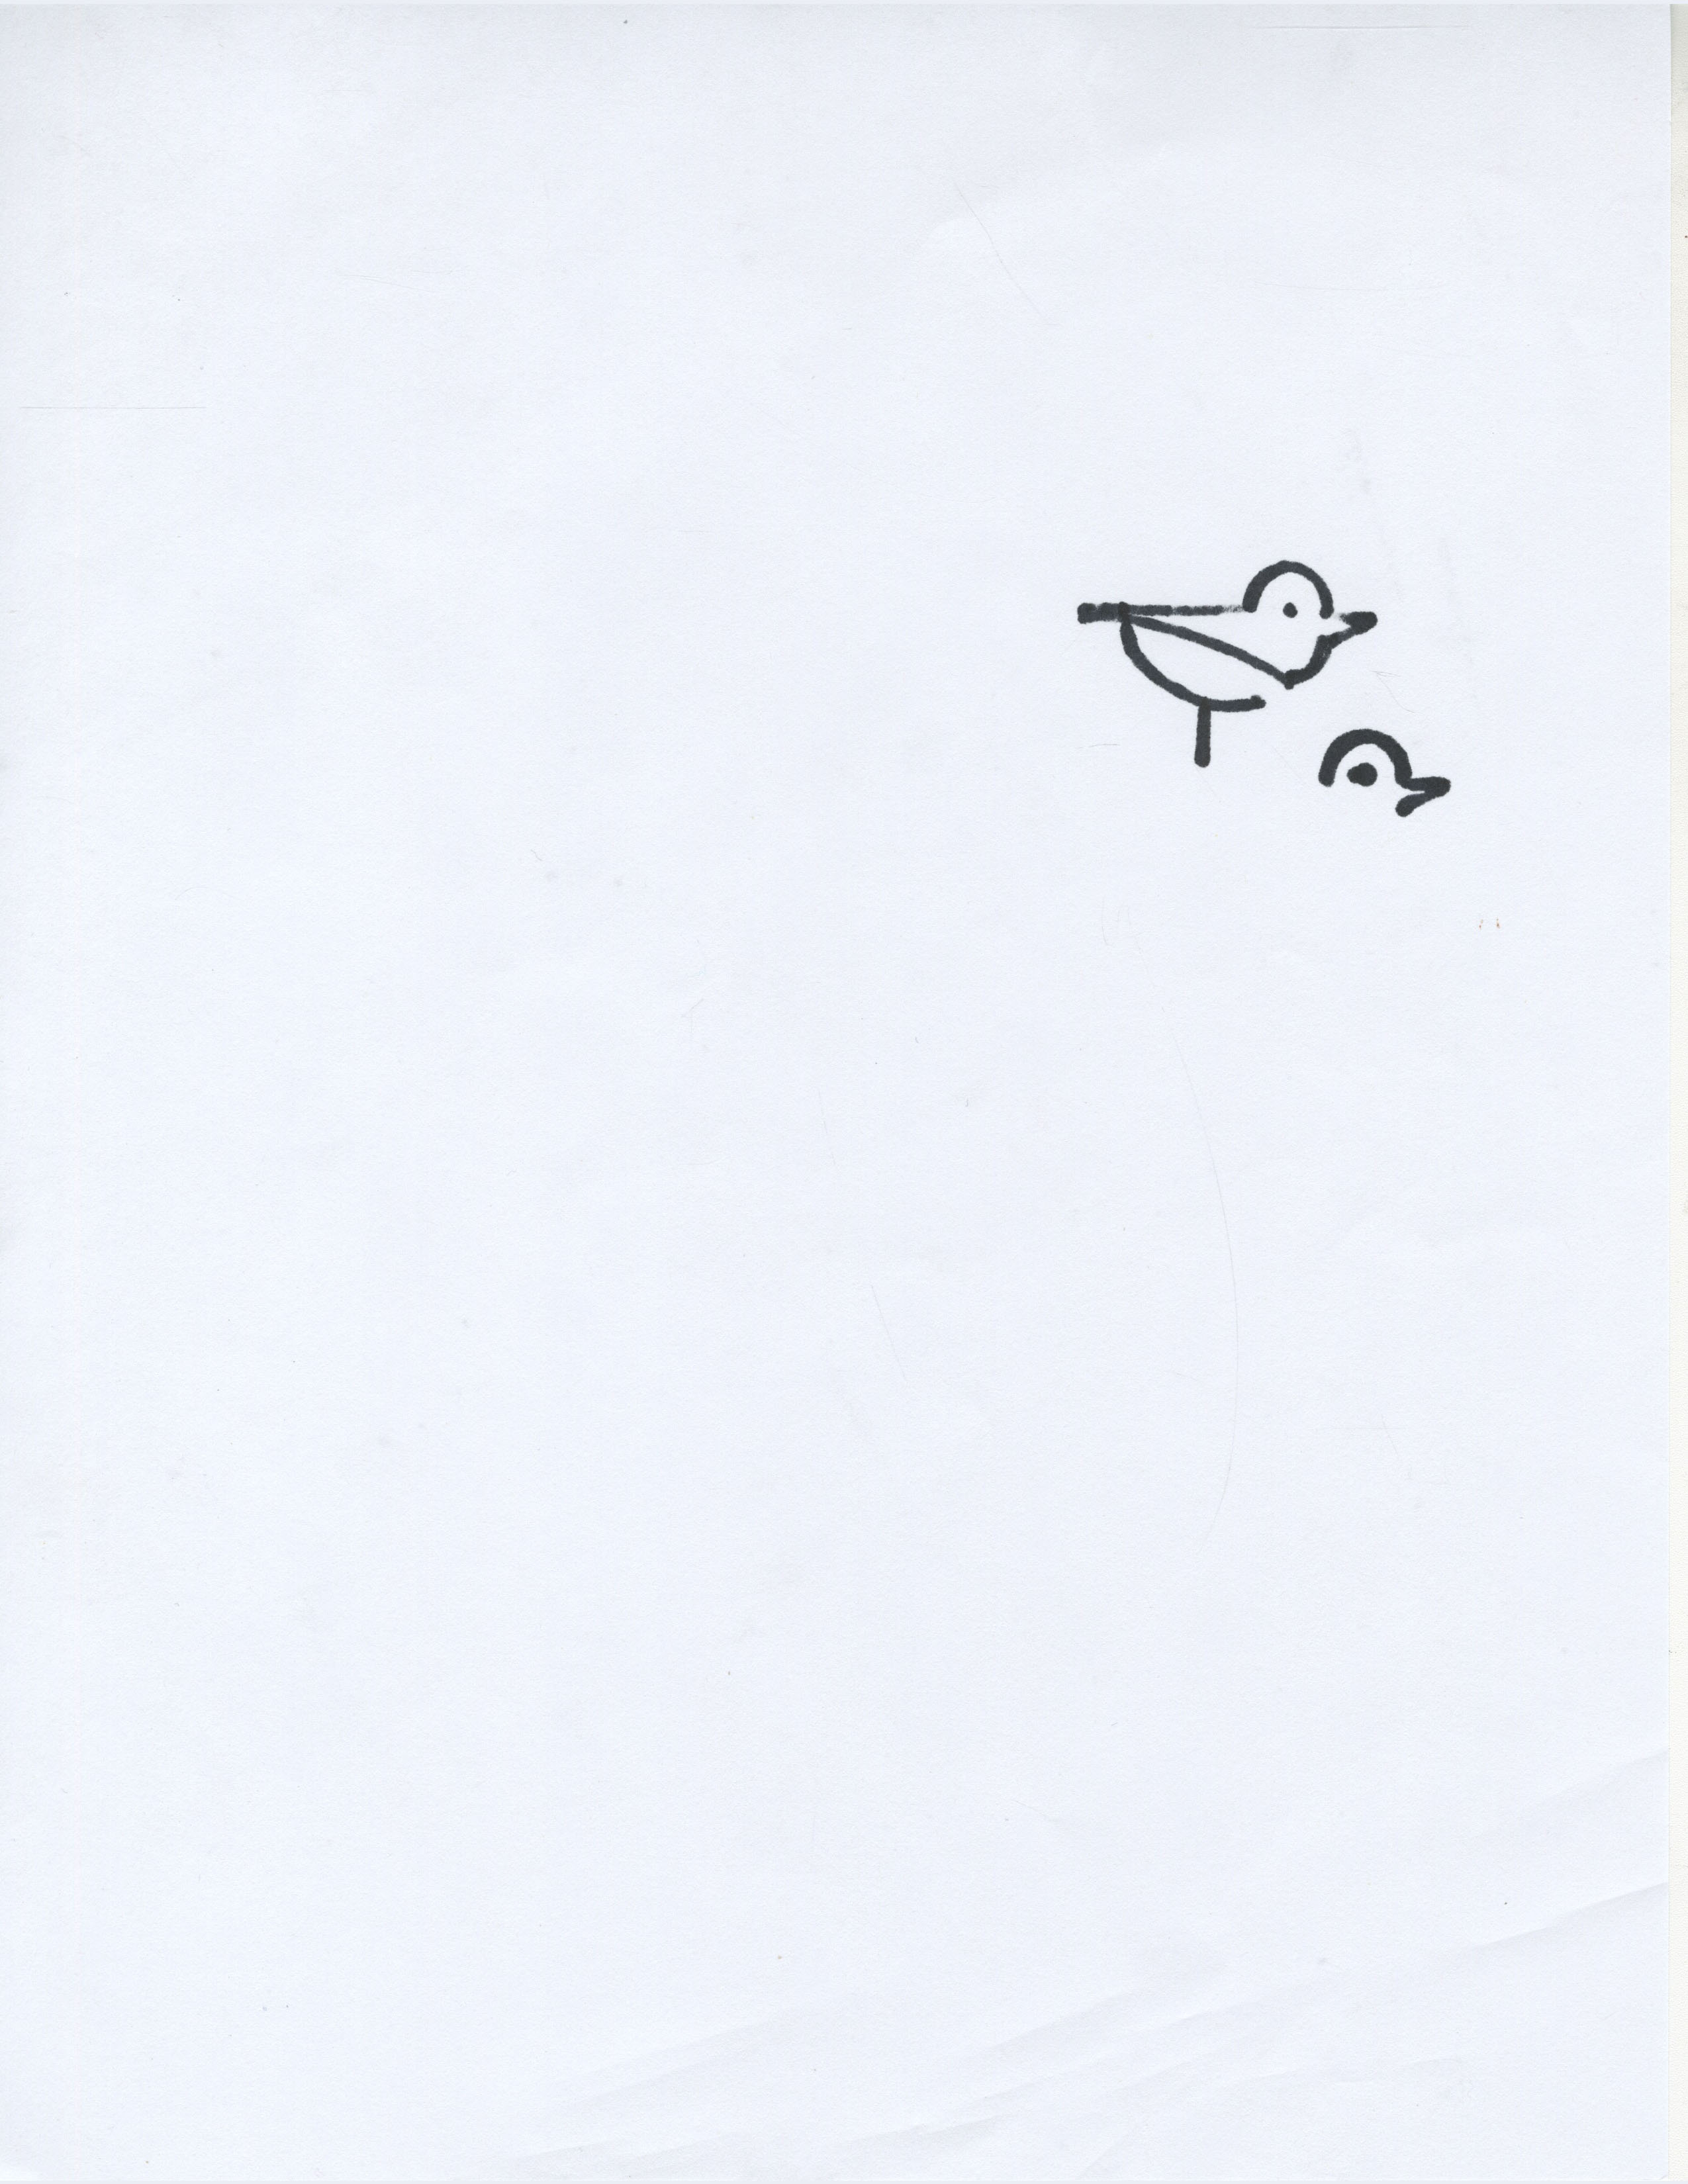
 Sean Reidy’s Bird Drawing
 Meghan Chin’s Bird Drawing
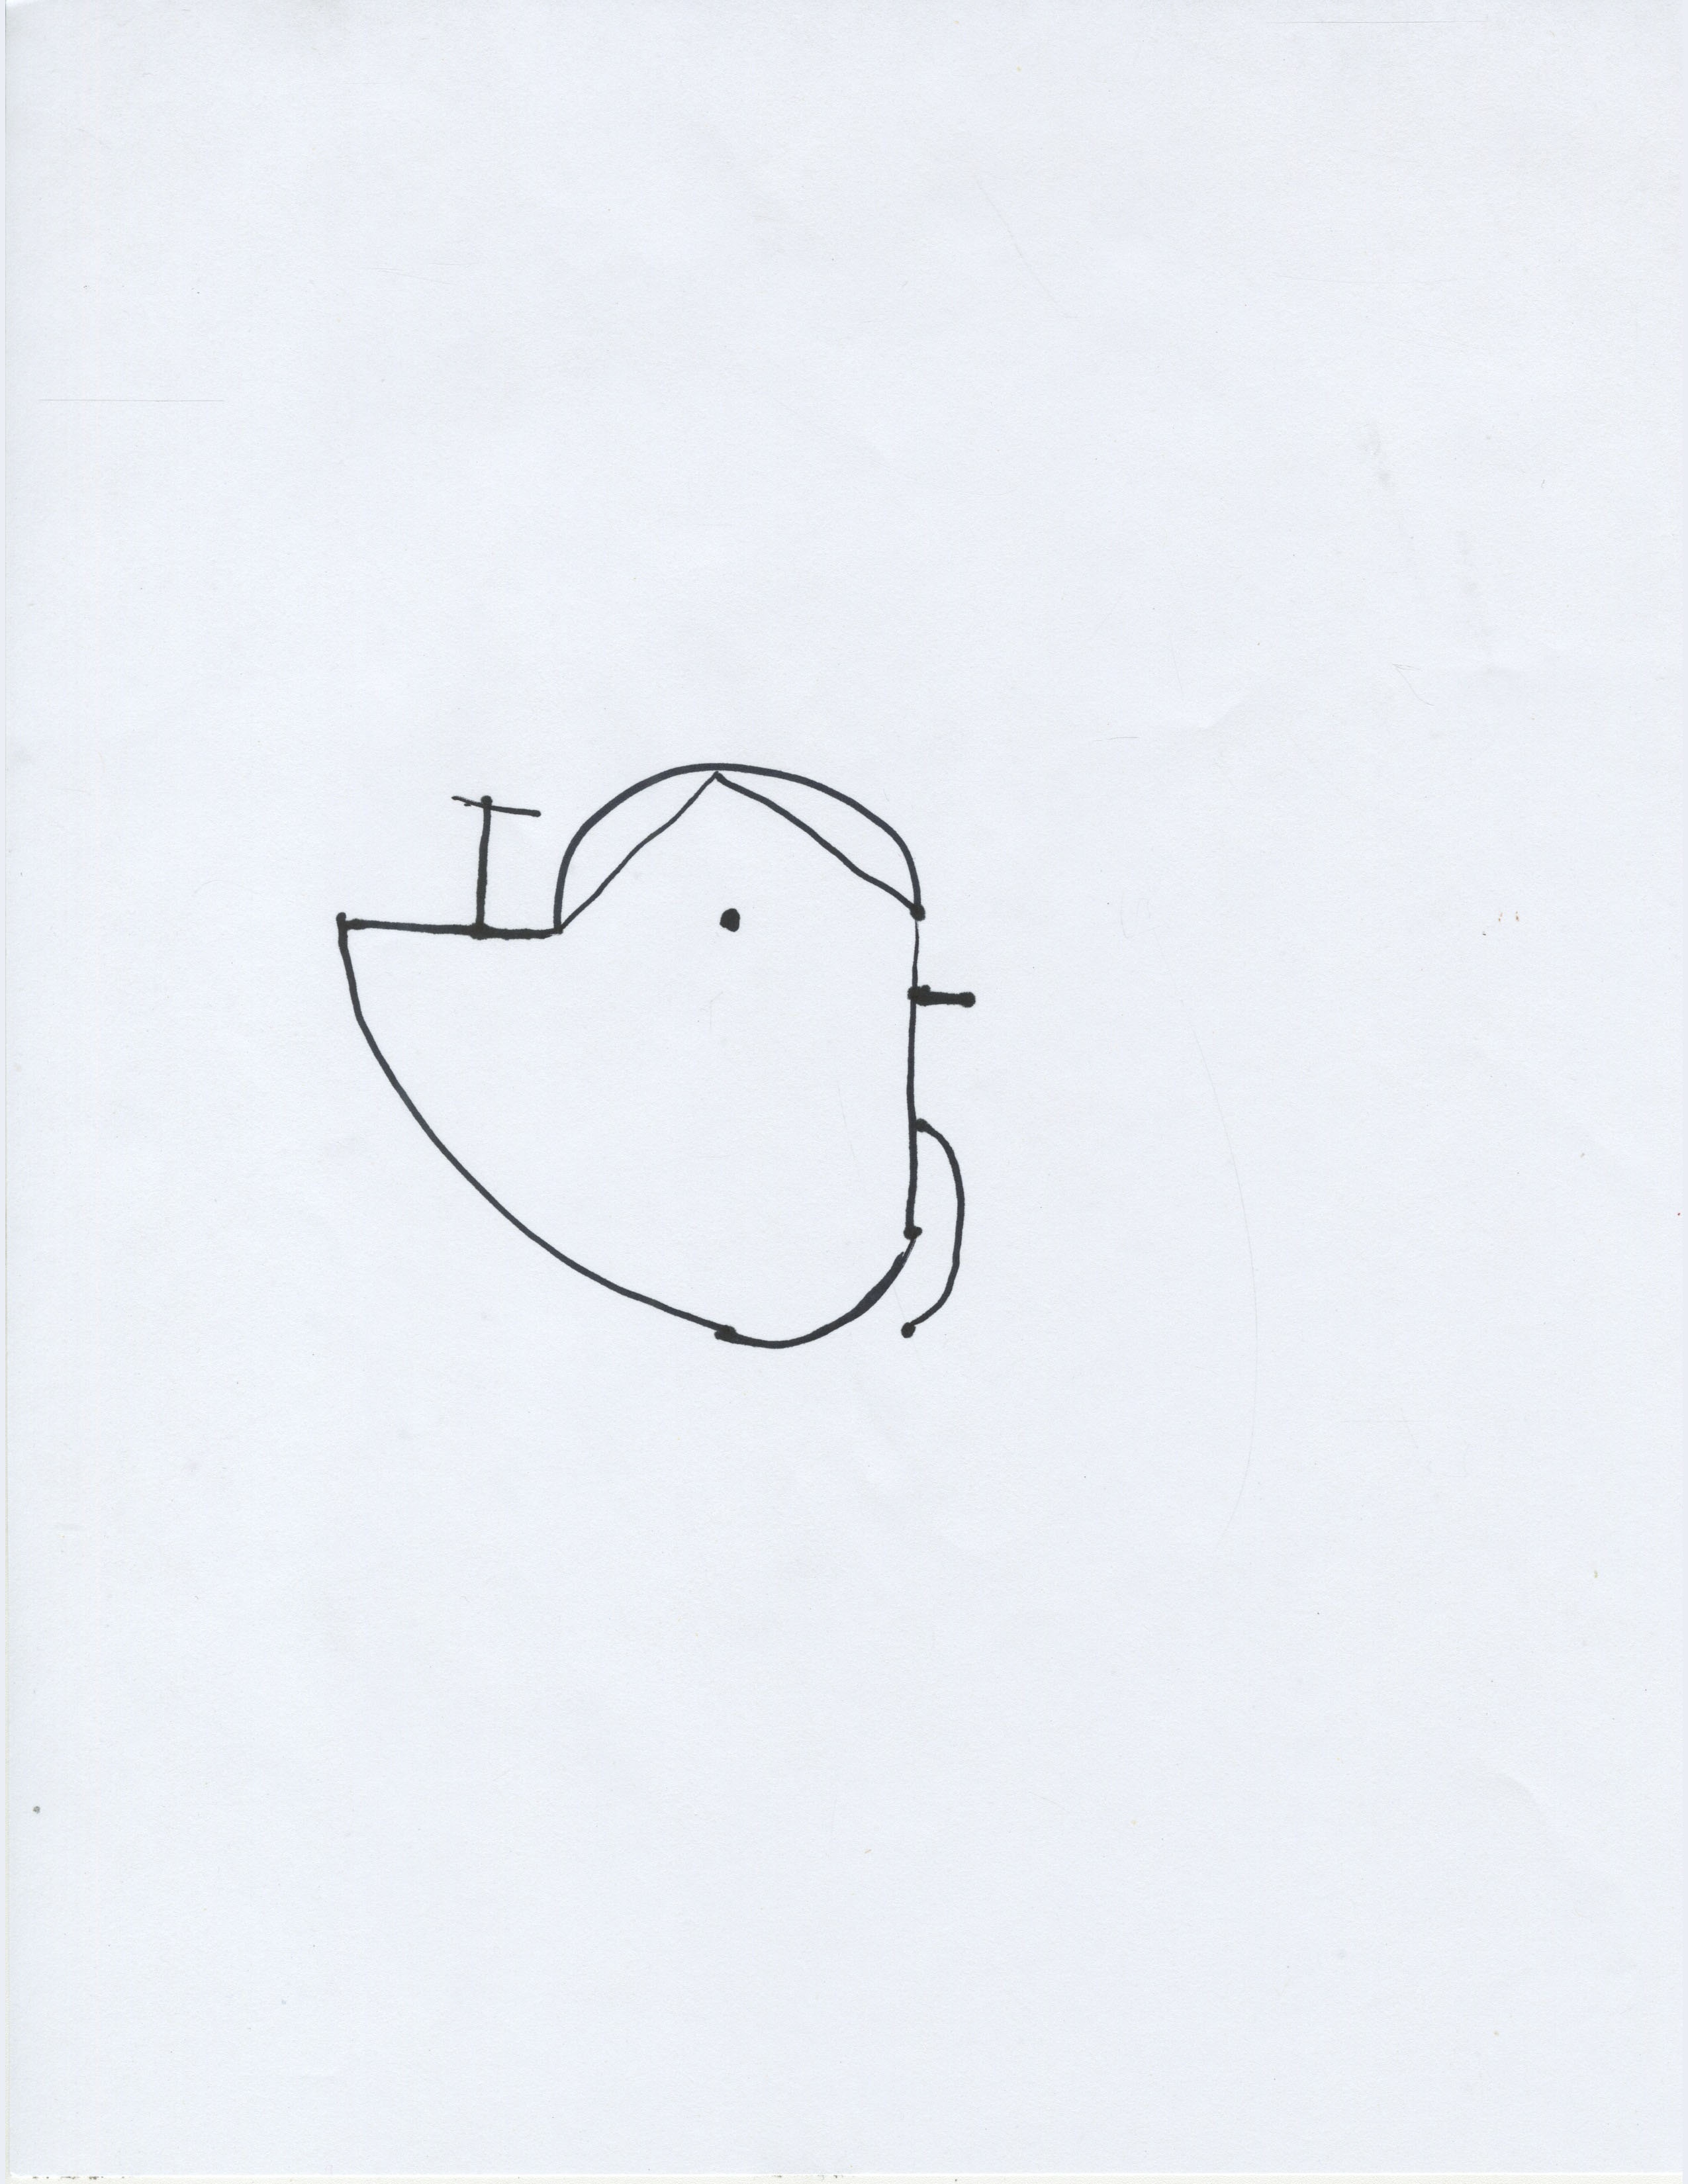
 Natalie Moss’ Bird Drawing
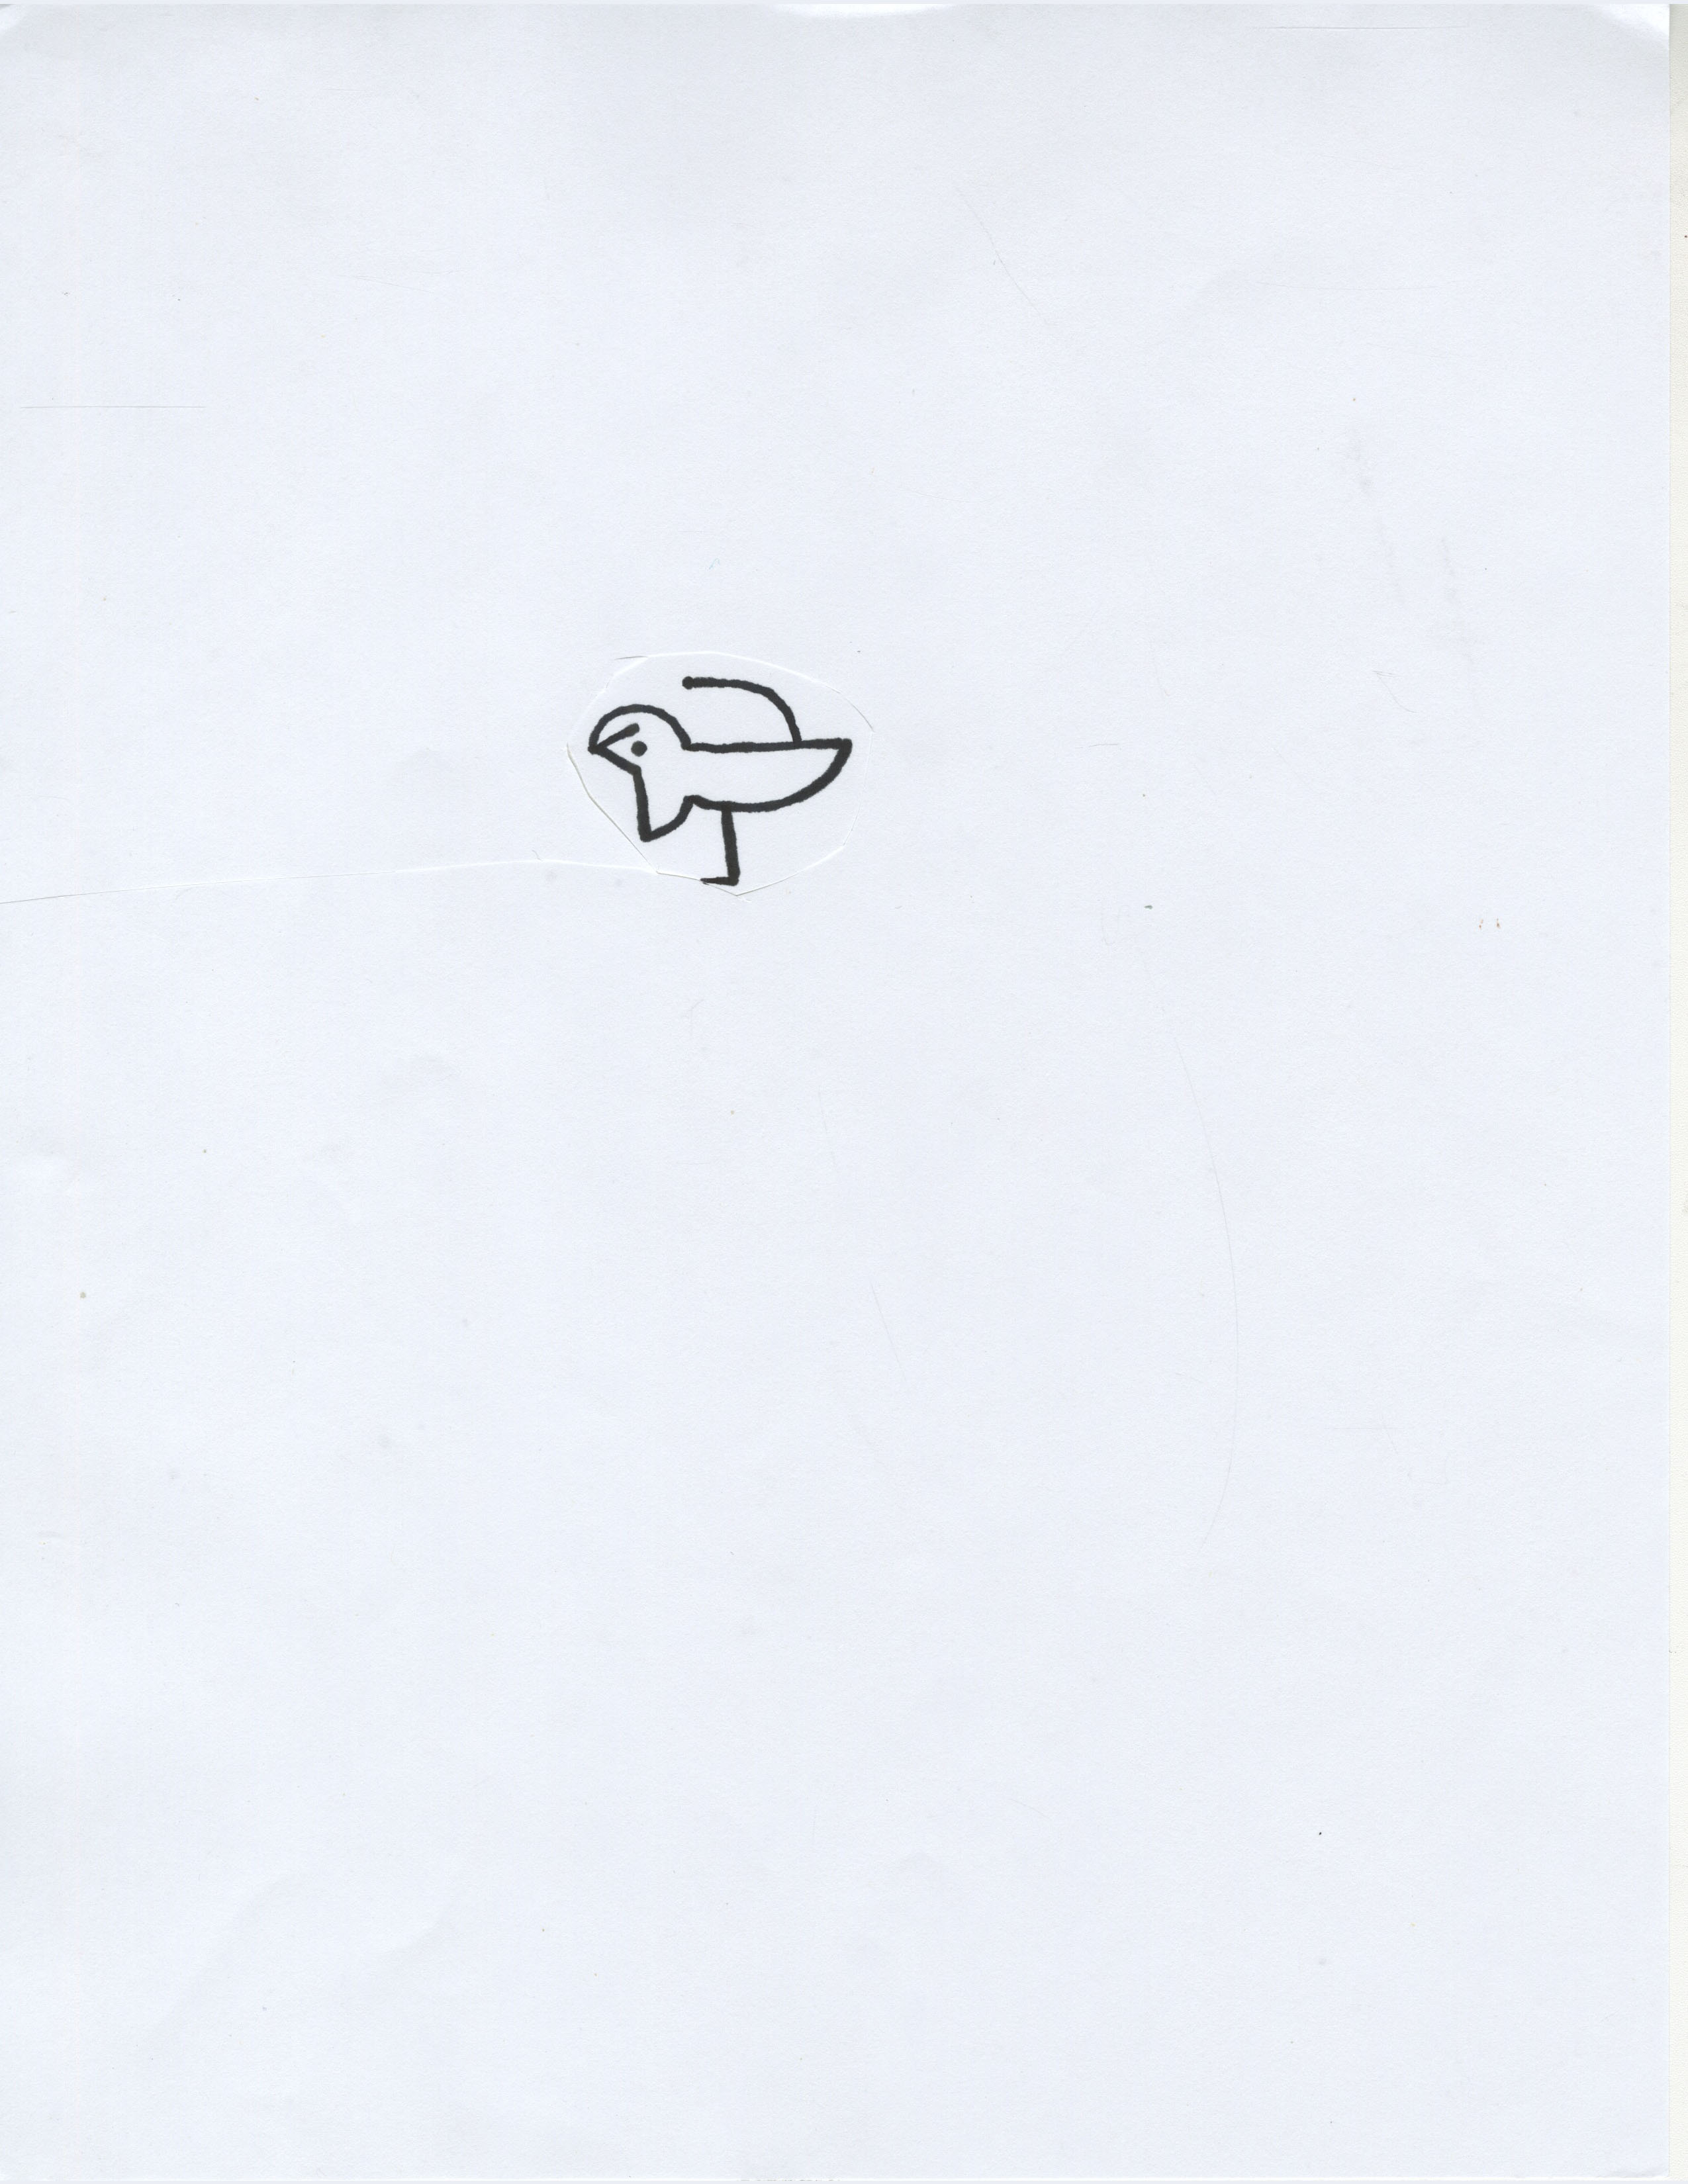
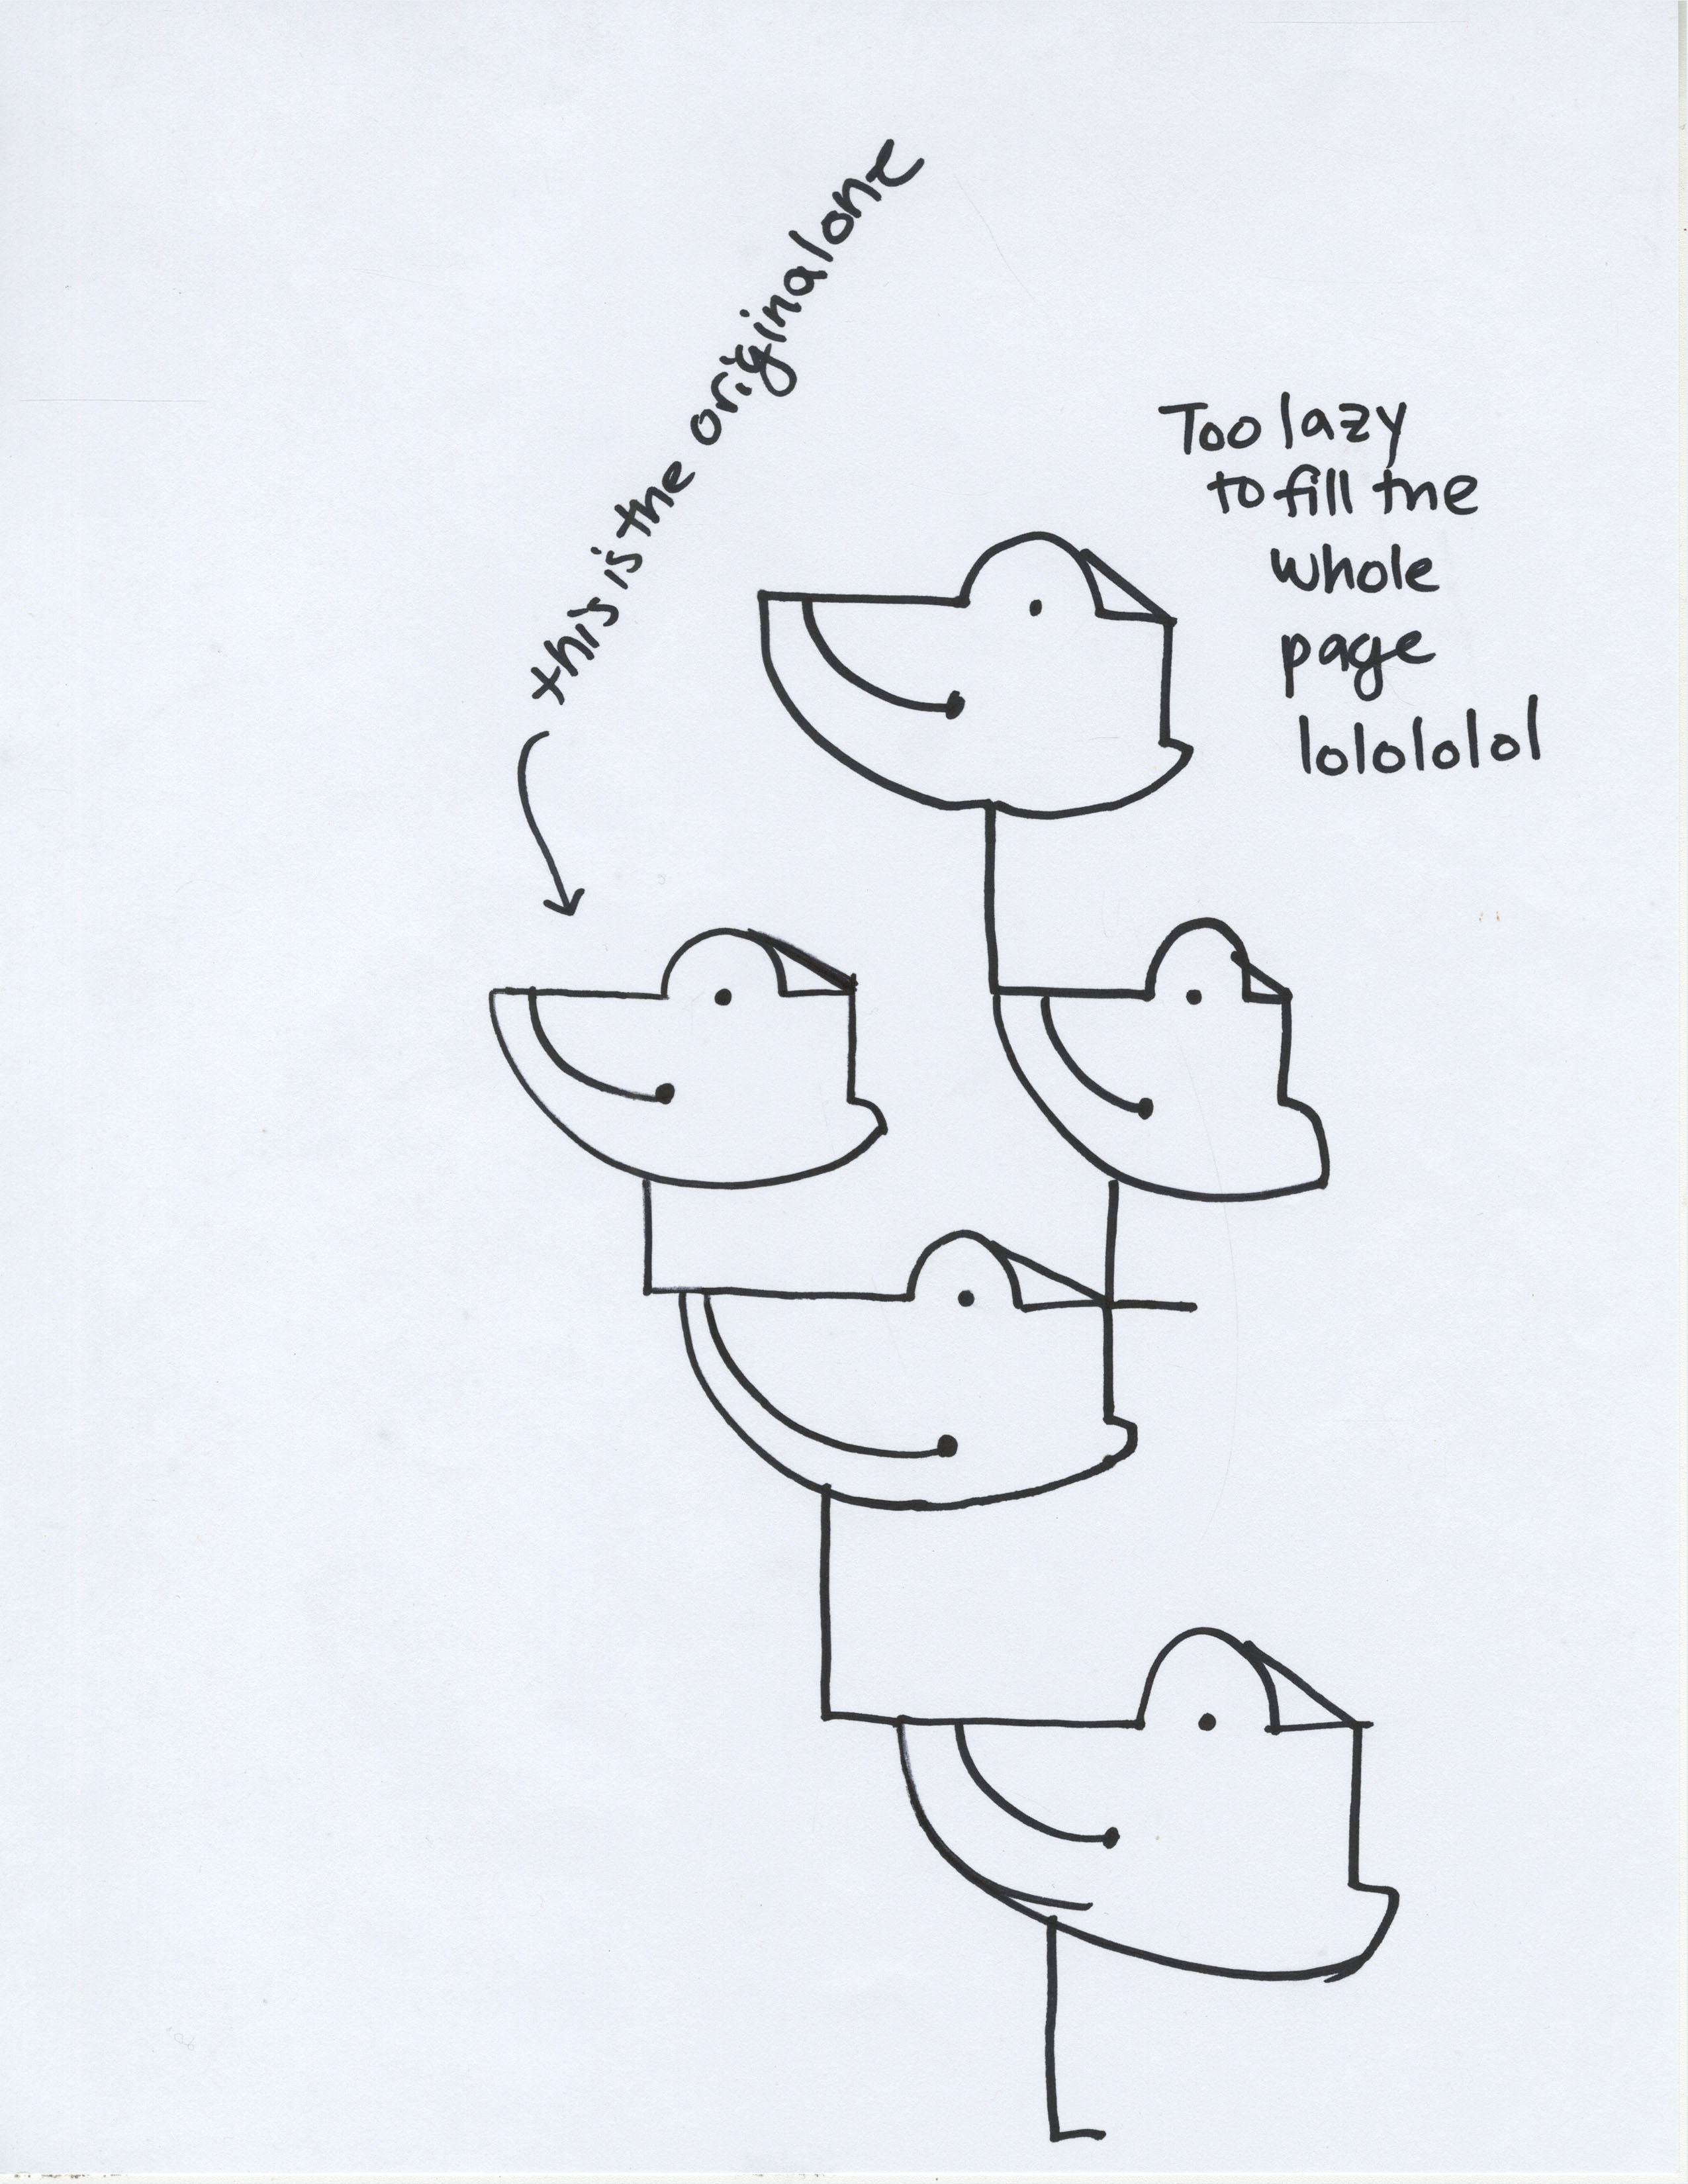 Sylvia Kosowski’s Bird Drawing
Sylvia sums up the general sentiment toward the “bird” instructions quite nicely. Natalie took a rather clever approach and cut her drawing out of its page, creating a new page that the drawing filled. Overall, it seems like everyone had trouble understanding how the beak shape and/or the wing shape was supposed to work. The idea of “bird” was to define a shape relative to points and shapes already plotted. Evidently I have to work on my ability to describe the overall orientation of those shapes in an understandable way.
Now for the “squiggy” drawings:
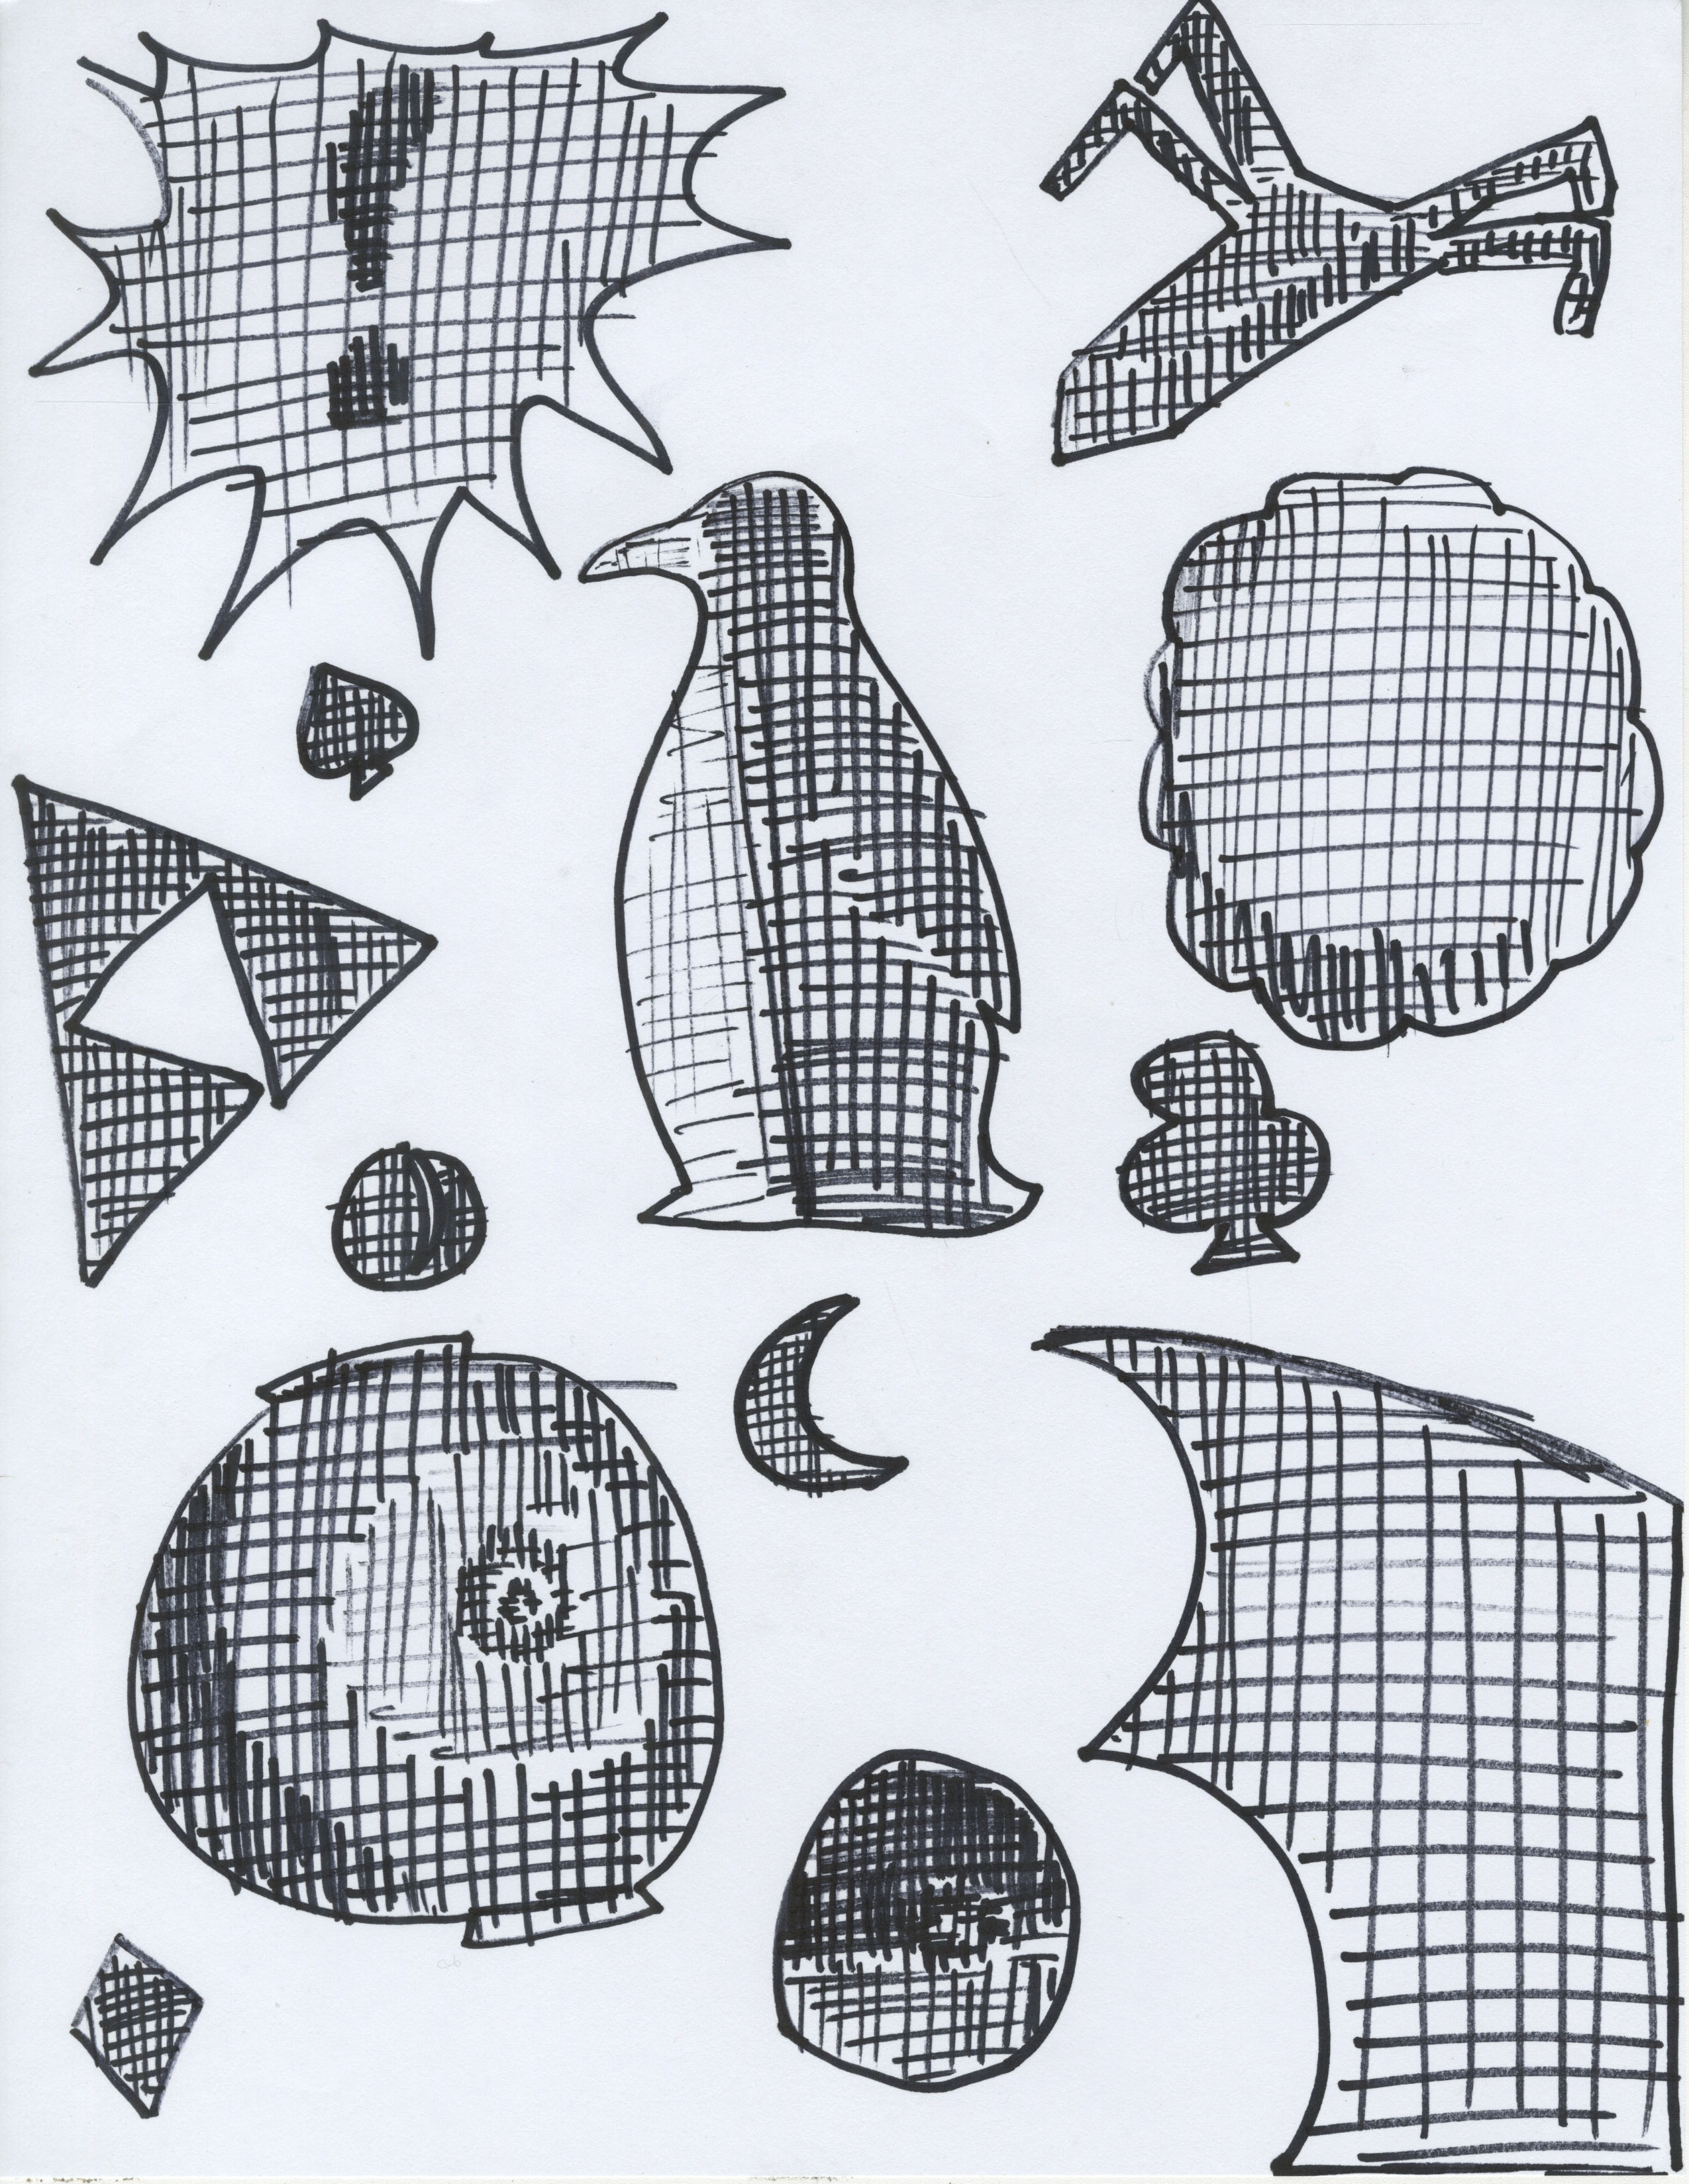 Kay Nestor’s Squiggy Drawing
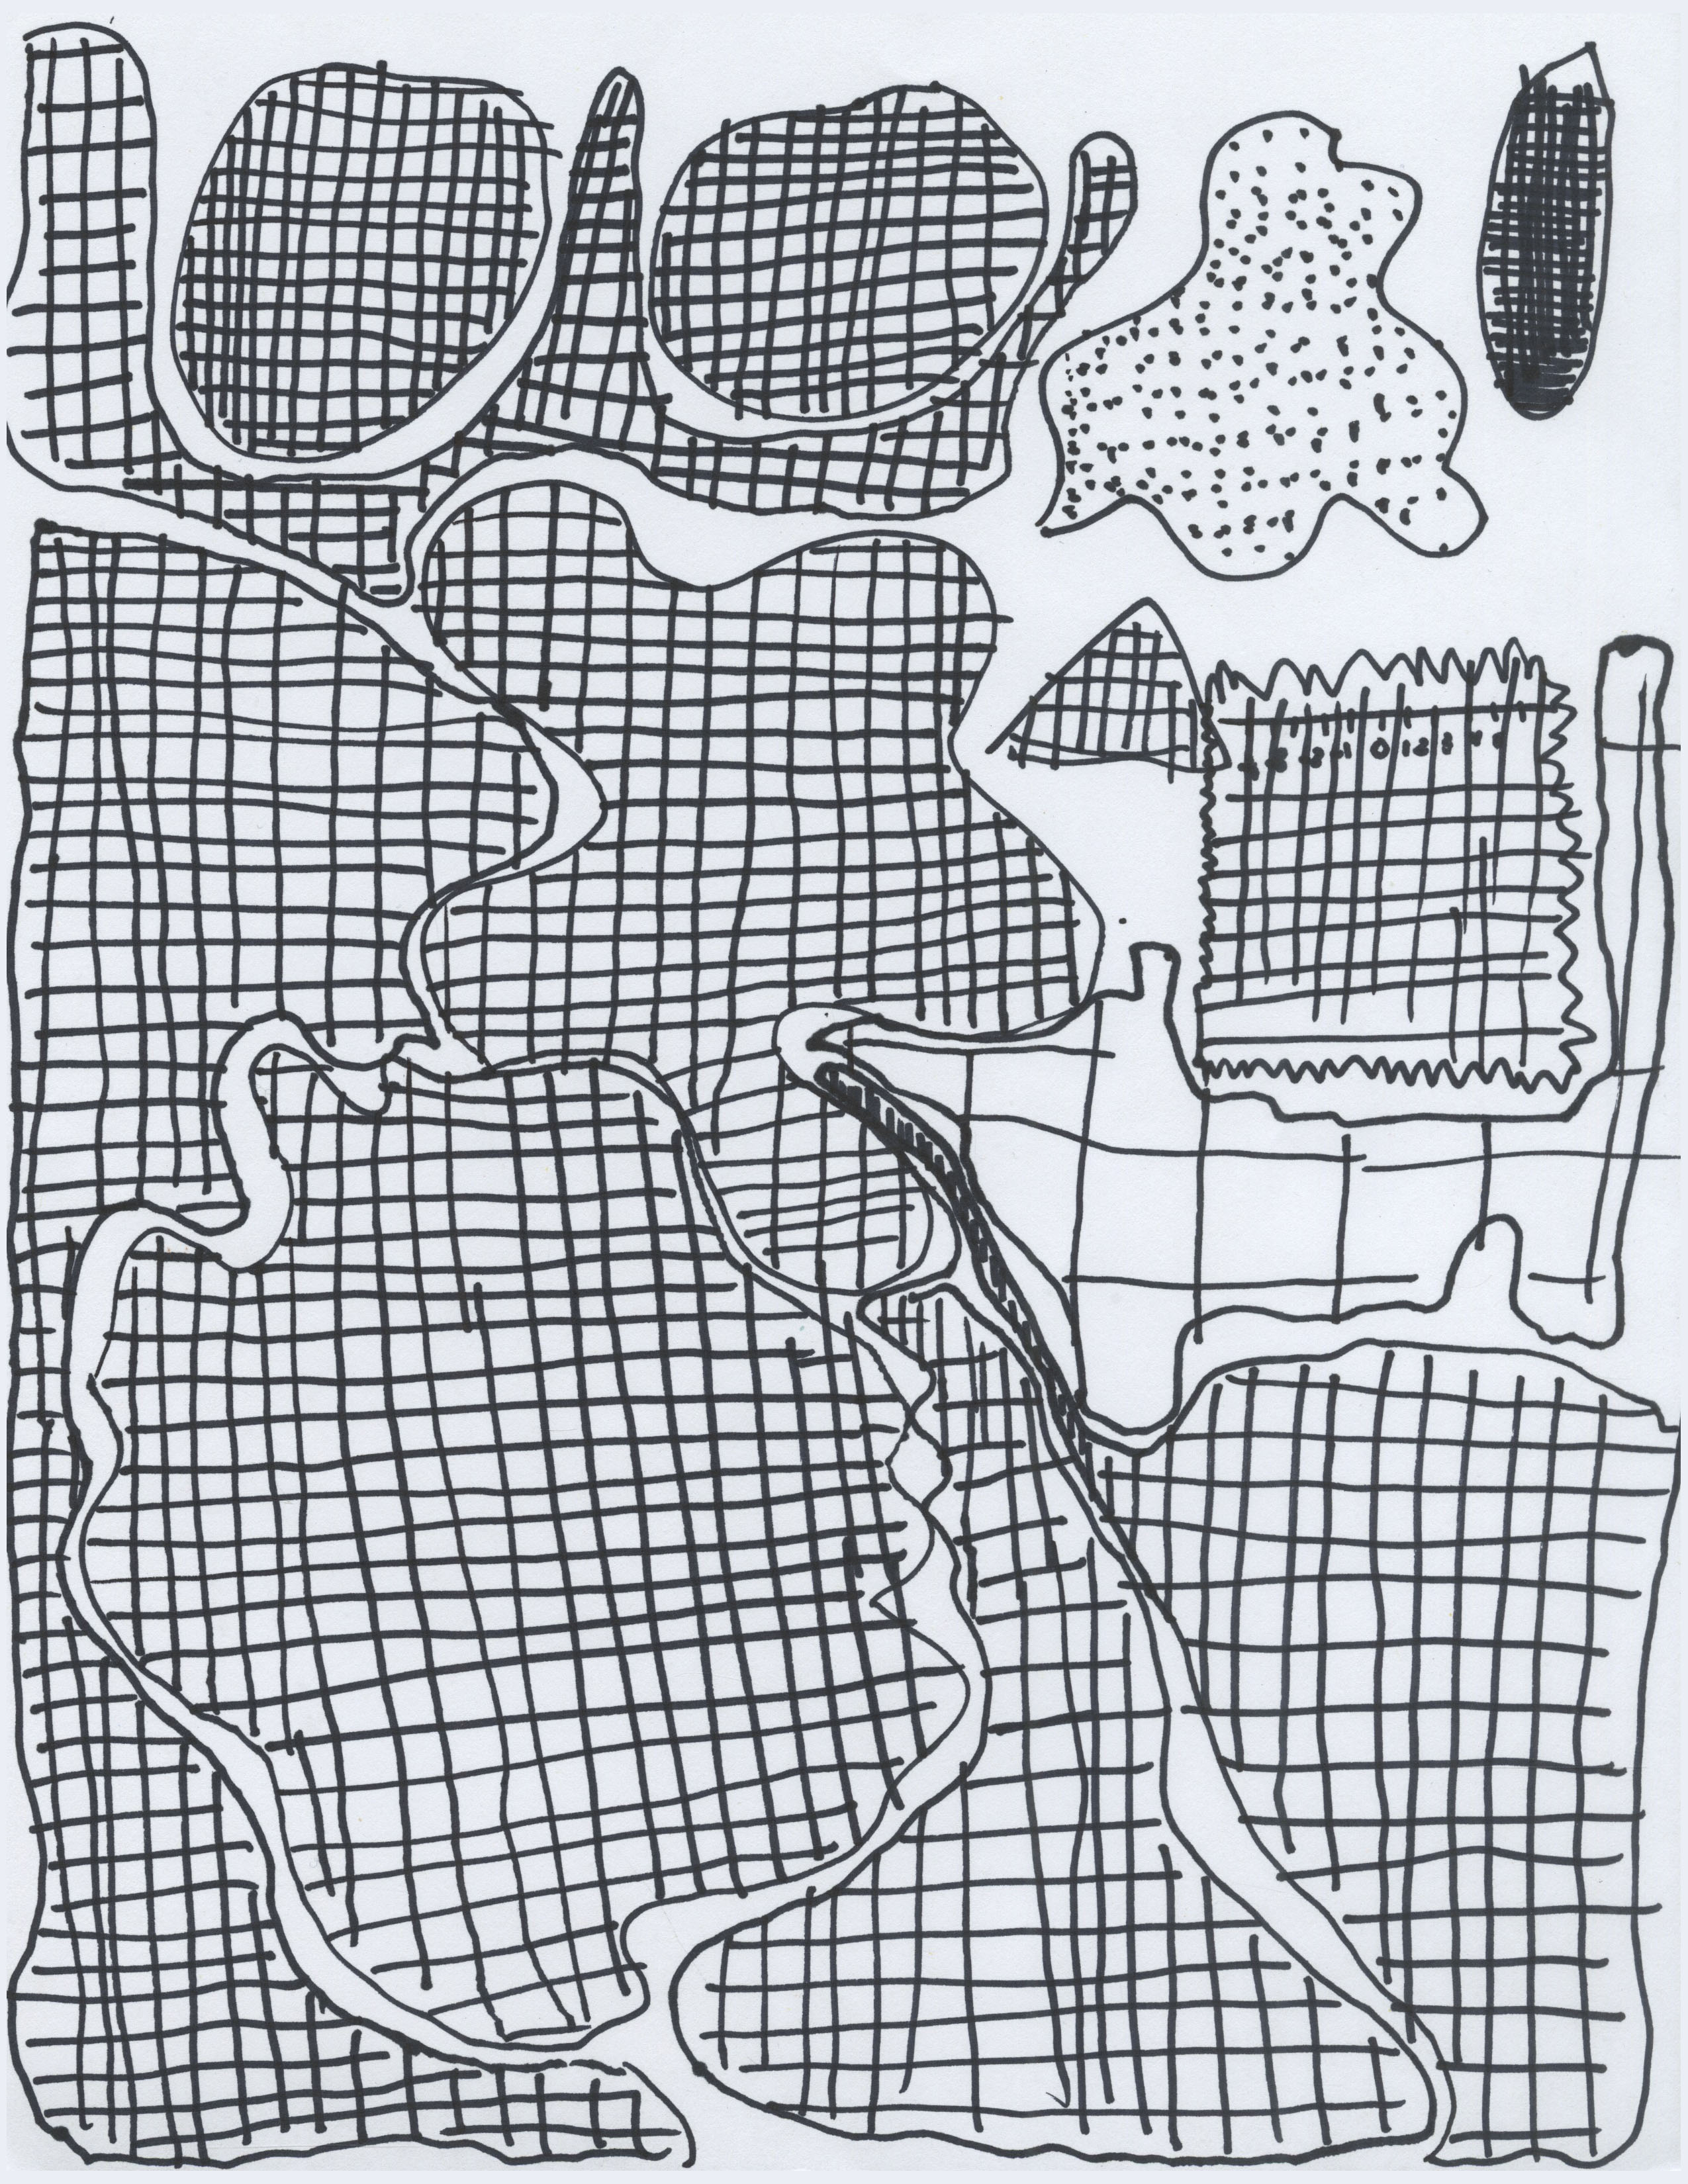 Sean Reidy’s Squiggy Drawing
 Meghan Chin’s Squiggy Drawing
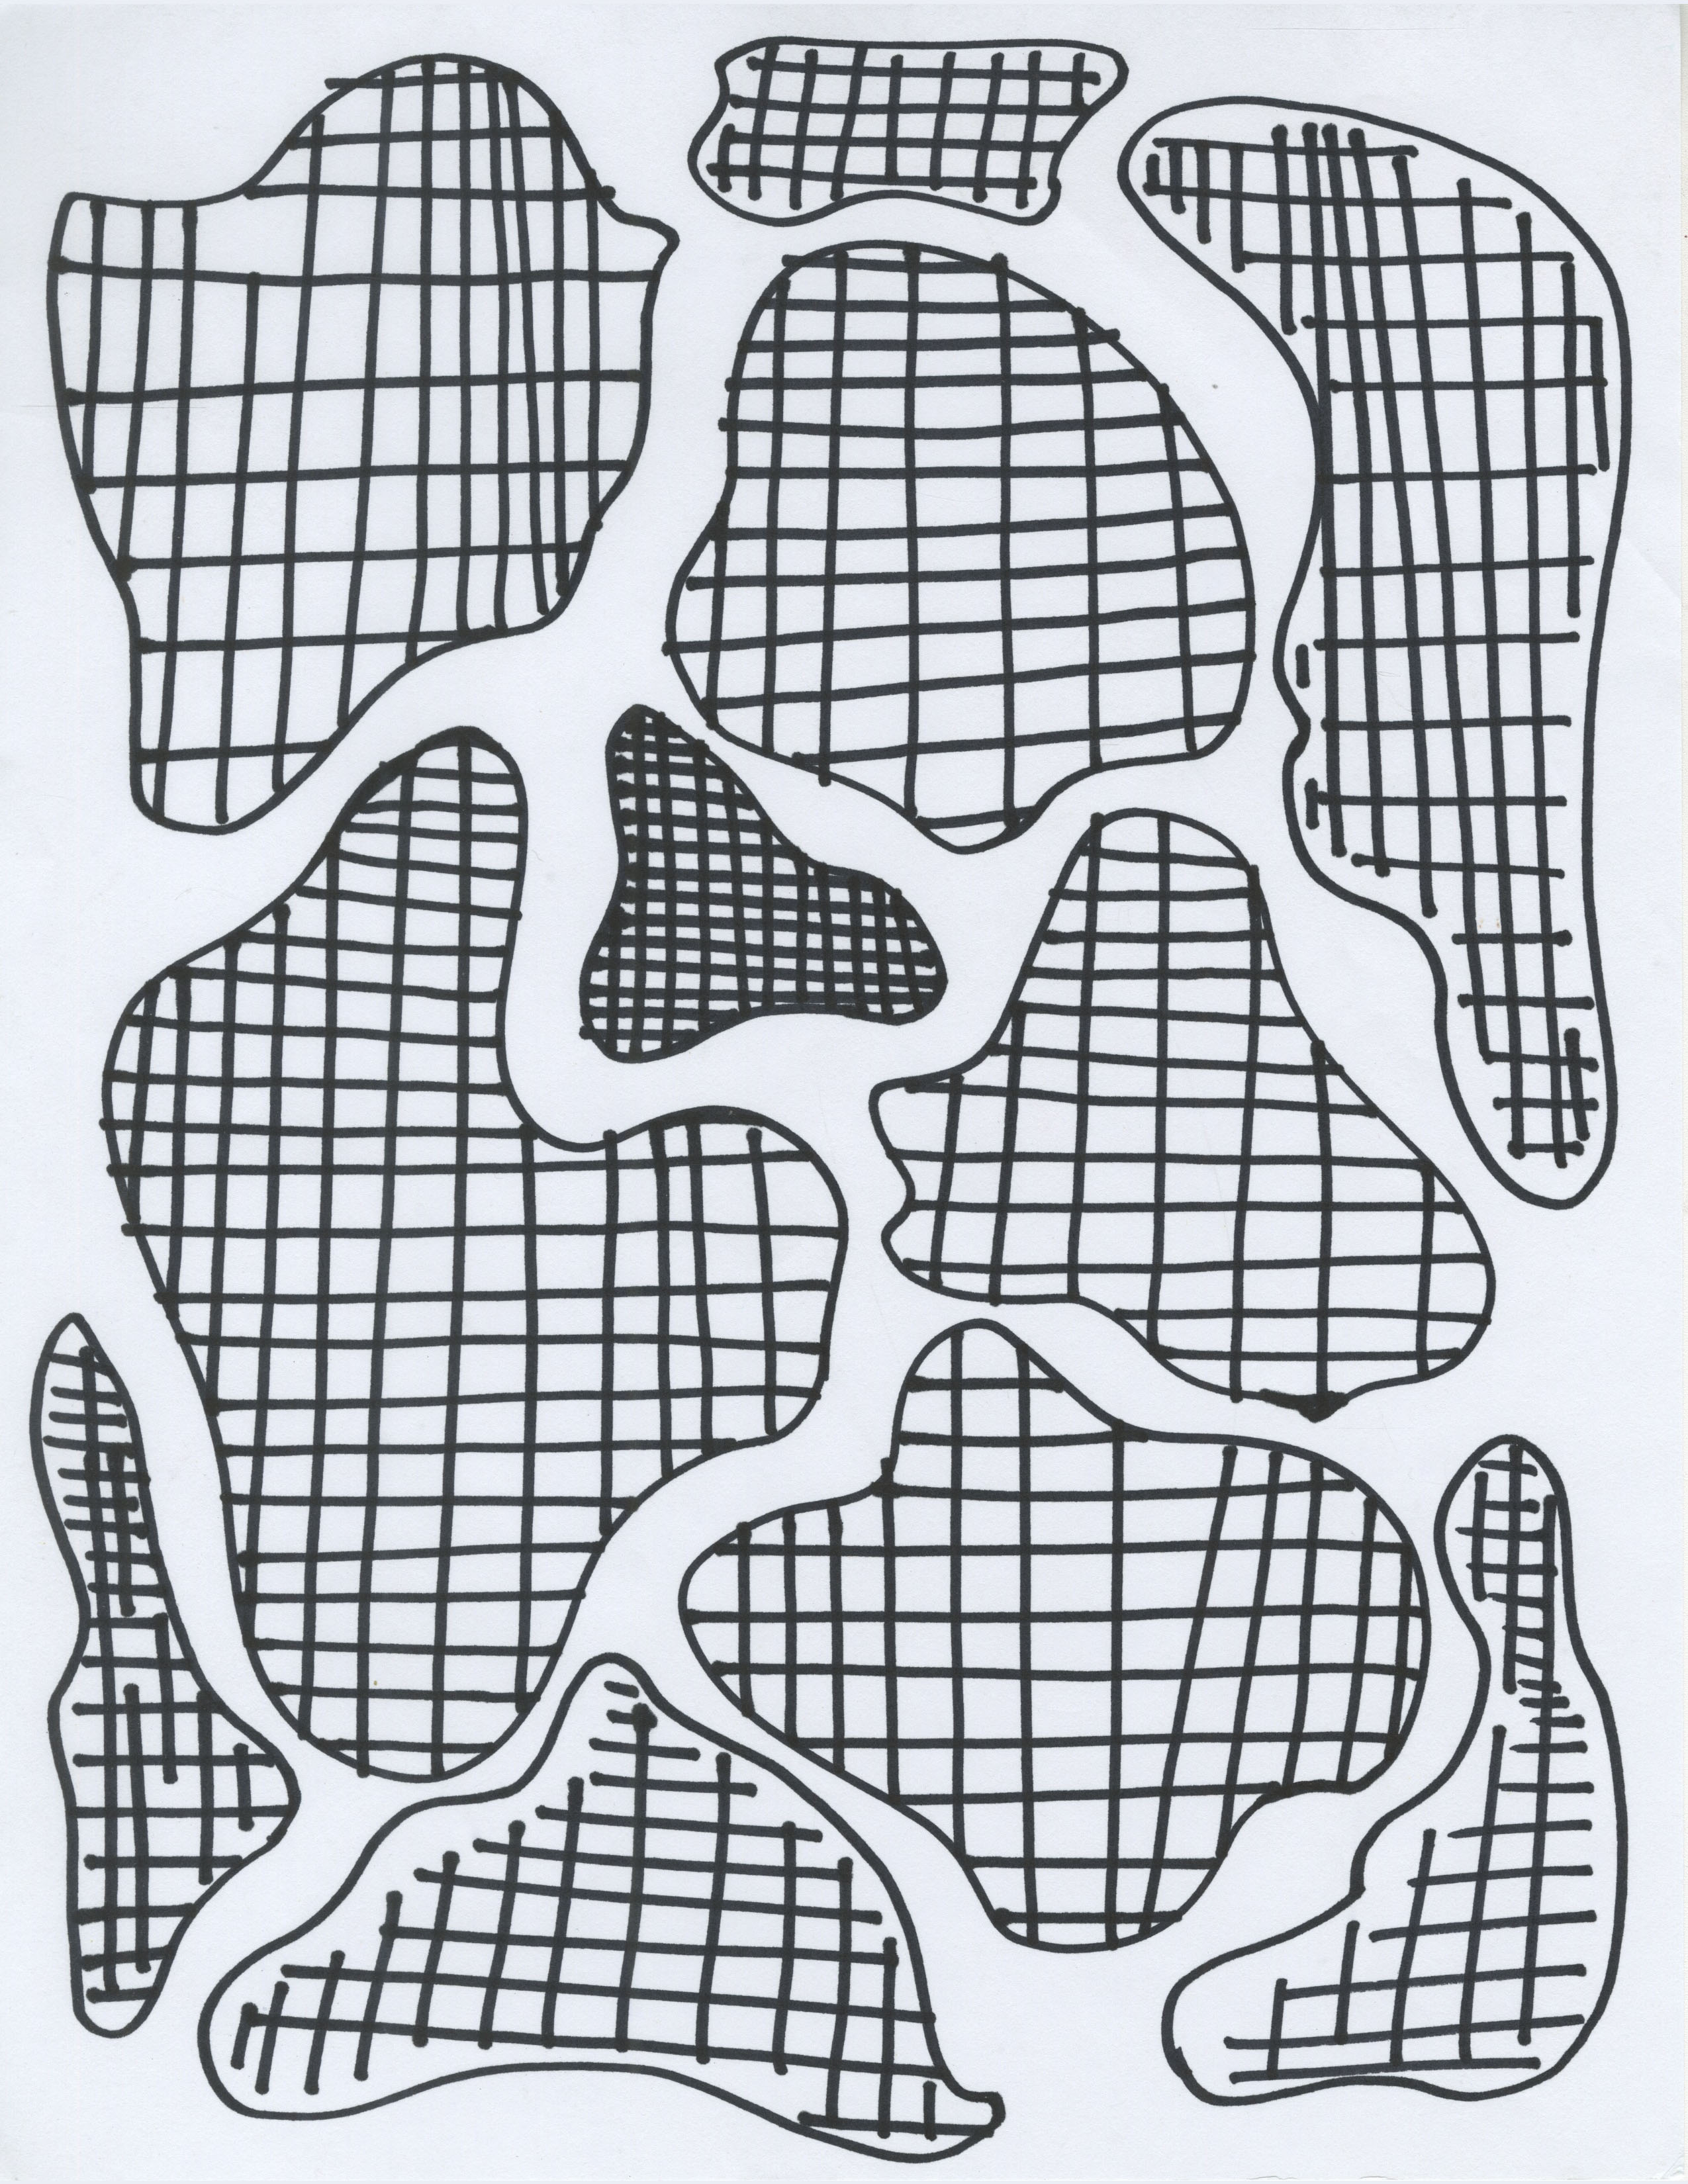
 Natalie Moss’ Squiggy Drawing
Again, no two submissions are alike. Kay seemed focused on making her shapes into recognizable objects, while Sean realized that the kind of line was not specified, and thus included dotted lines and a number line into his drawing. Unlike “bird”, “squiggy” is a lot more open-ended, allowing for more organic permutations.
Overall, the instructional drawing exercise was a sliding scale between frustration and fun.