Instructional Drawing
Drawing Five Heads
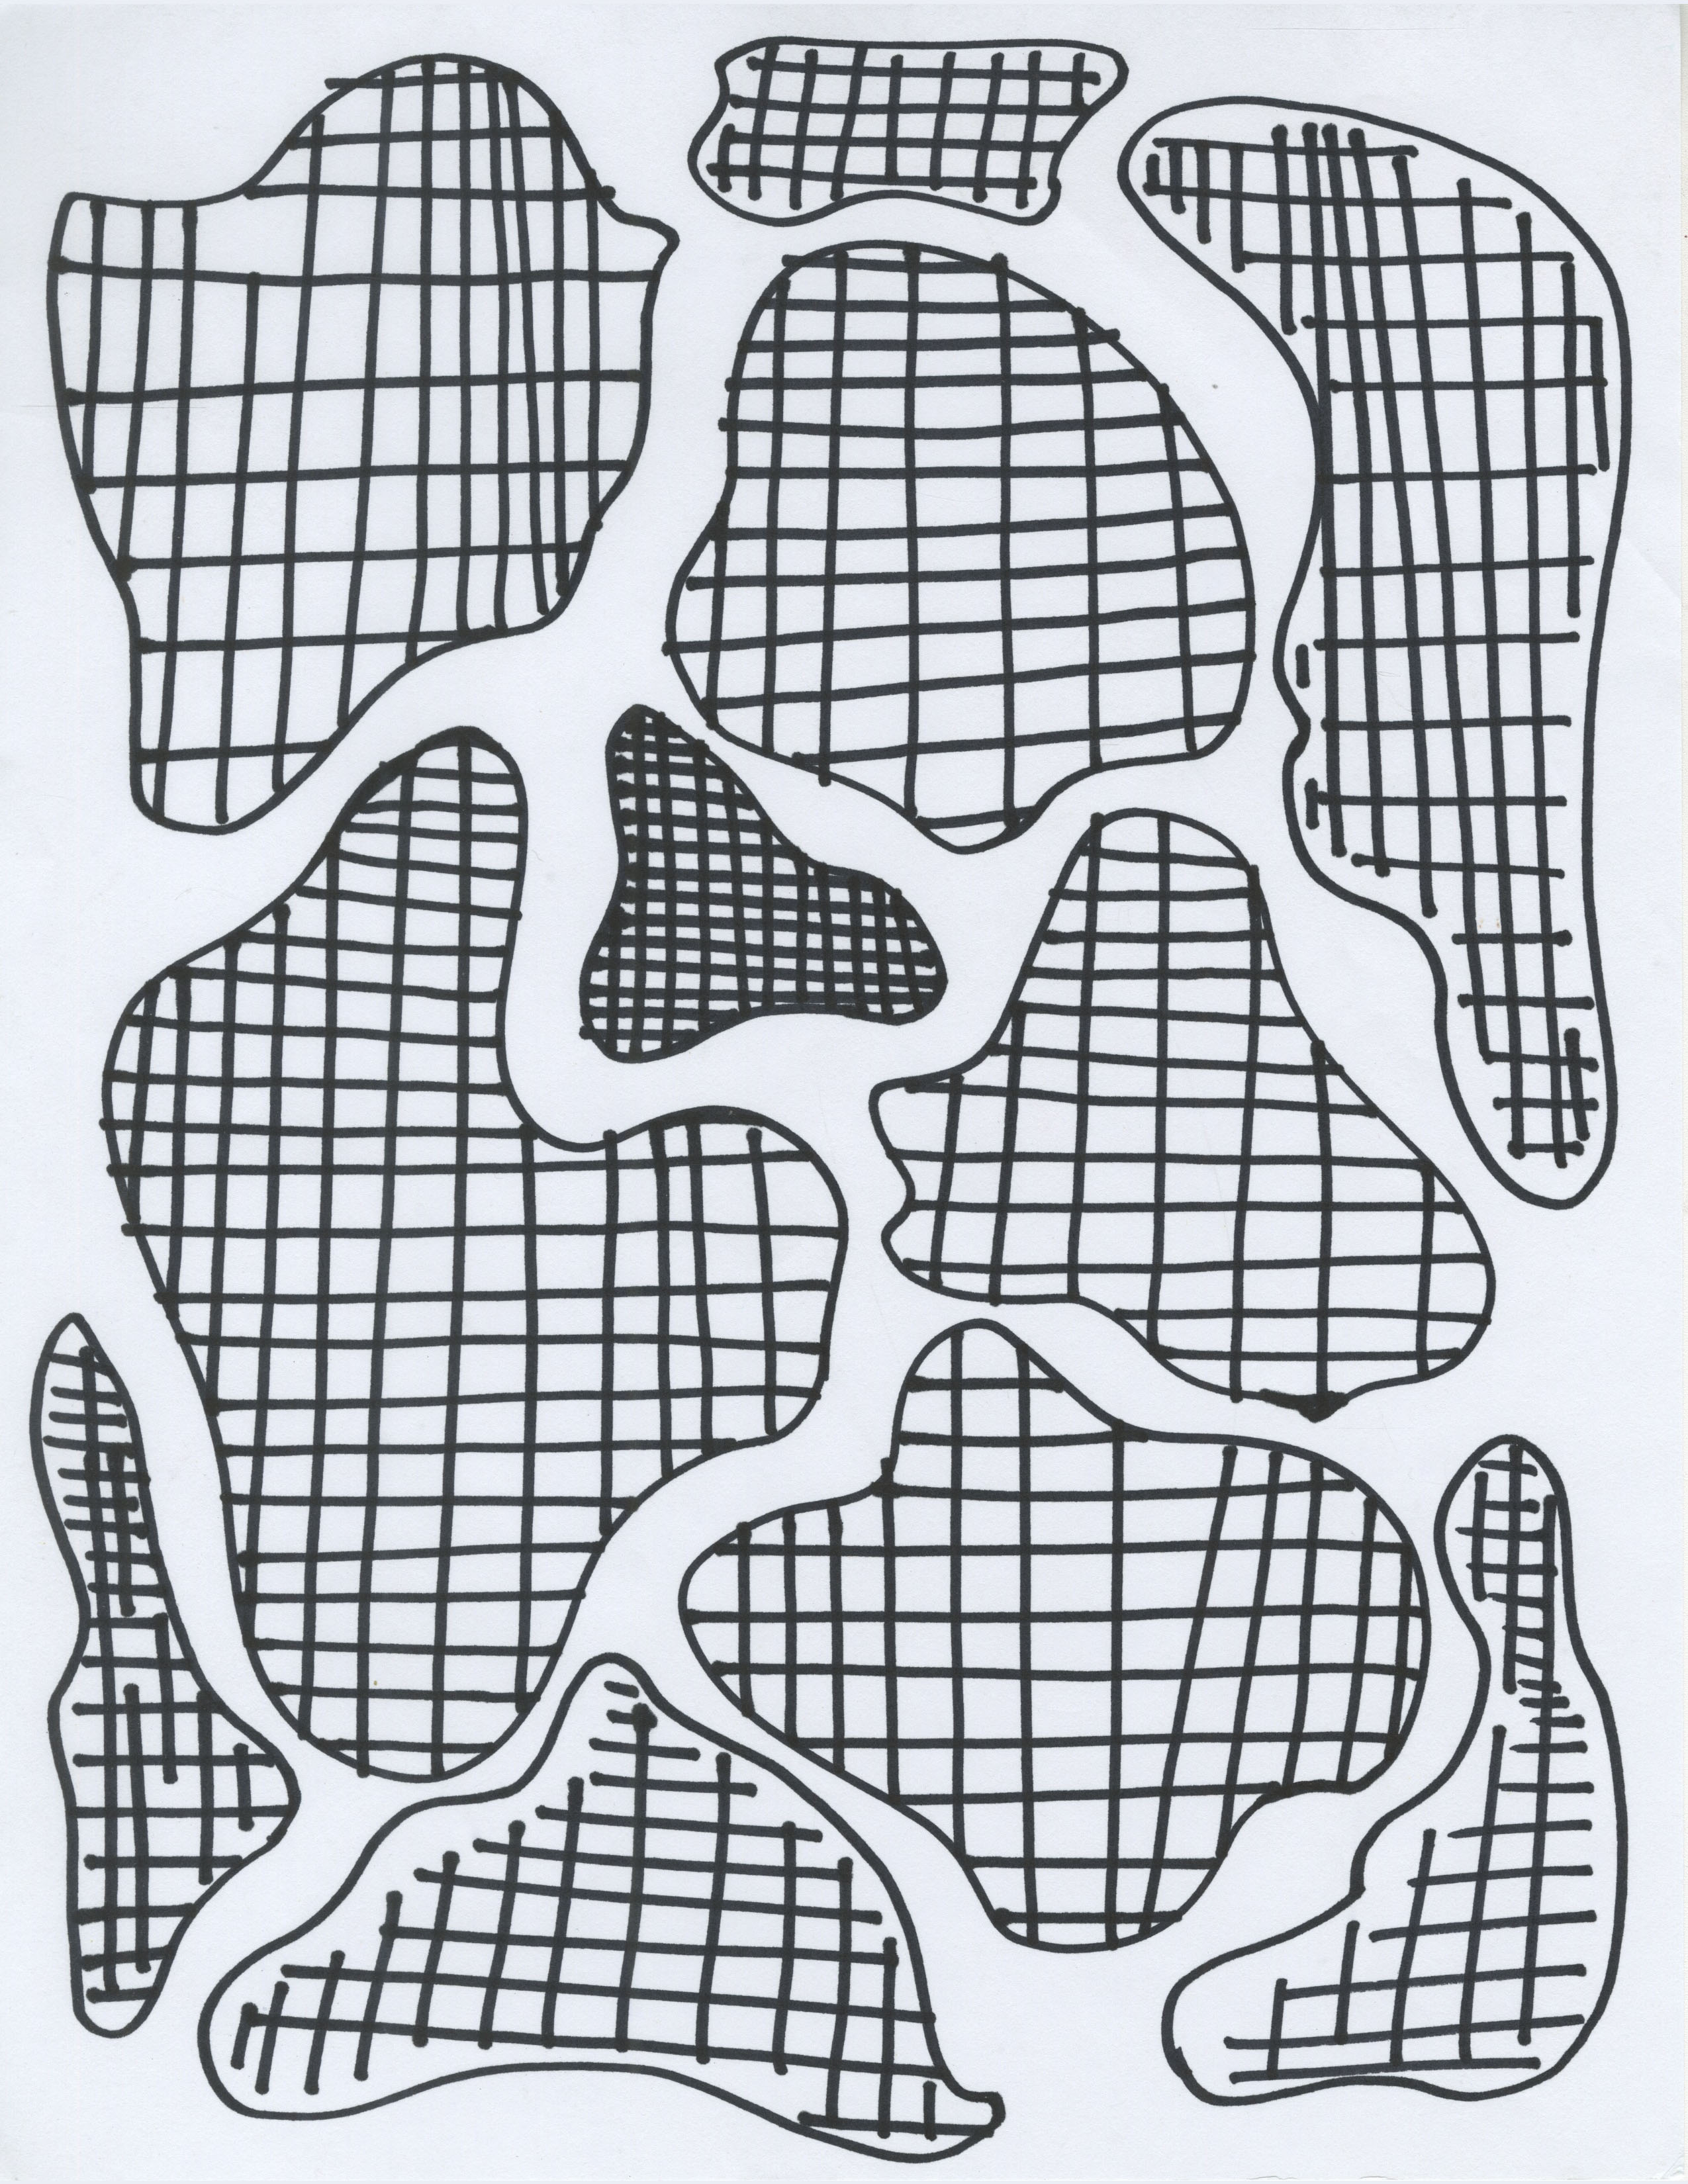
Setup:
-Hold your paper landscape style.
-Draw two vertical lines down the entire paper measuring 4.25 inches in and 6.75 inches in.
-Draw horizontal lines going across the entire paper measuring 3 inches down and 5.5 inches down.
-Draw within the cross you’ve created.
-On a computer search for images of head proportions, have this in front of you.
Before you start:
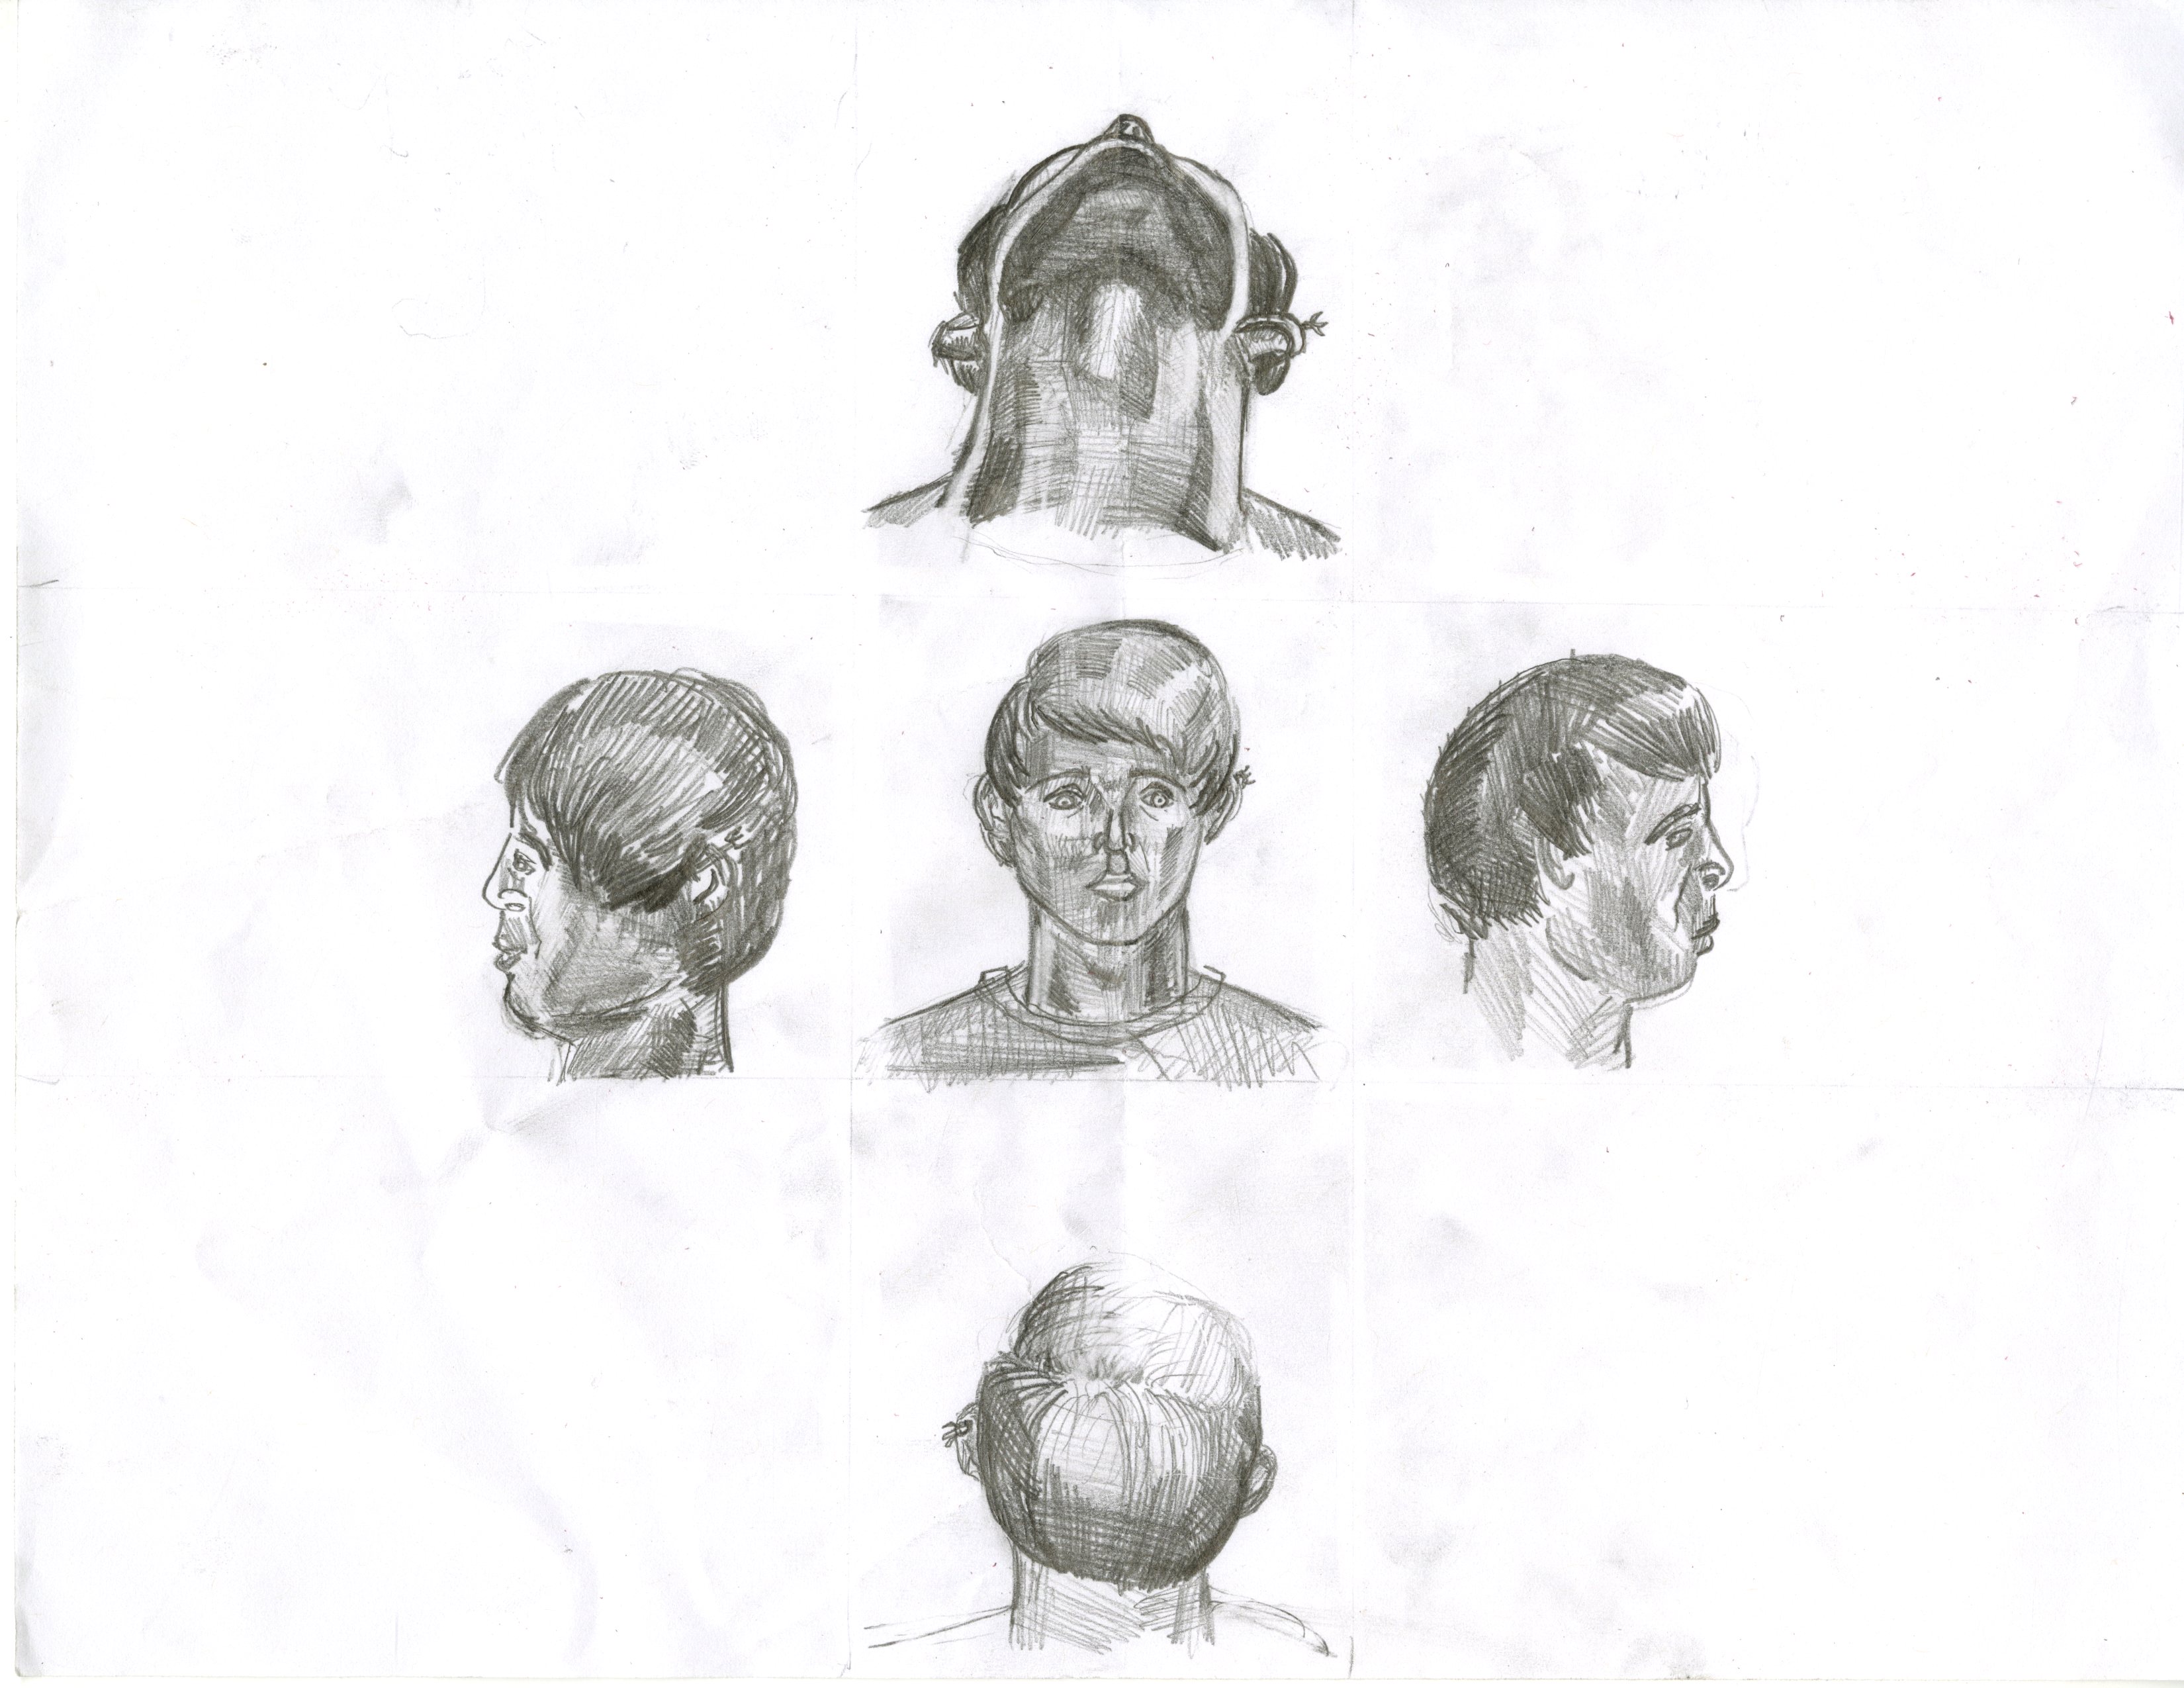
-There is going to be a head in the center of the cross.
-There will be two heads on the side of that head facing outwards, both in the center of the space on each side.
-There will be a head viewed from beneath at the top of the cross and a head viewed from above at the bottom of the cross. The heads should be tilted enough that they fit in the space.
-Each head should take up as much space as possible without drawing outside of the lines.
-The heads include their necks.
-You can start with any head.
-Each head is the same person.
-Each head should be consistent with the rest of the heads.
Drawing the Heads:
-You cannot choose family when choosing models, you can choose celebrities, and you can look up pictures for reference.
-Imagine someone that you have looked up to at some point in your life. Give the heads their jawline.
-Imagine someone who looked up to you in your life. Give the heads their hair.
-Imagine someone who you can always laugh with. Give the heads their ears along with any piercings.
-Imagine someone that has hurt you in your life, with or without meaning to. Give the heads their lips.
-Imagine someone who has helped you in your life, or someone who coached you. Give the heads their nose and all the marks or freckles in the middle of the face.
-Imagine someone you are or once were in love with. Give the heads their eyes, eyebrows and any wrinkles or marks around their eyes and forehead.
-Imagine someone you used to be really close to. Give the heads their cheeks and cheekbones, along with any skin blemishes or makeup.
-Imagine someone who is lost in life. Give the heads their neck and any jewelry they wear.
-Erase lines drawn in setup
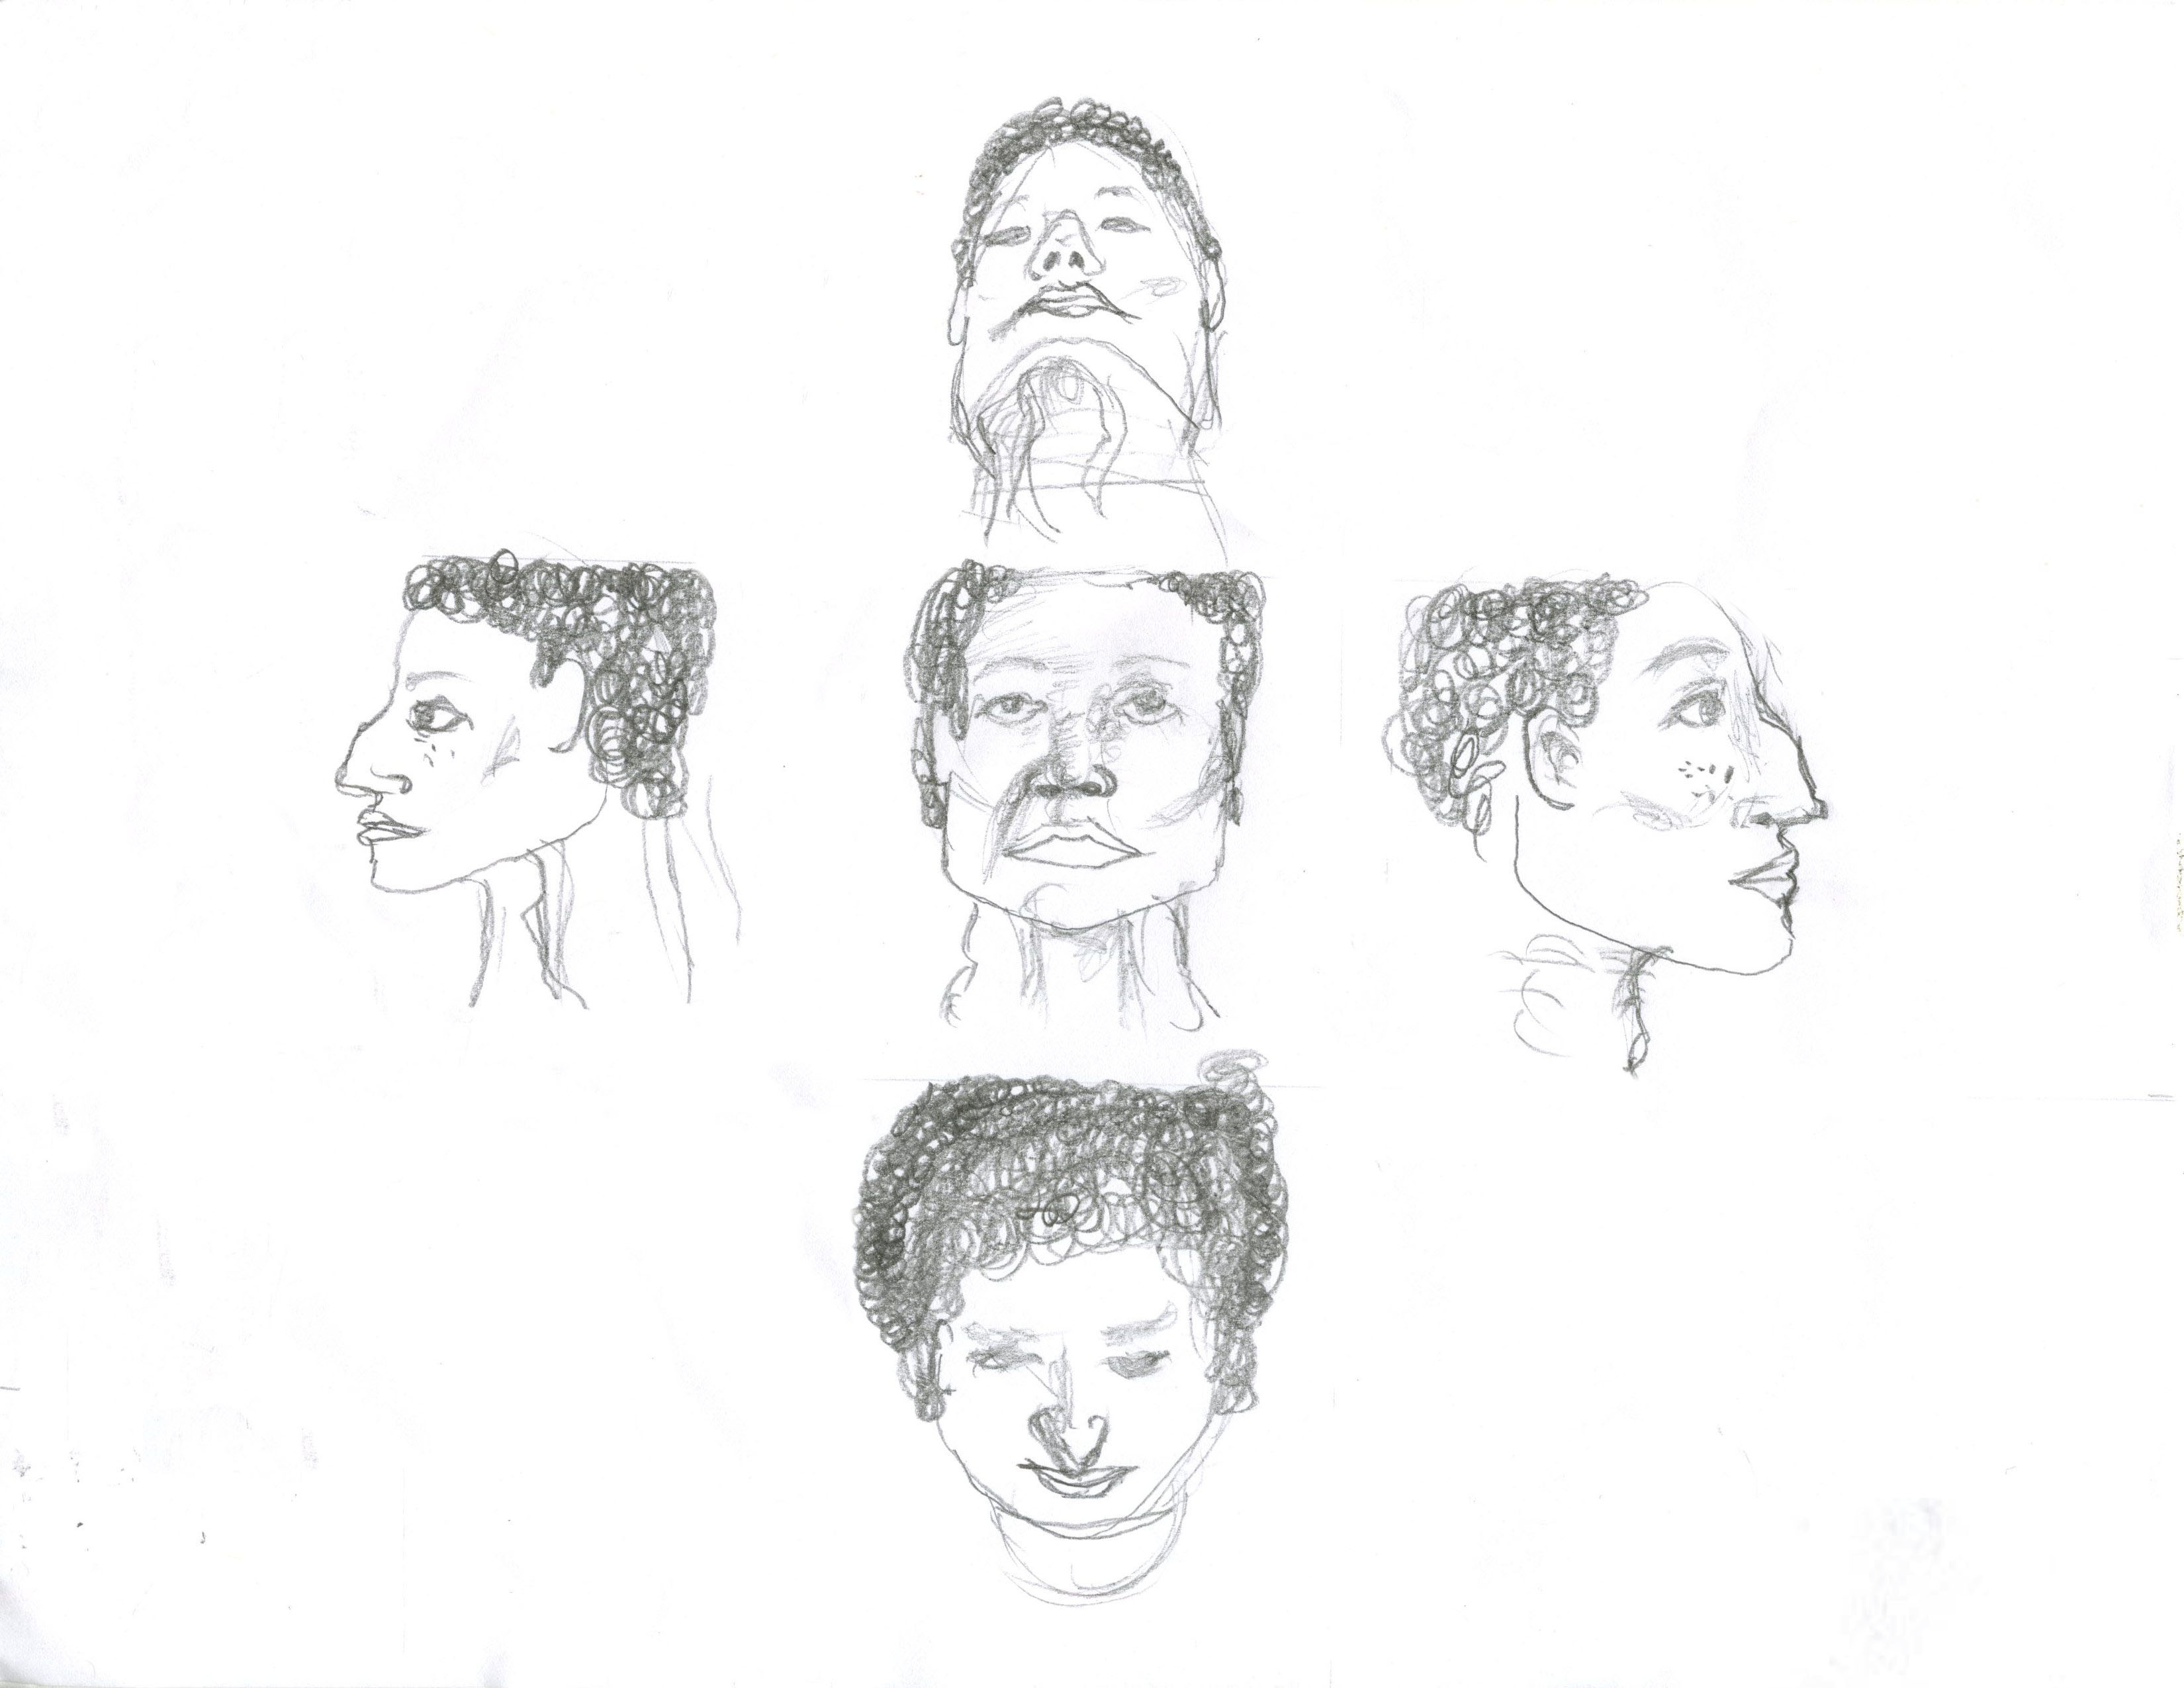
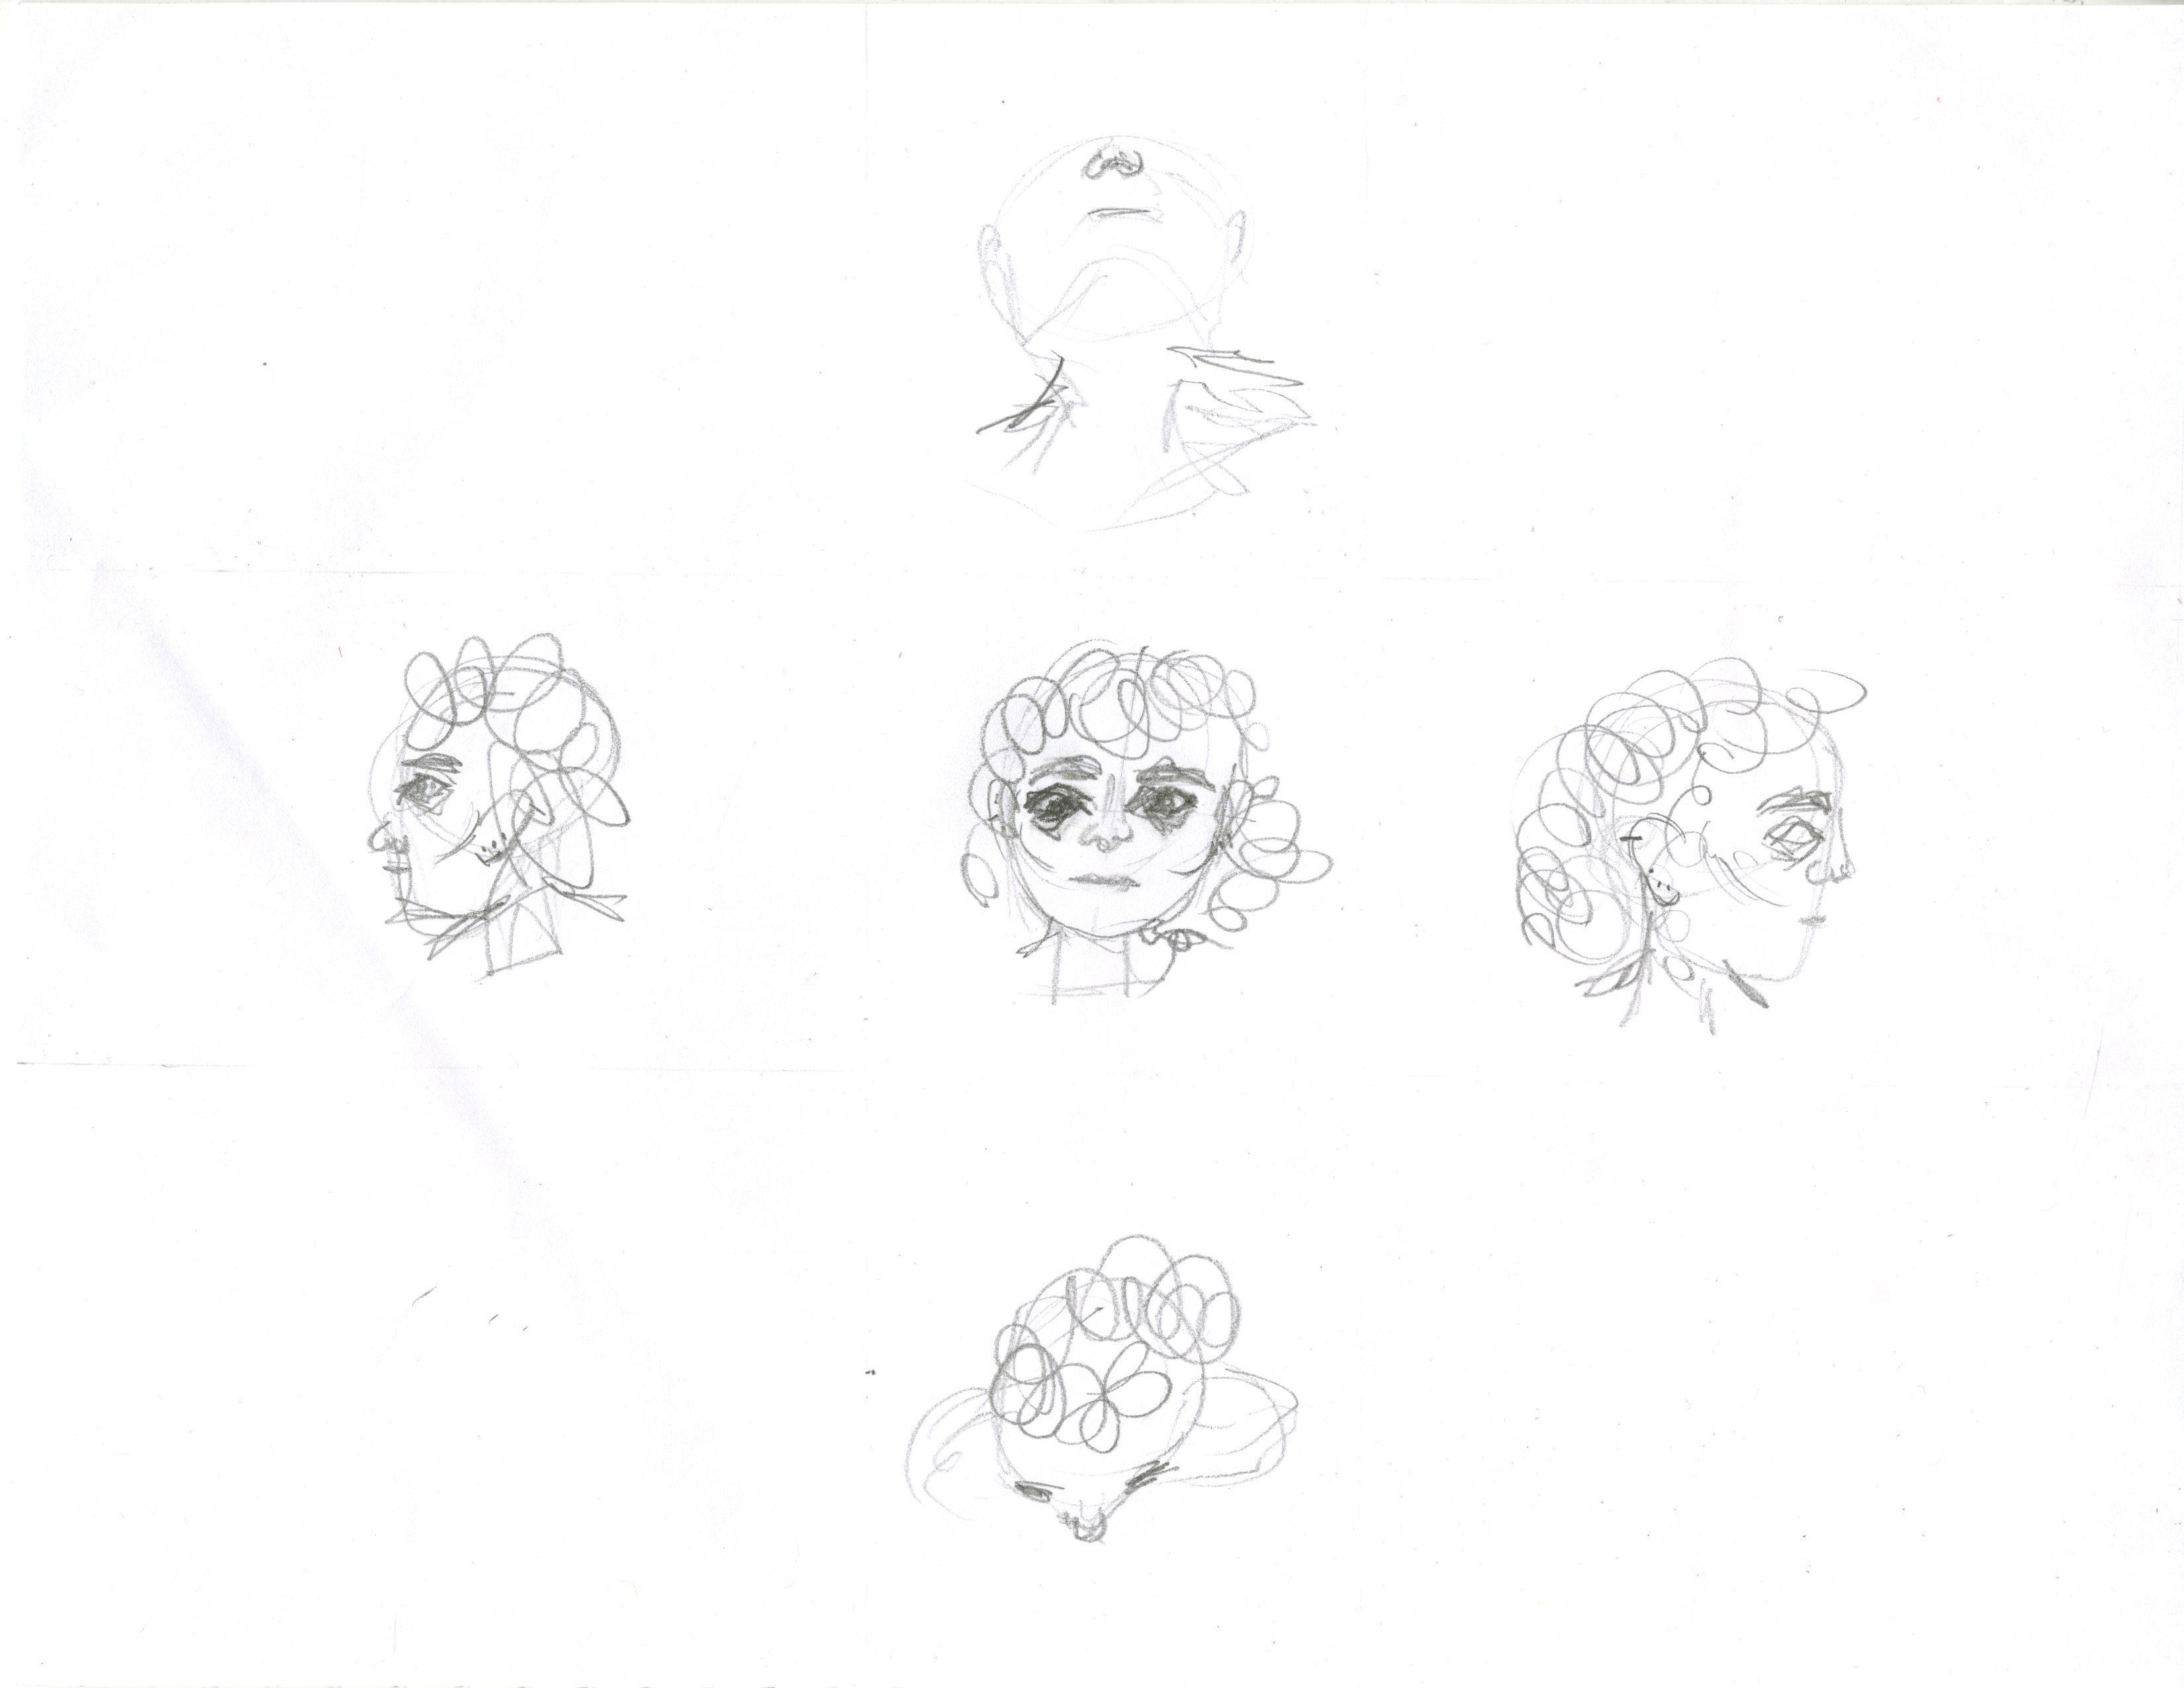
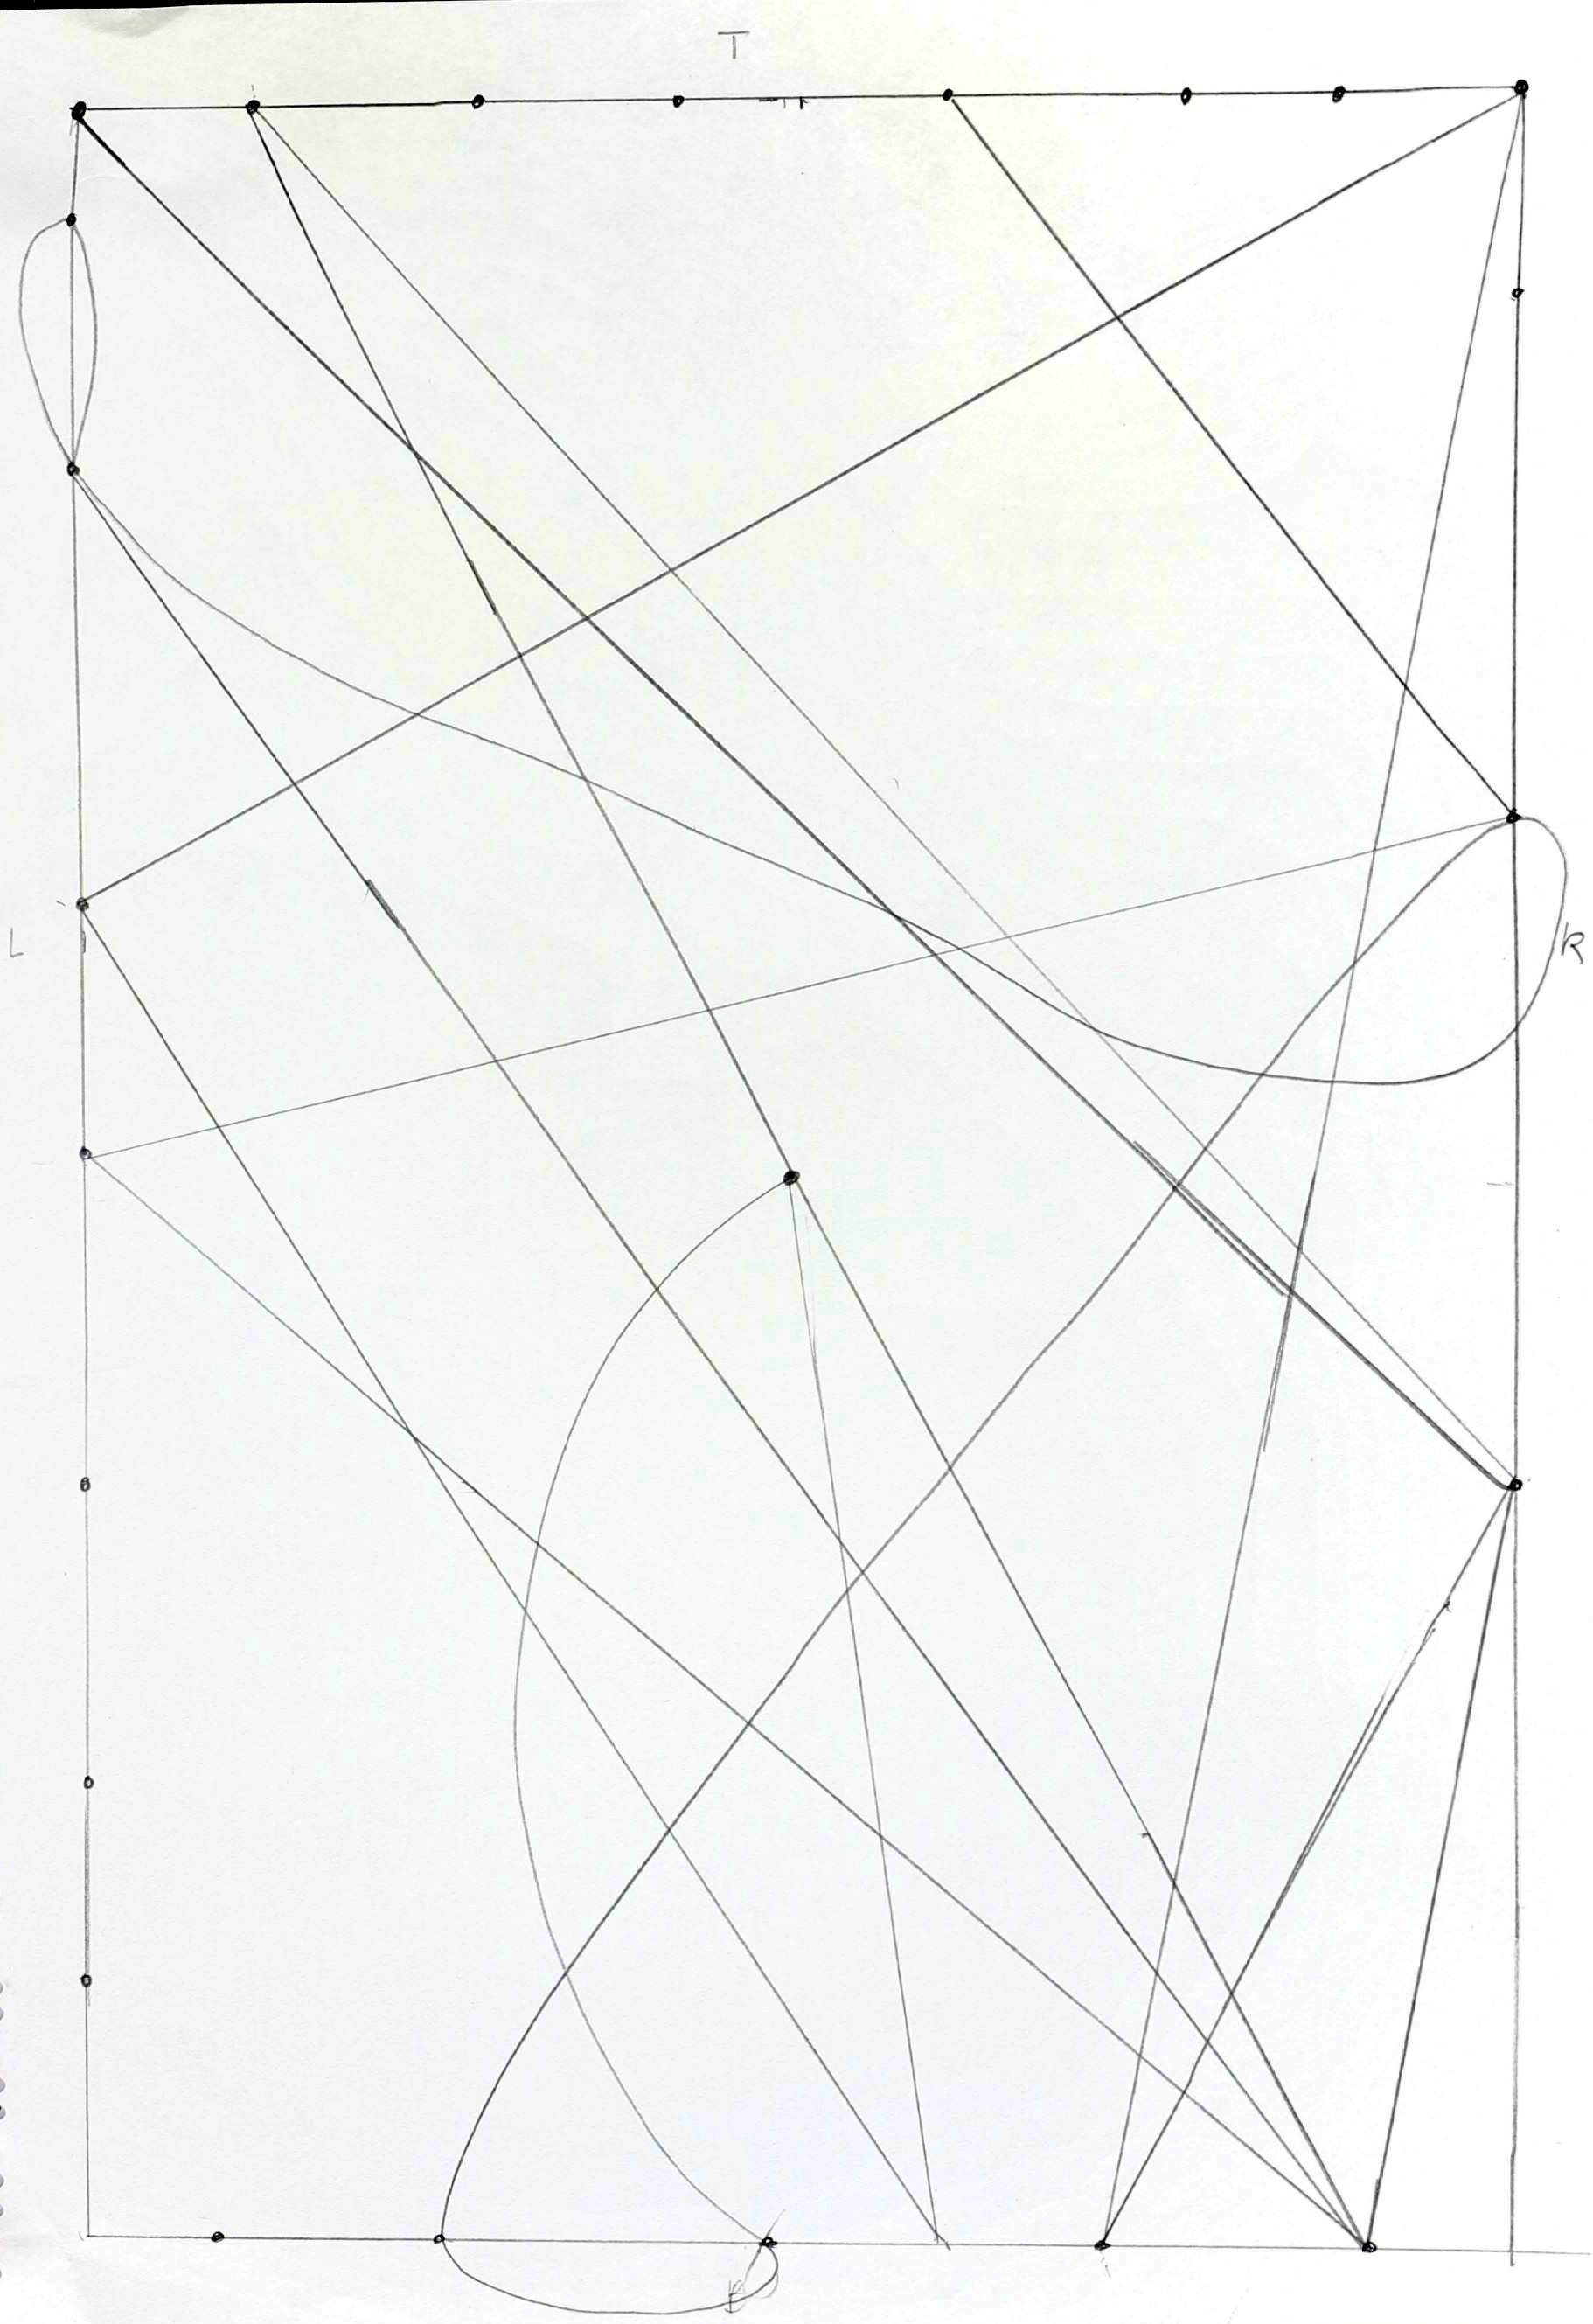
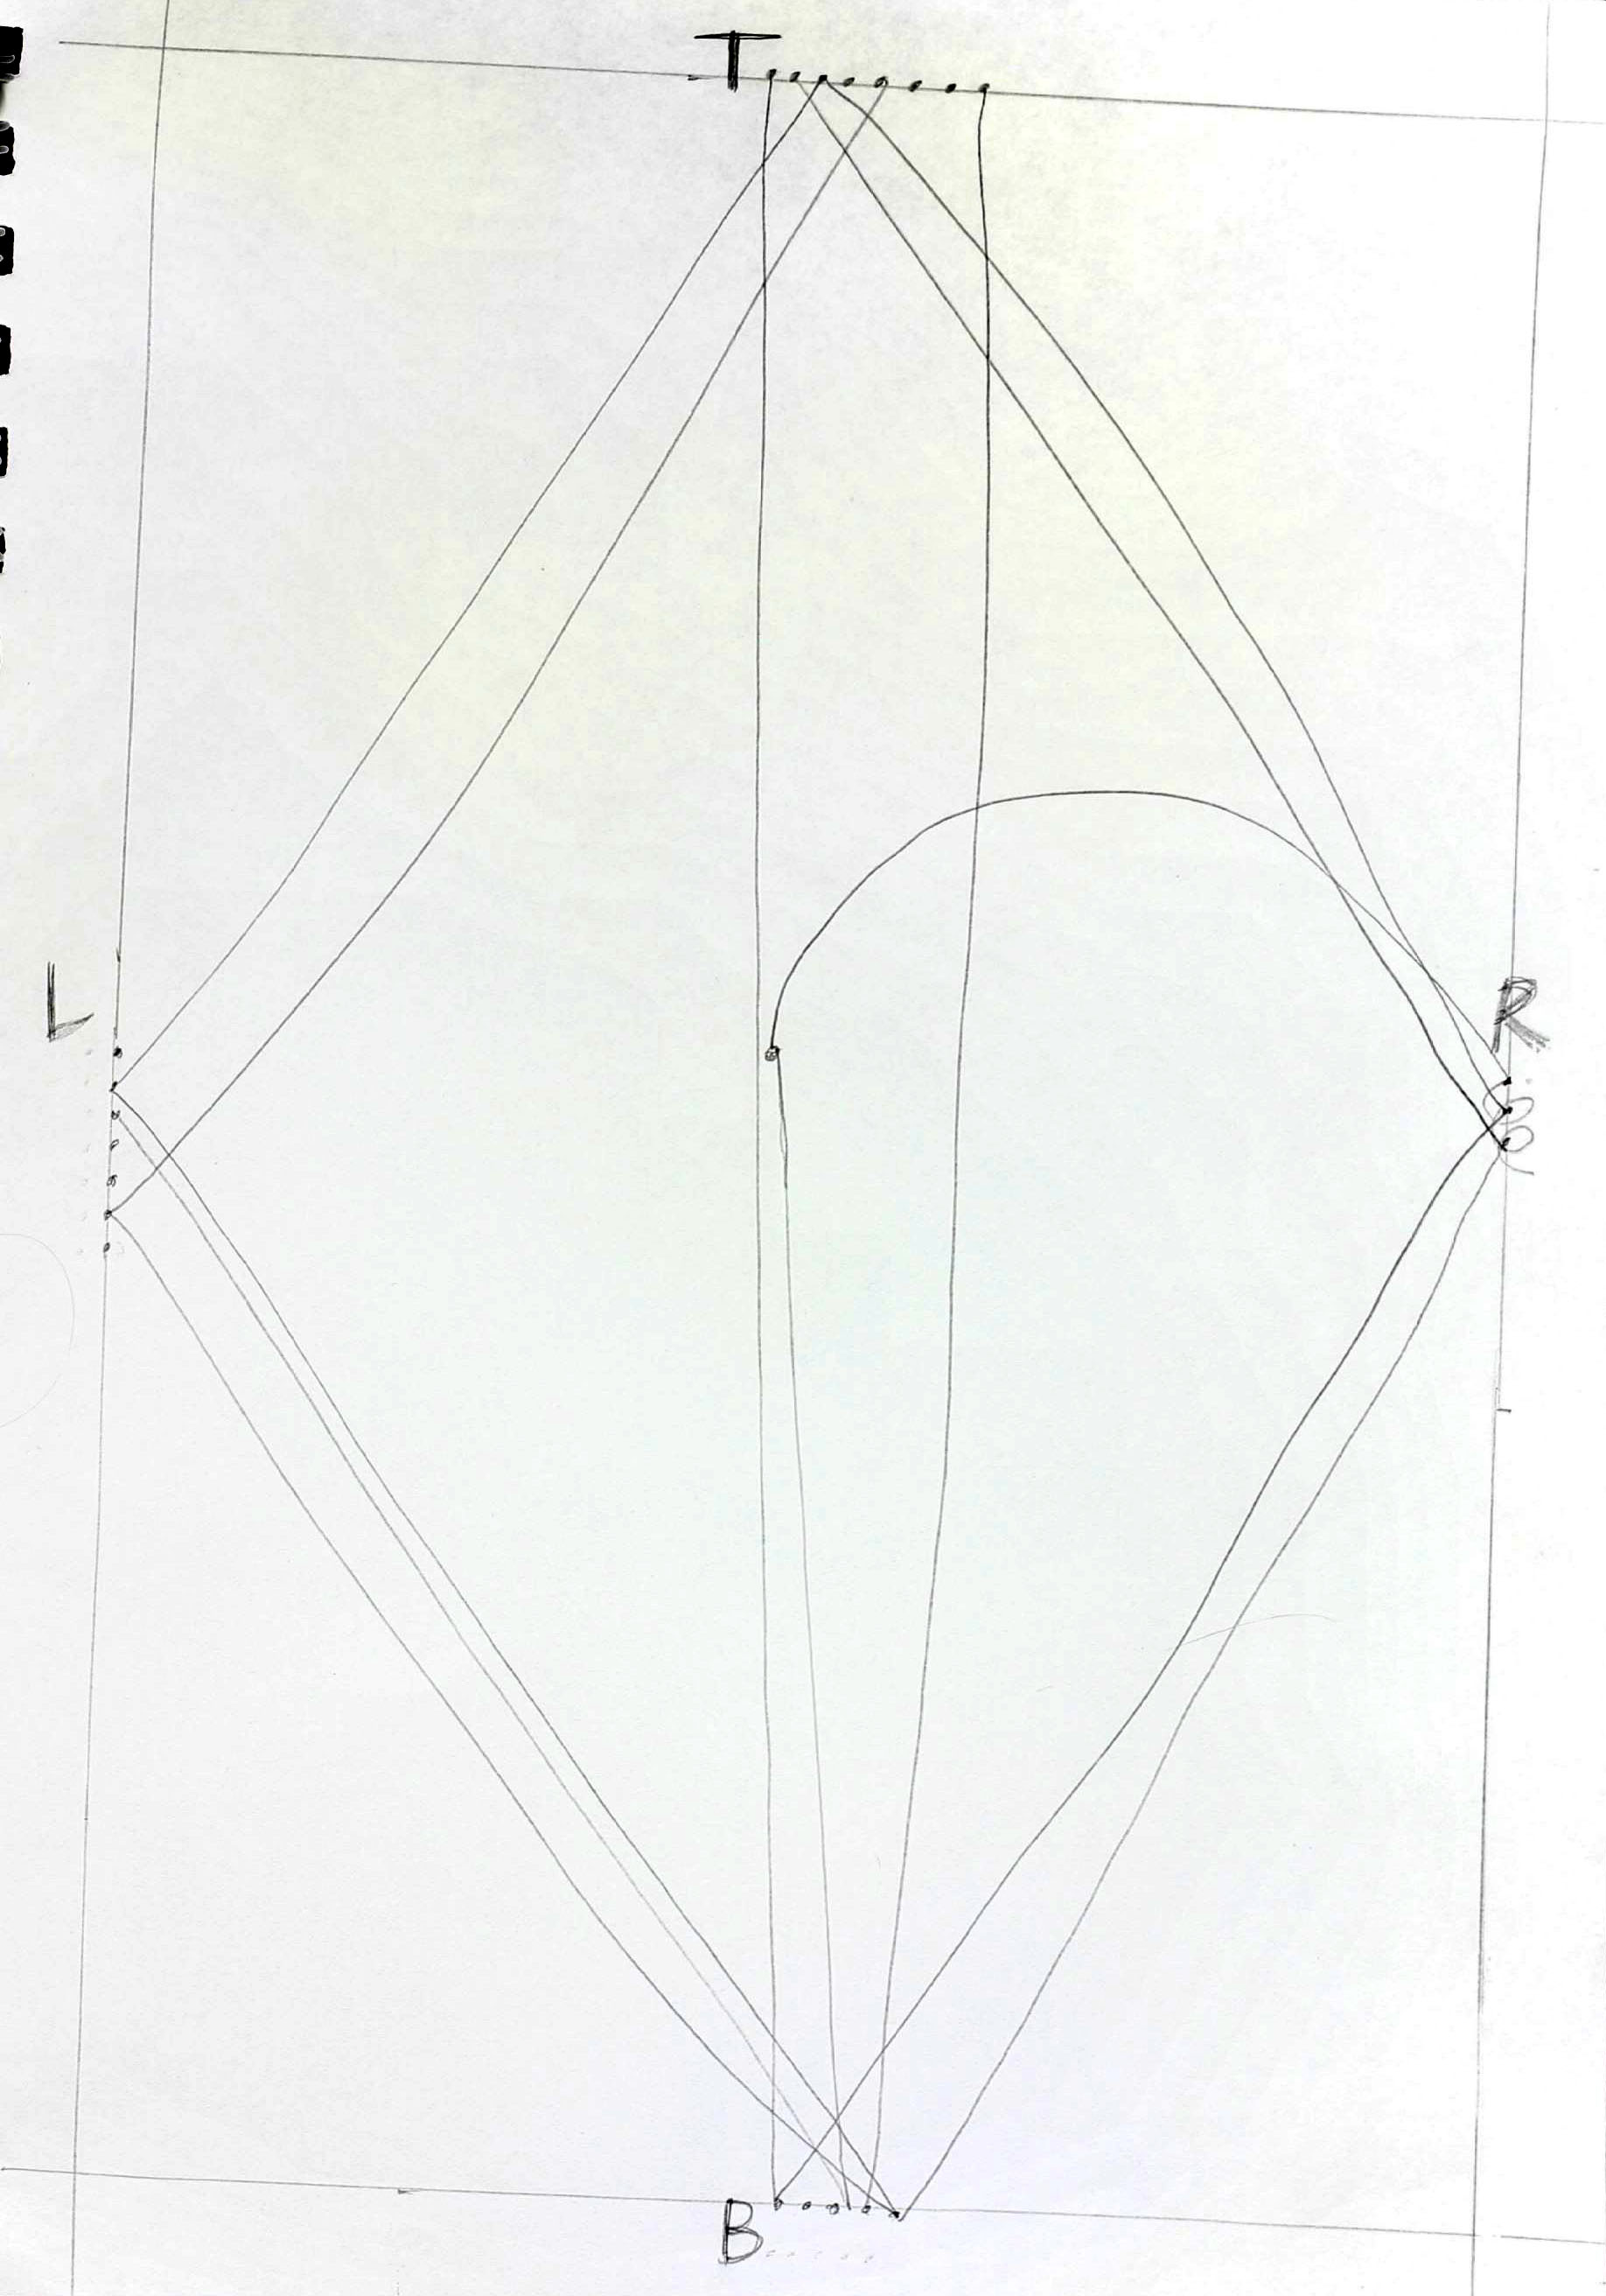
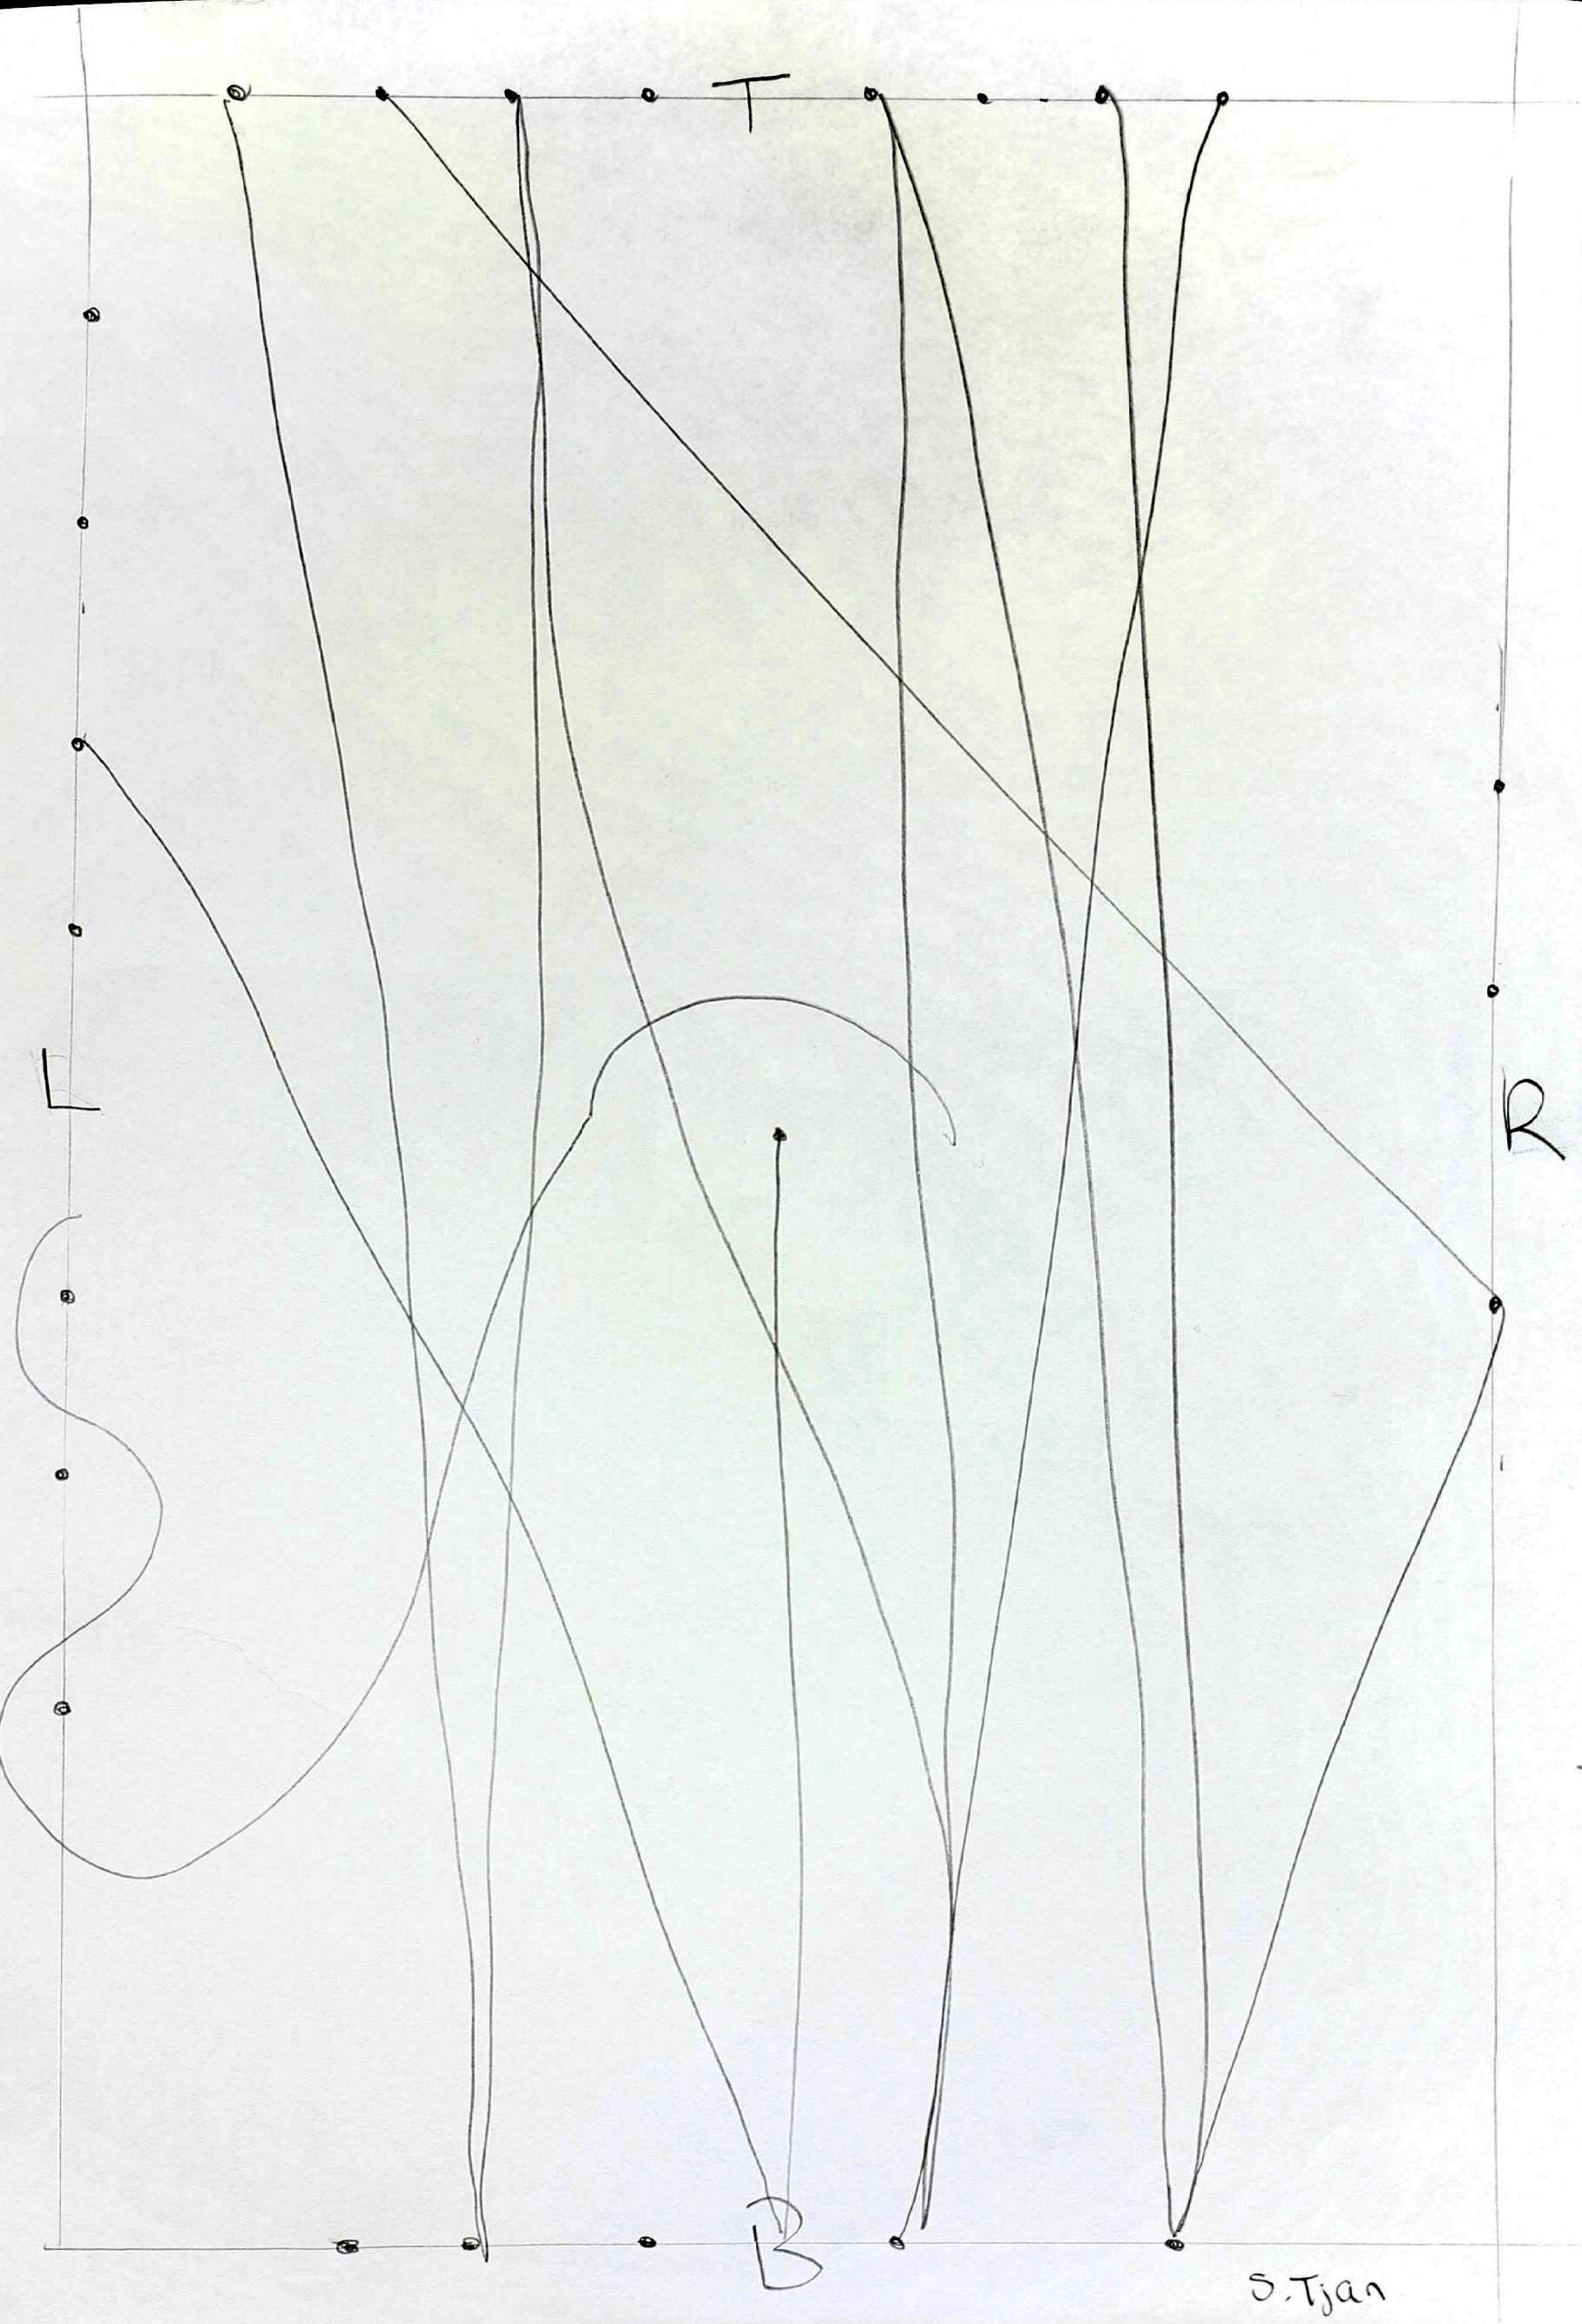
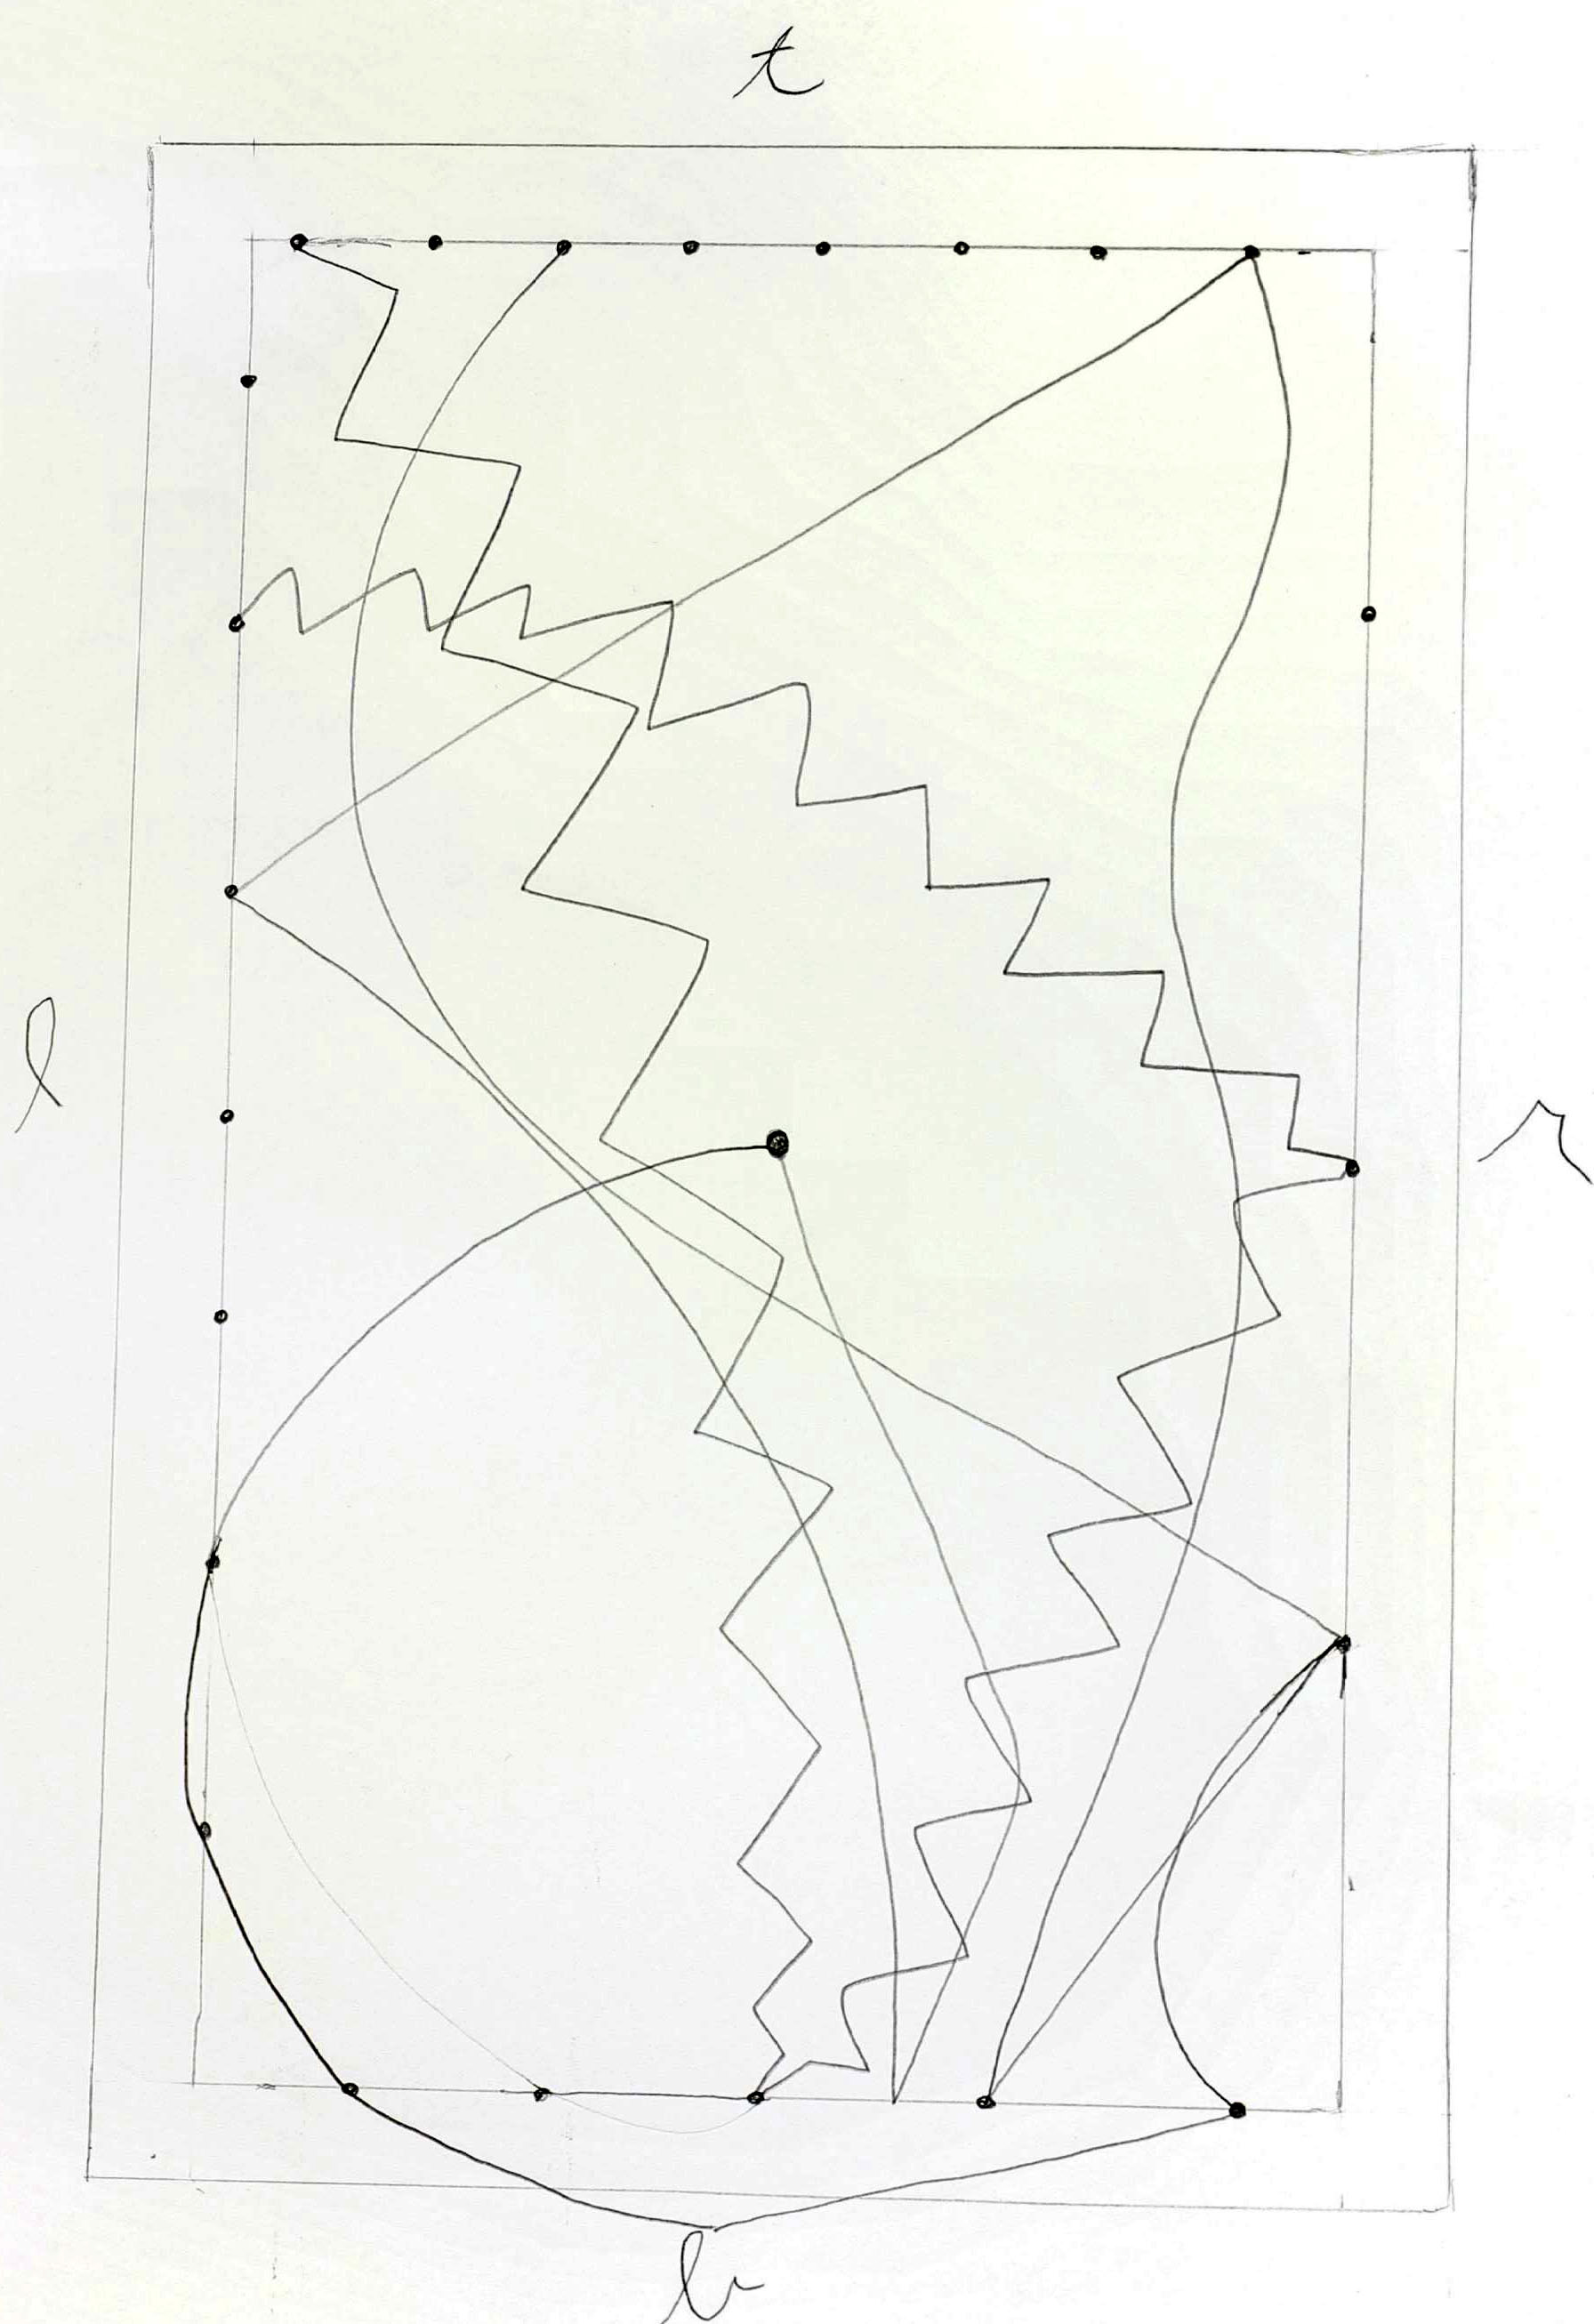
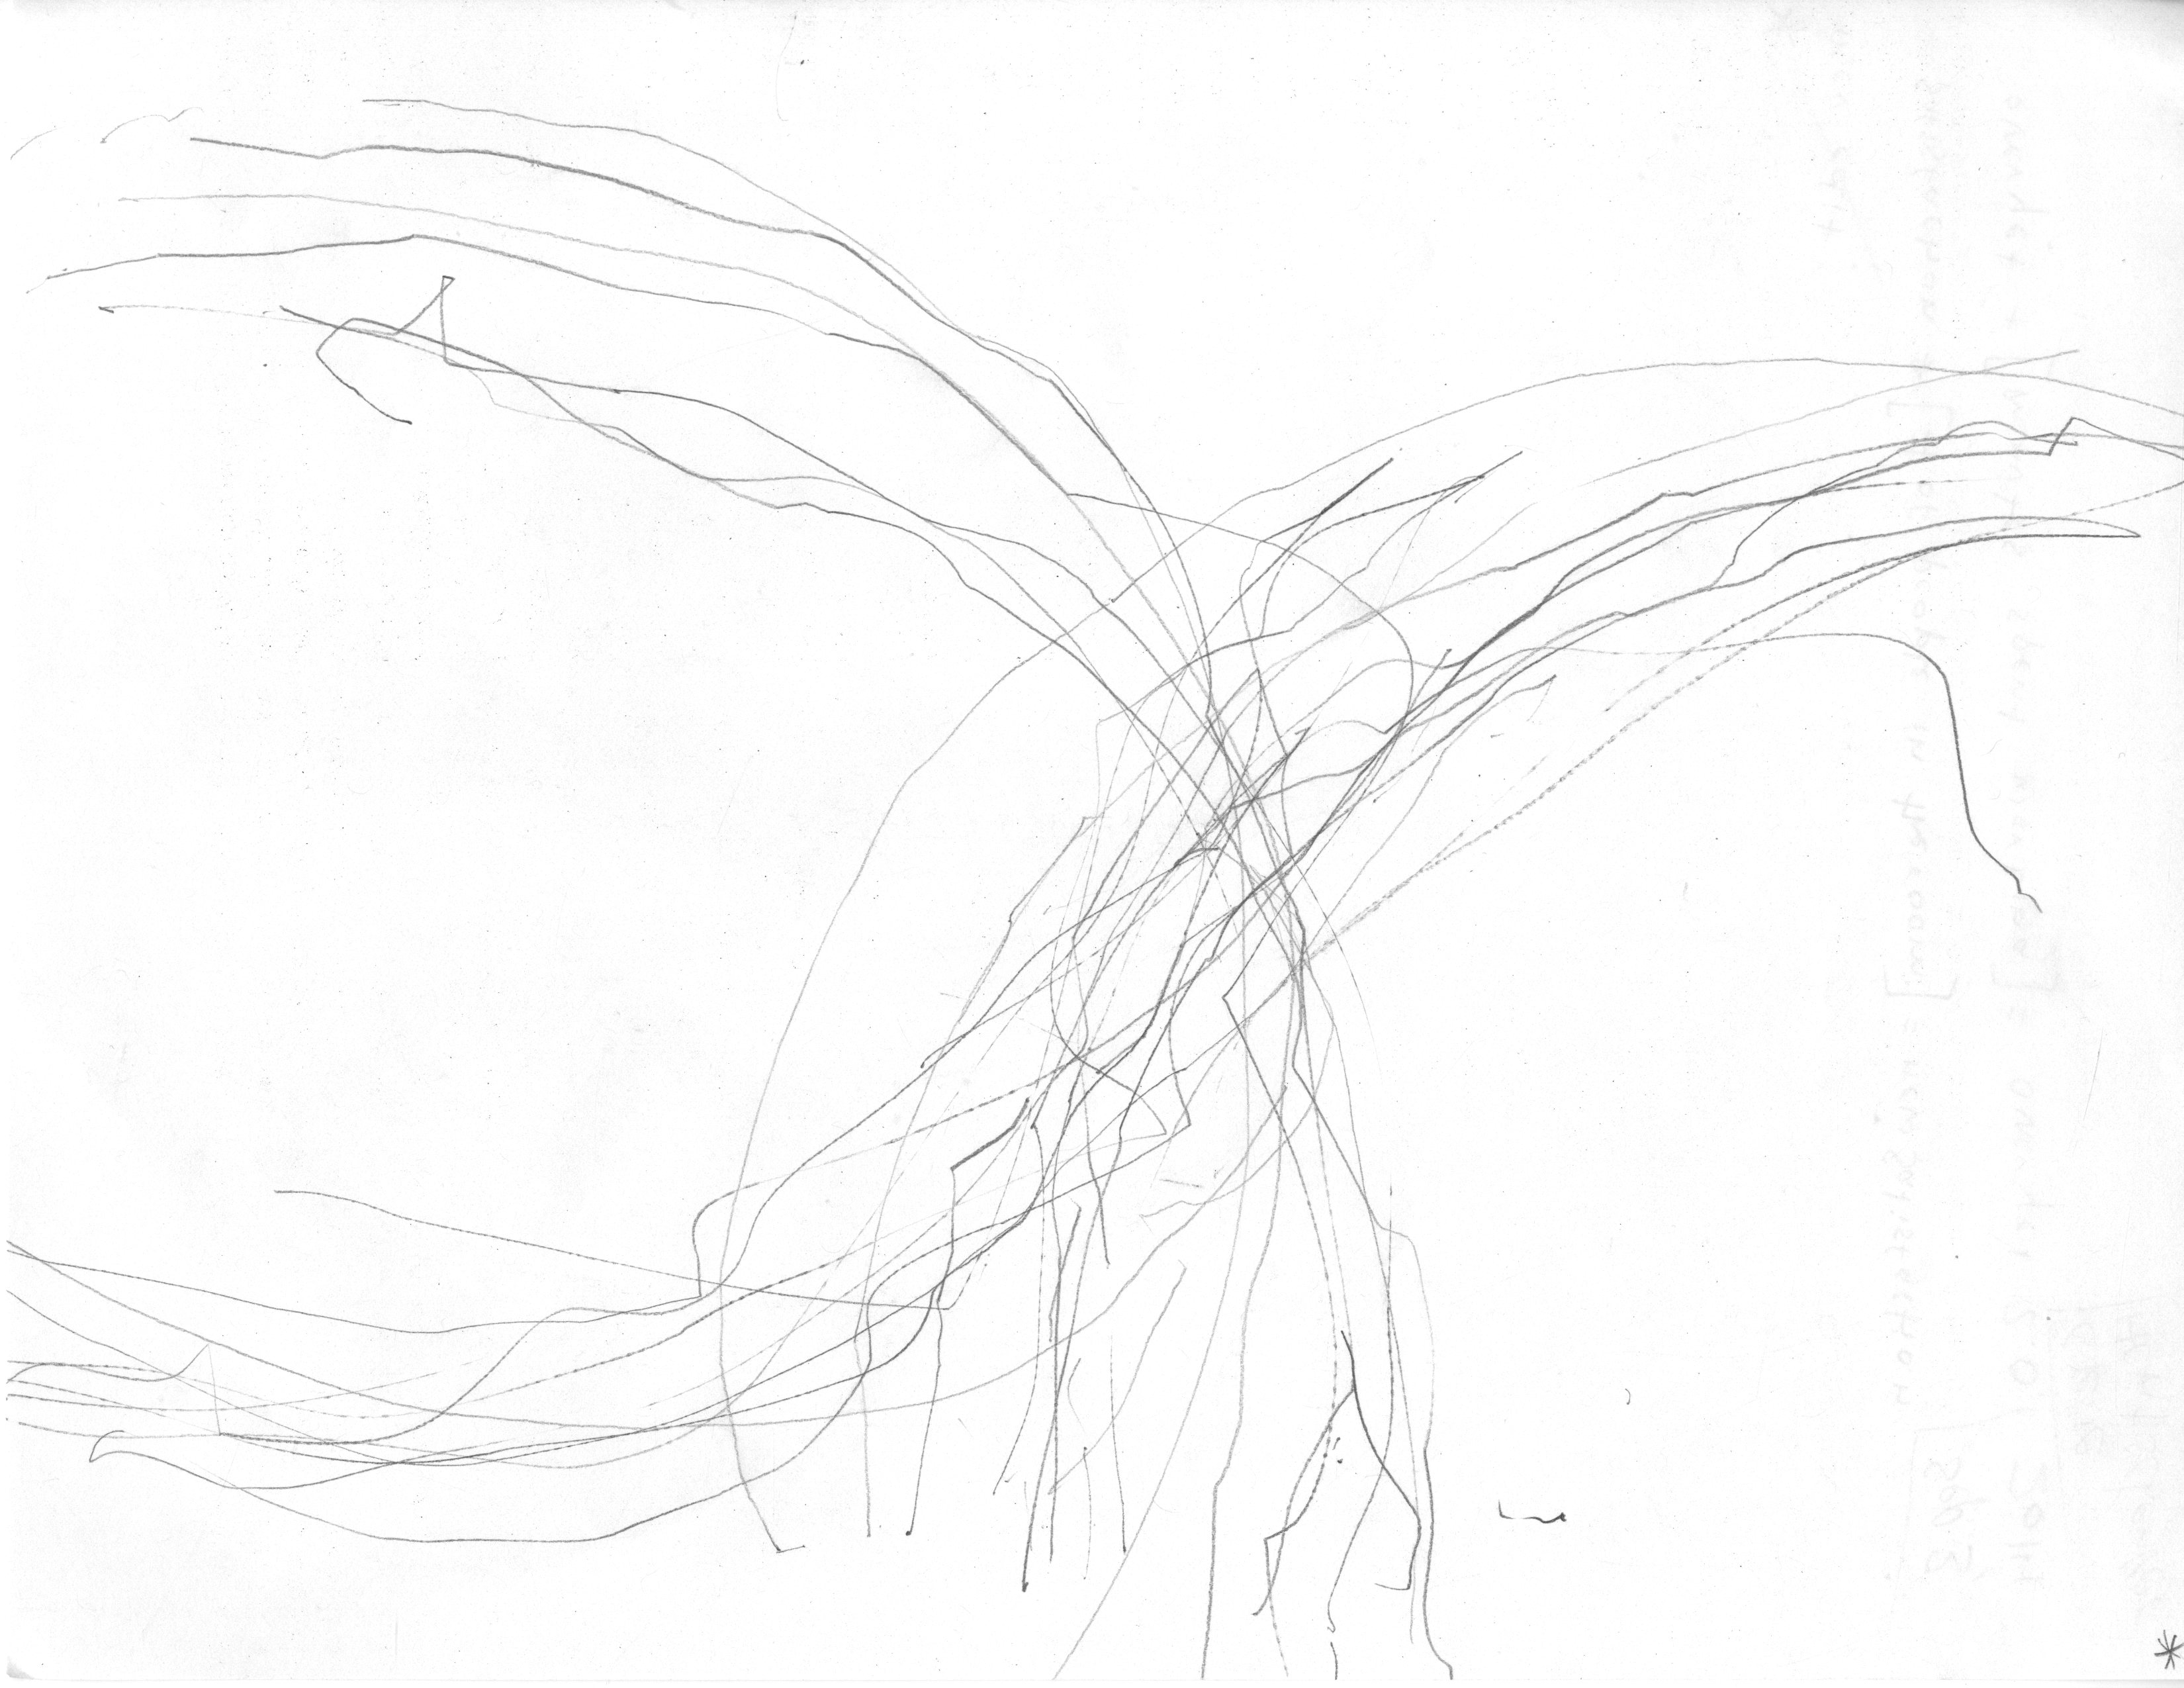
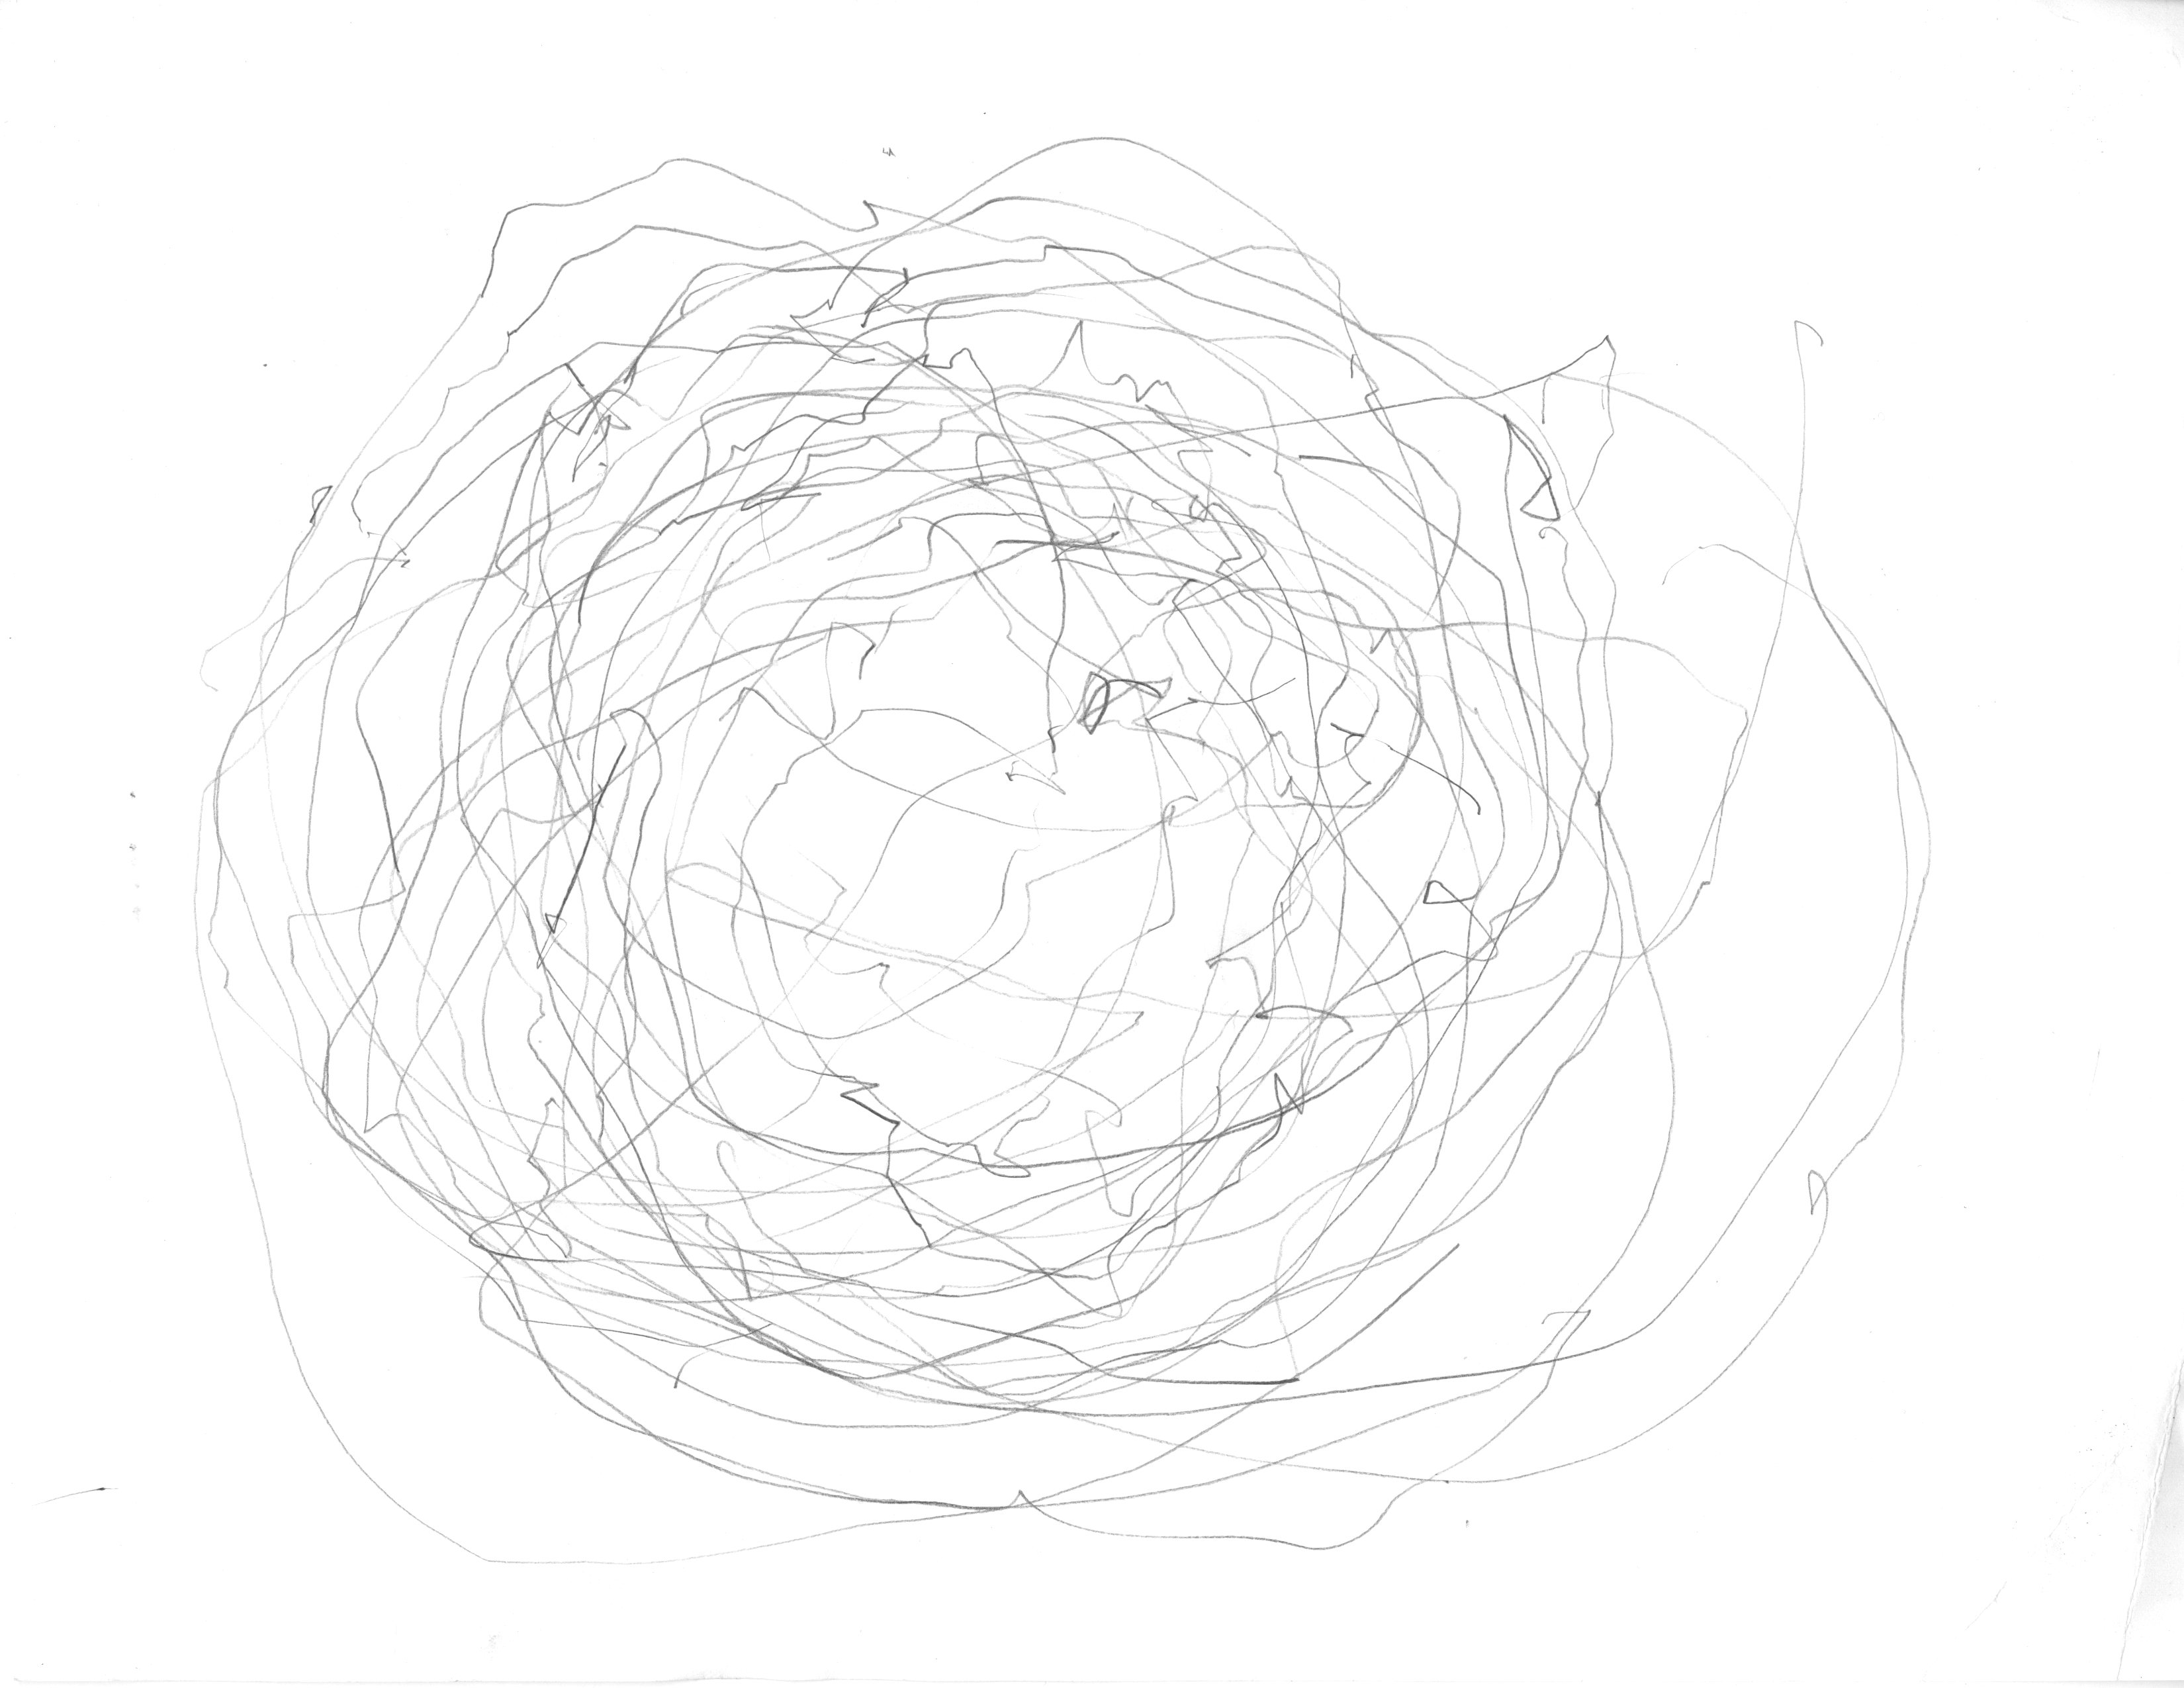
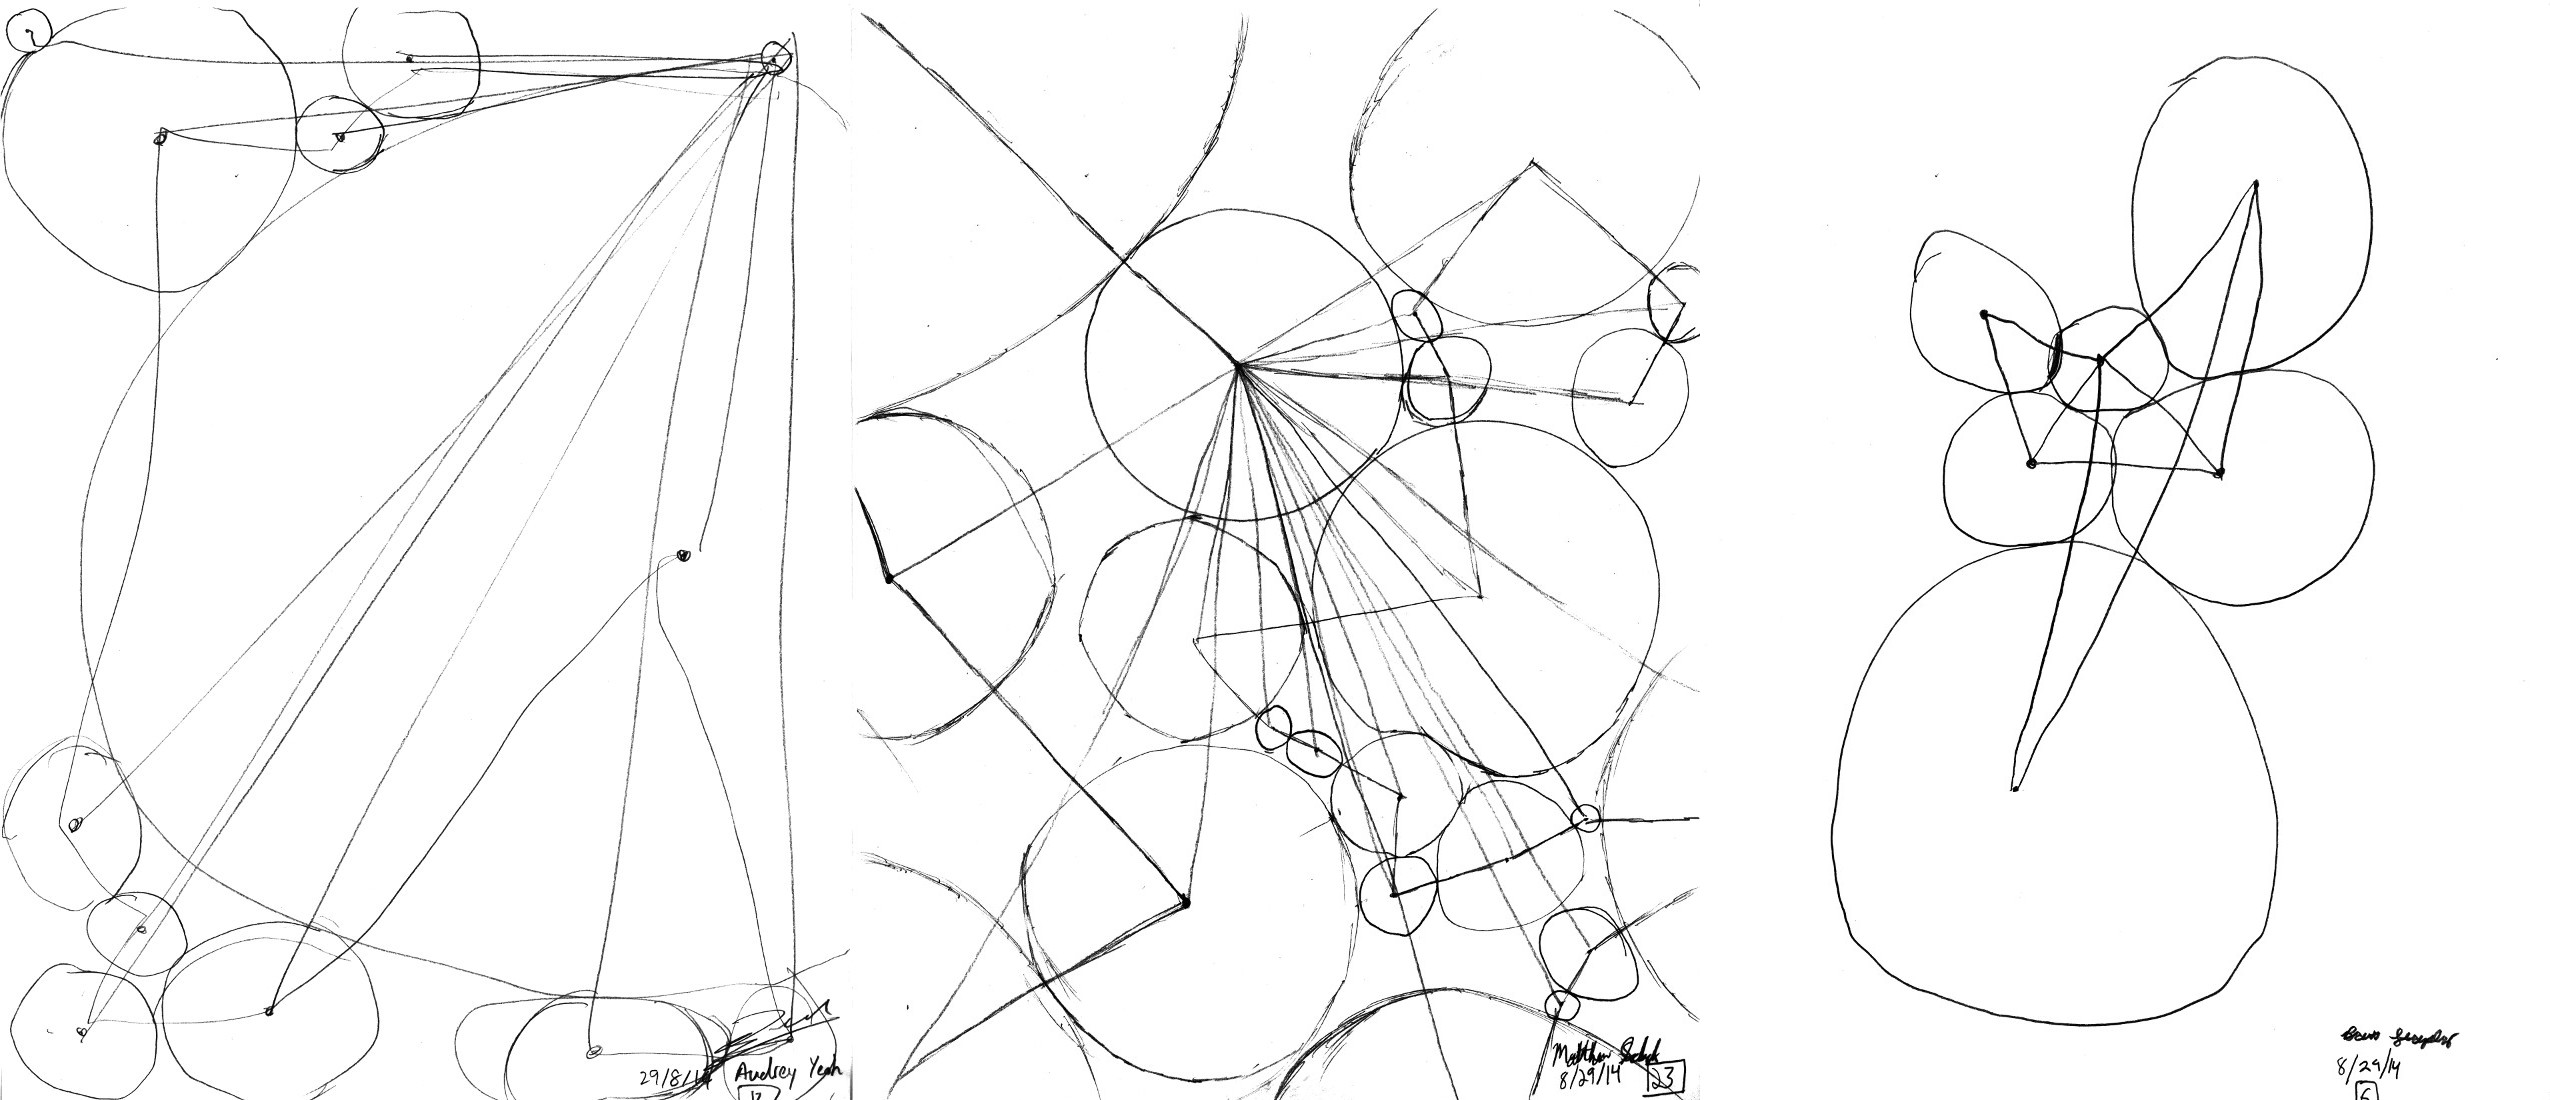
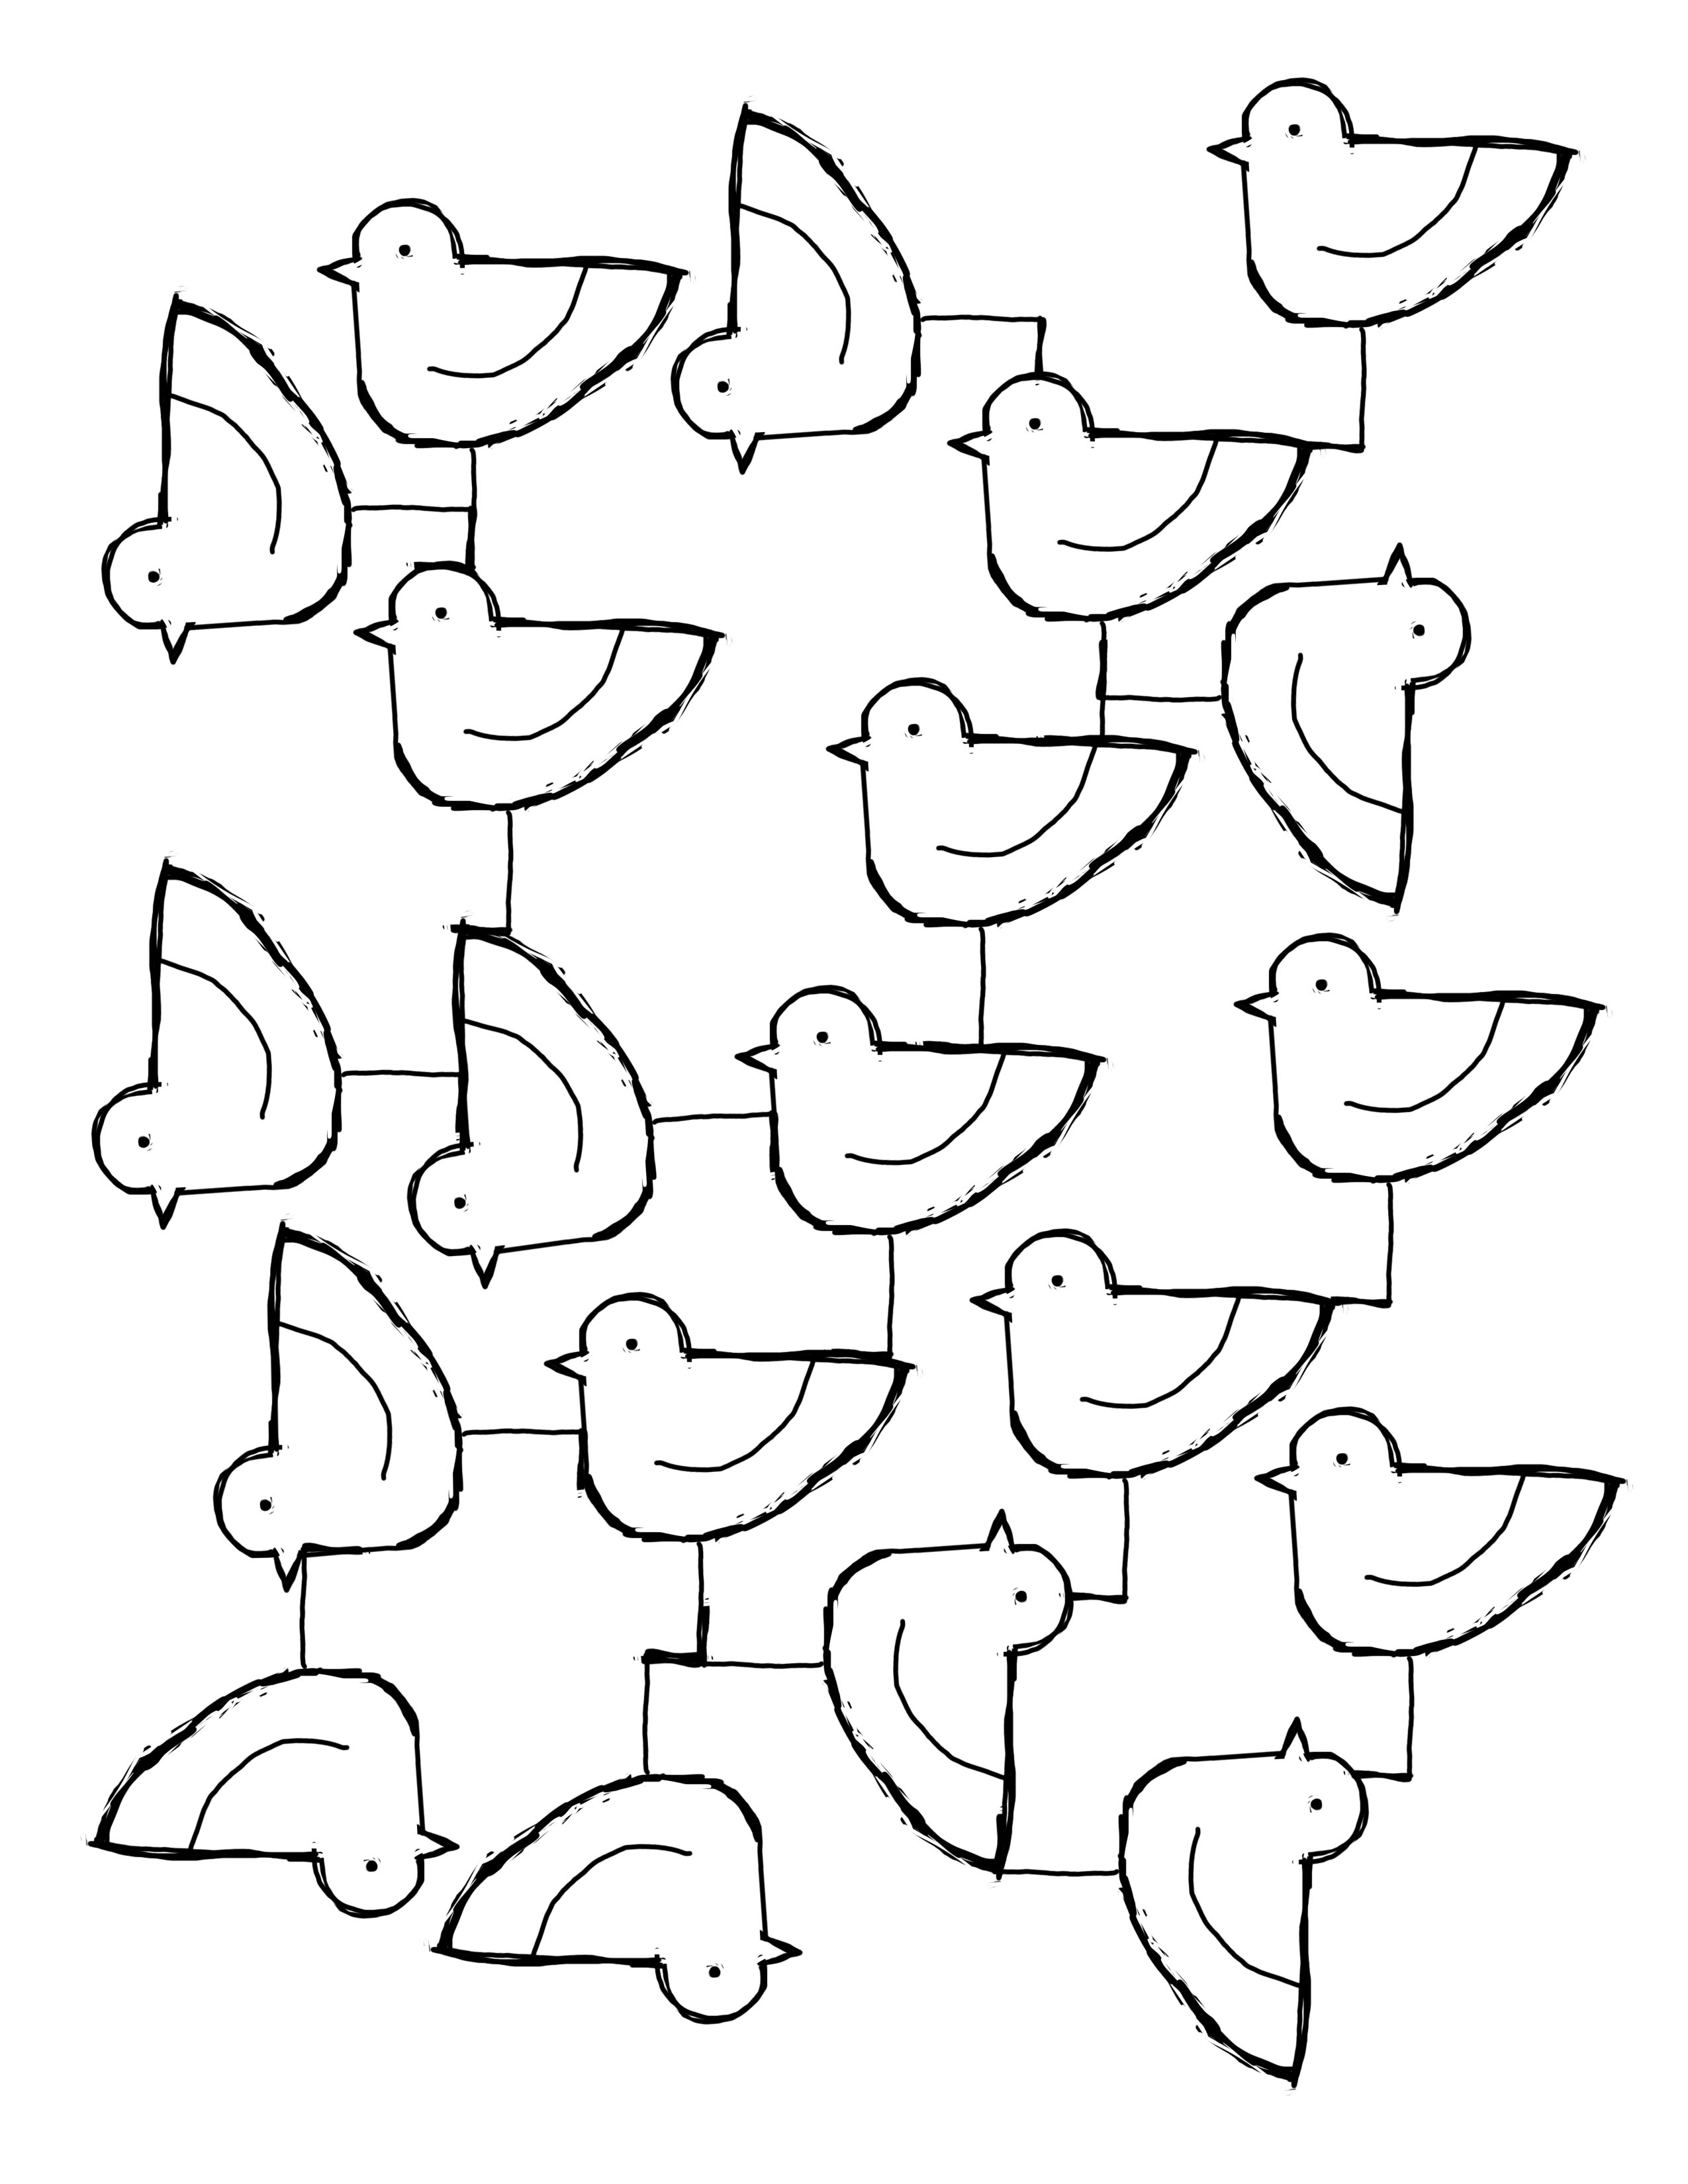
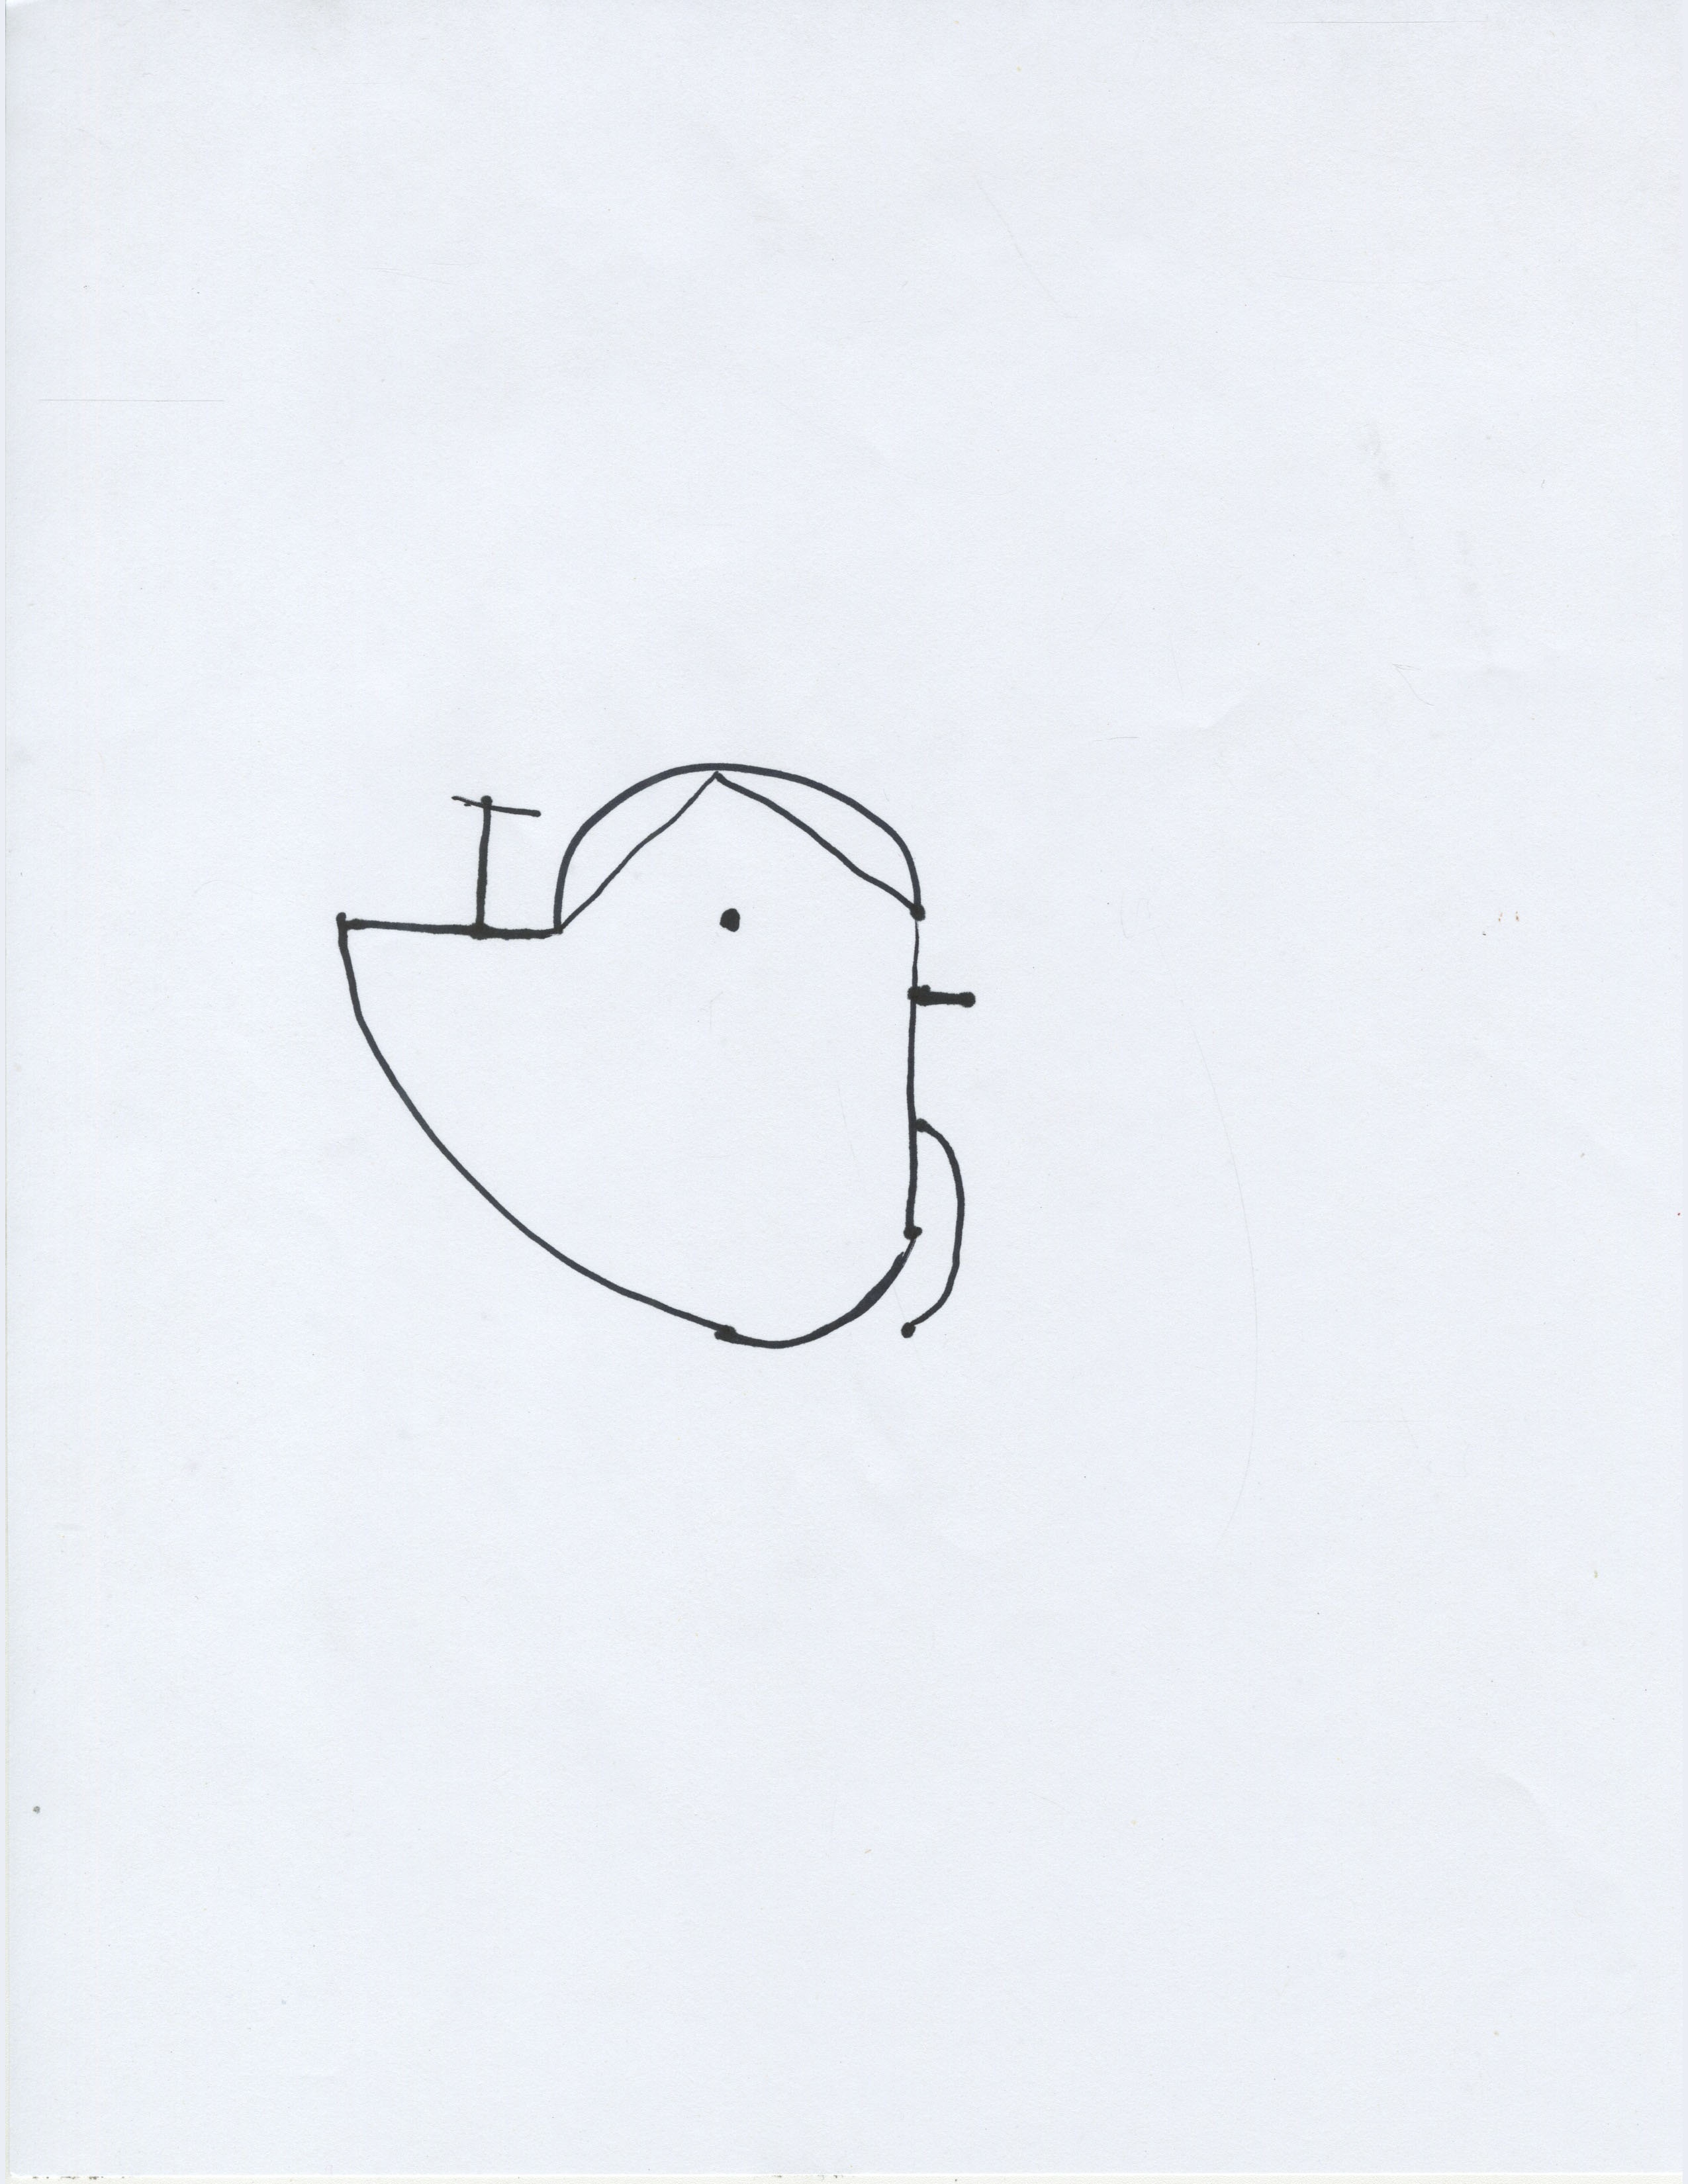
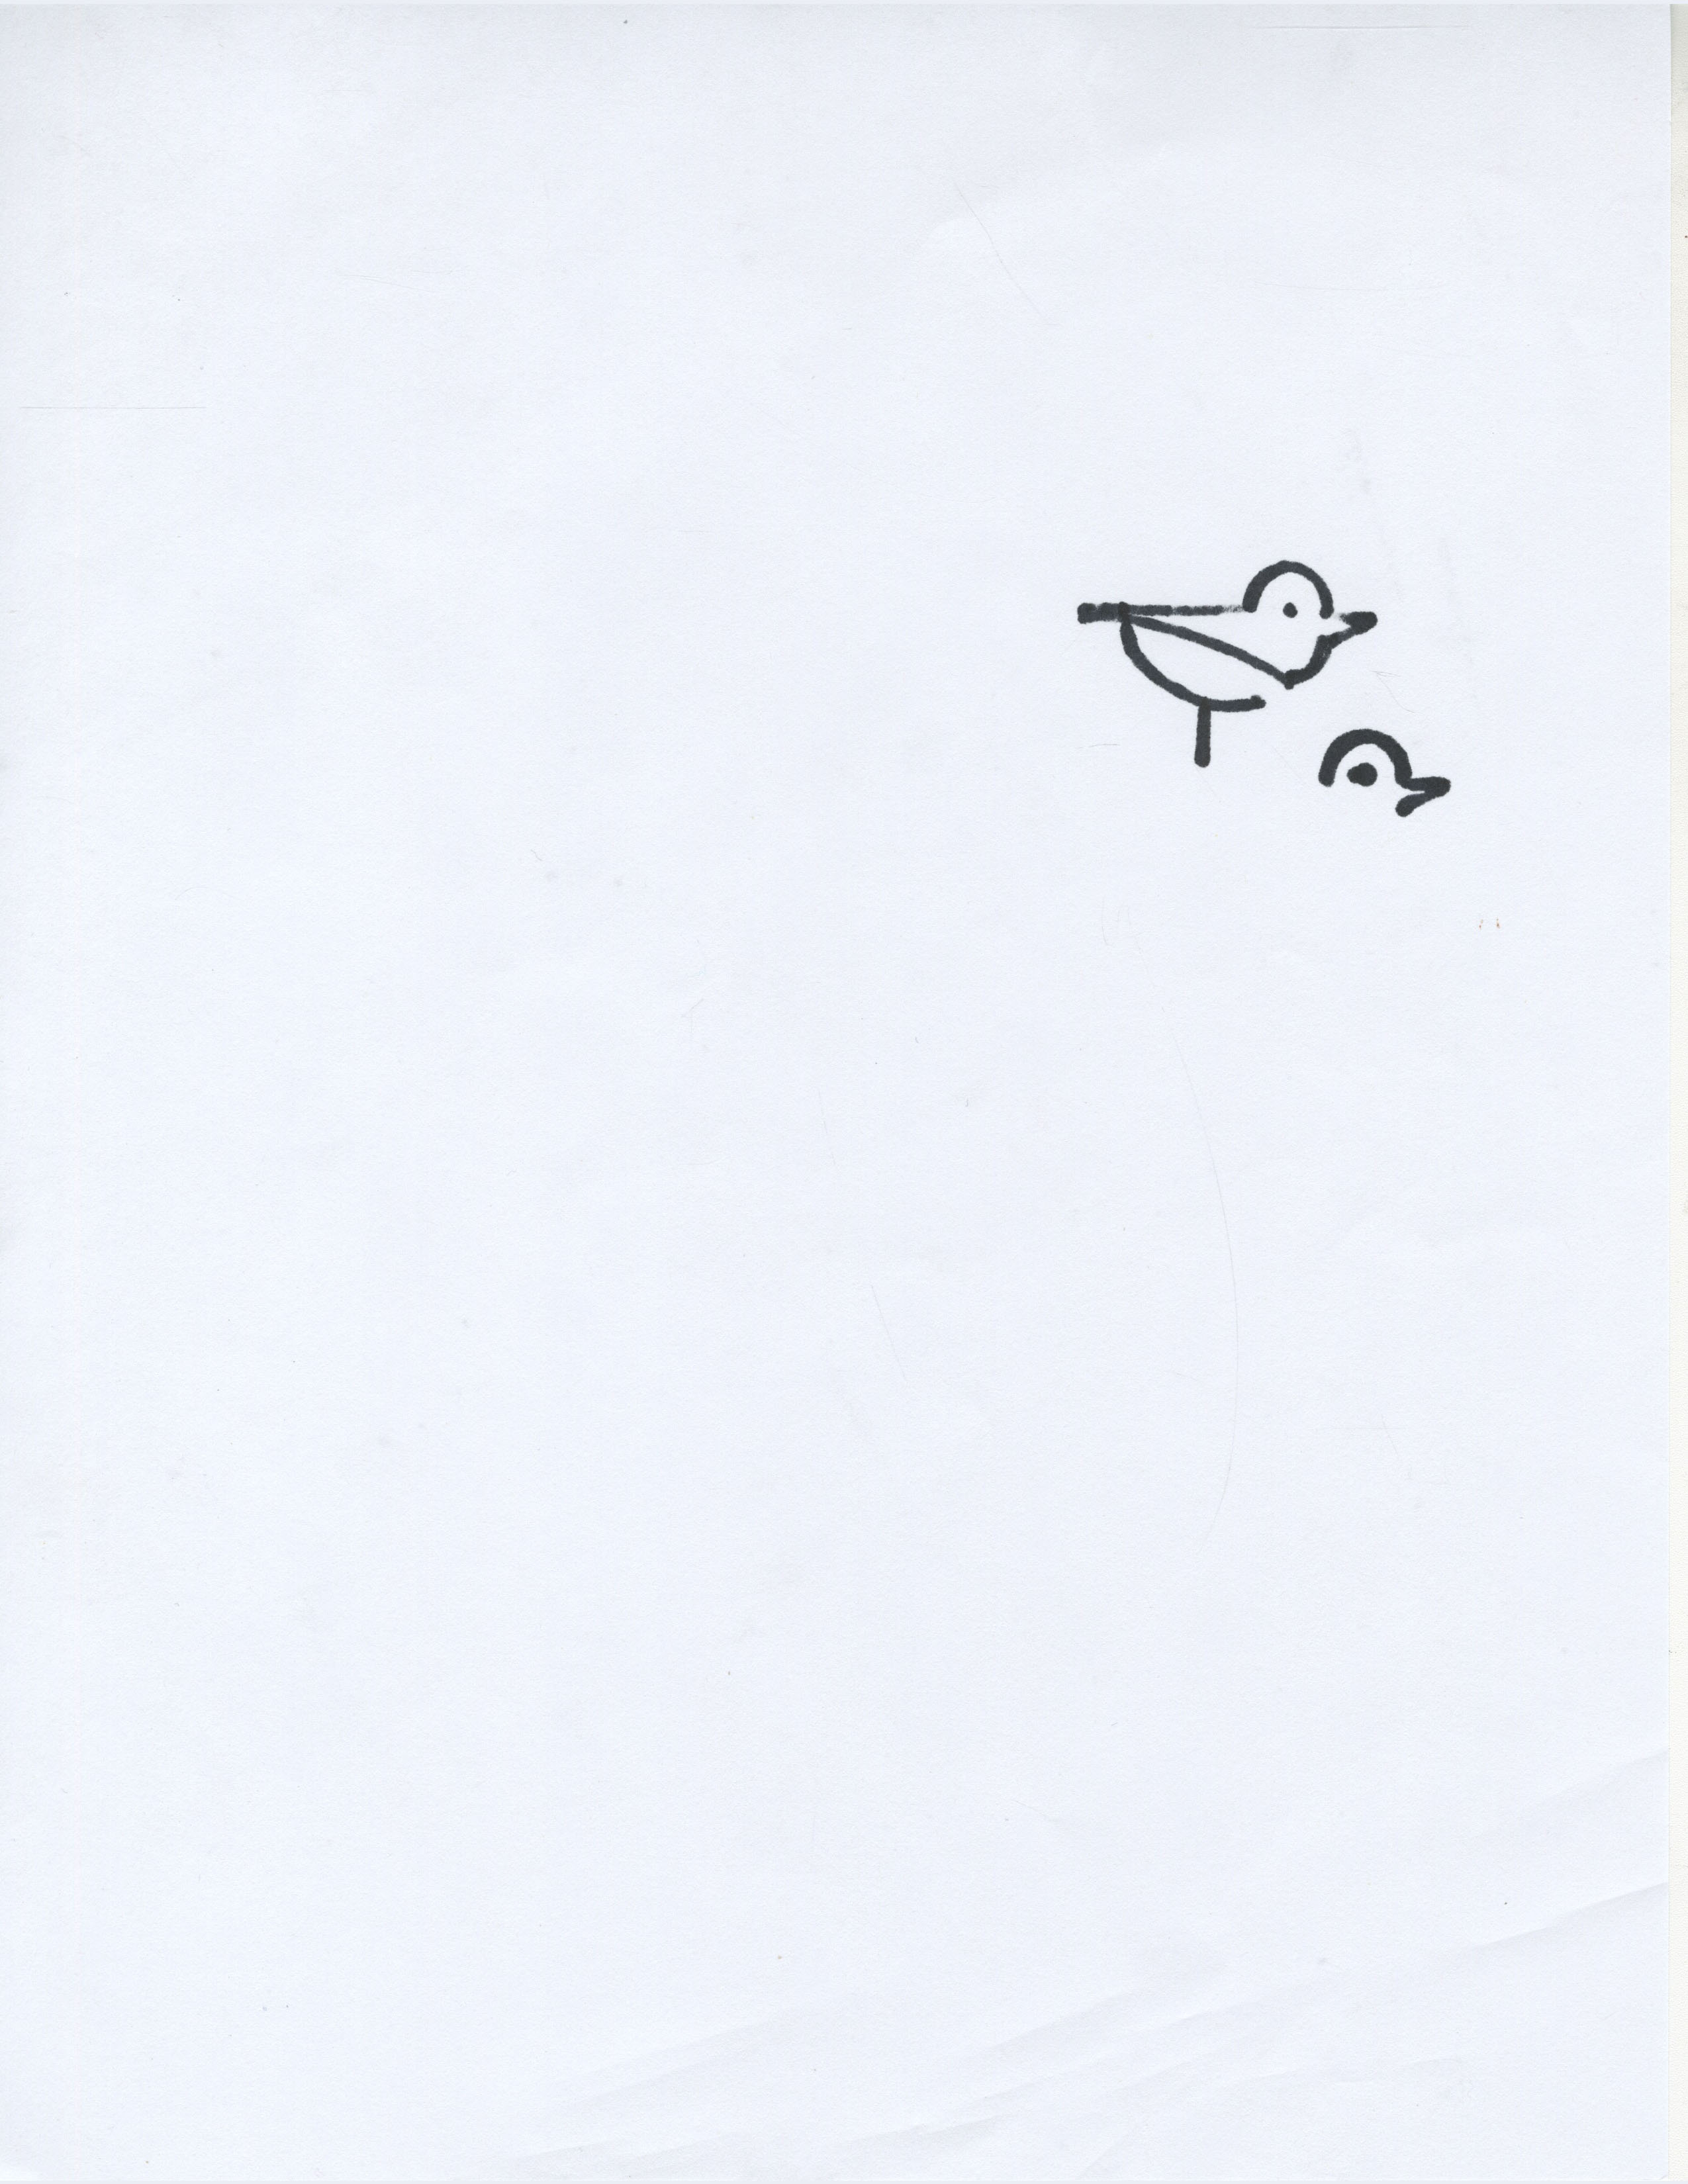
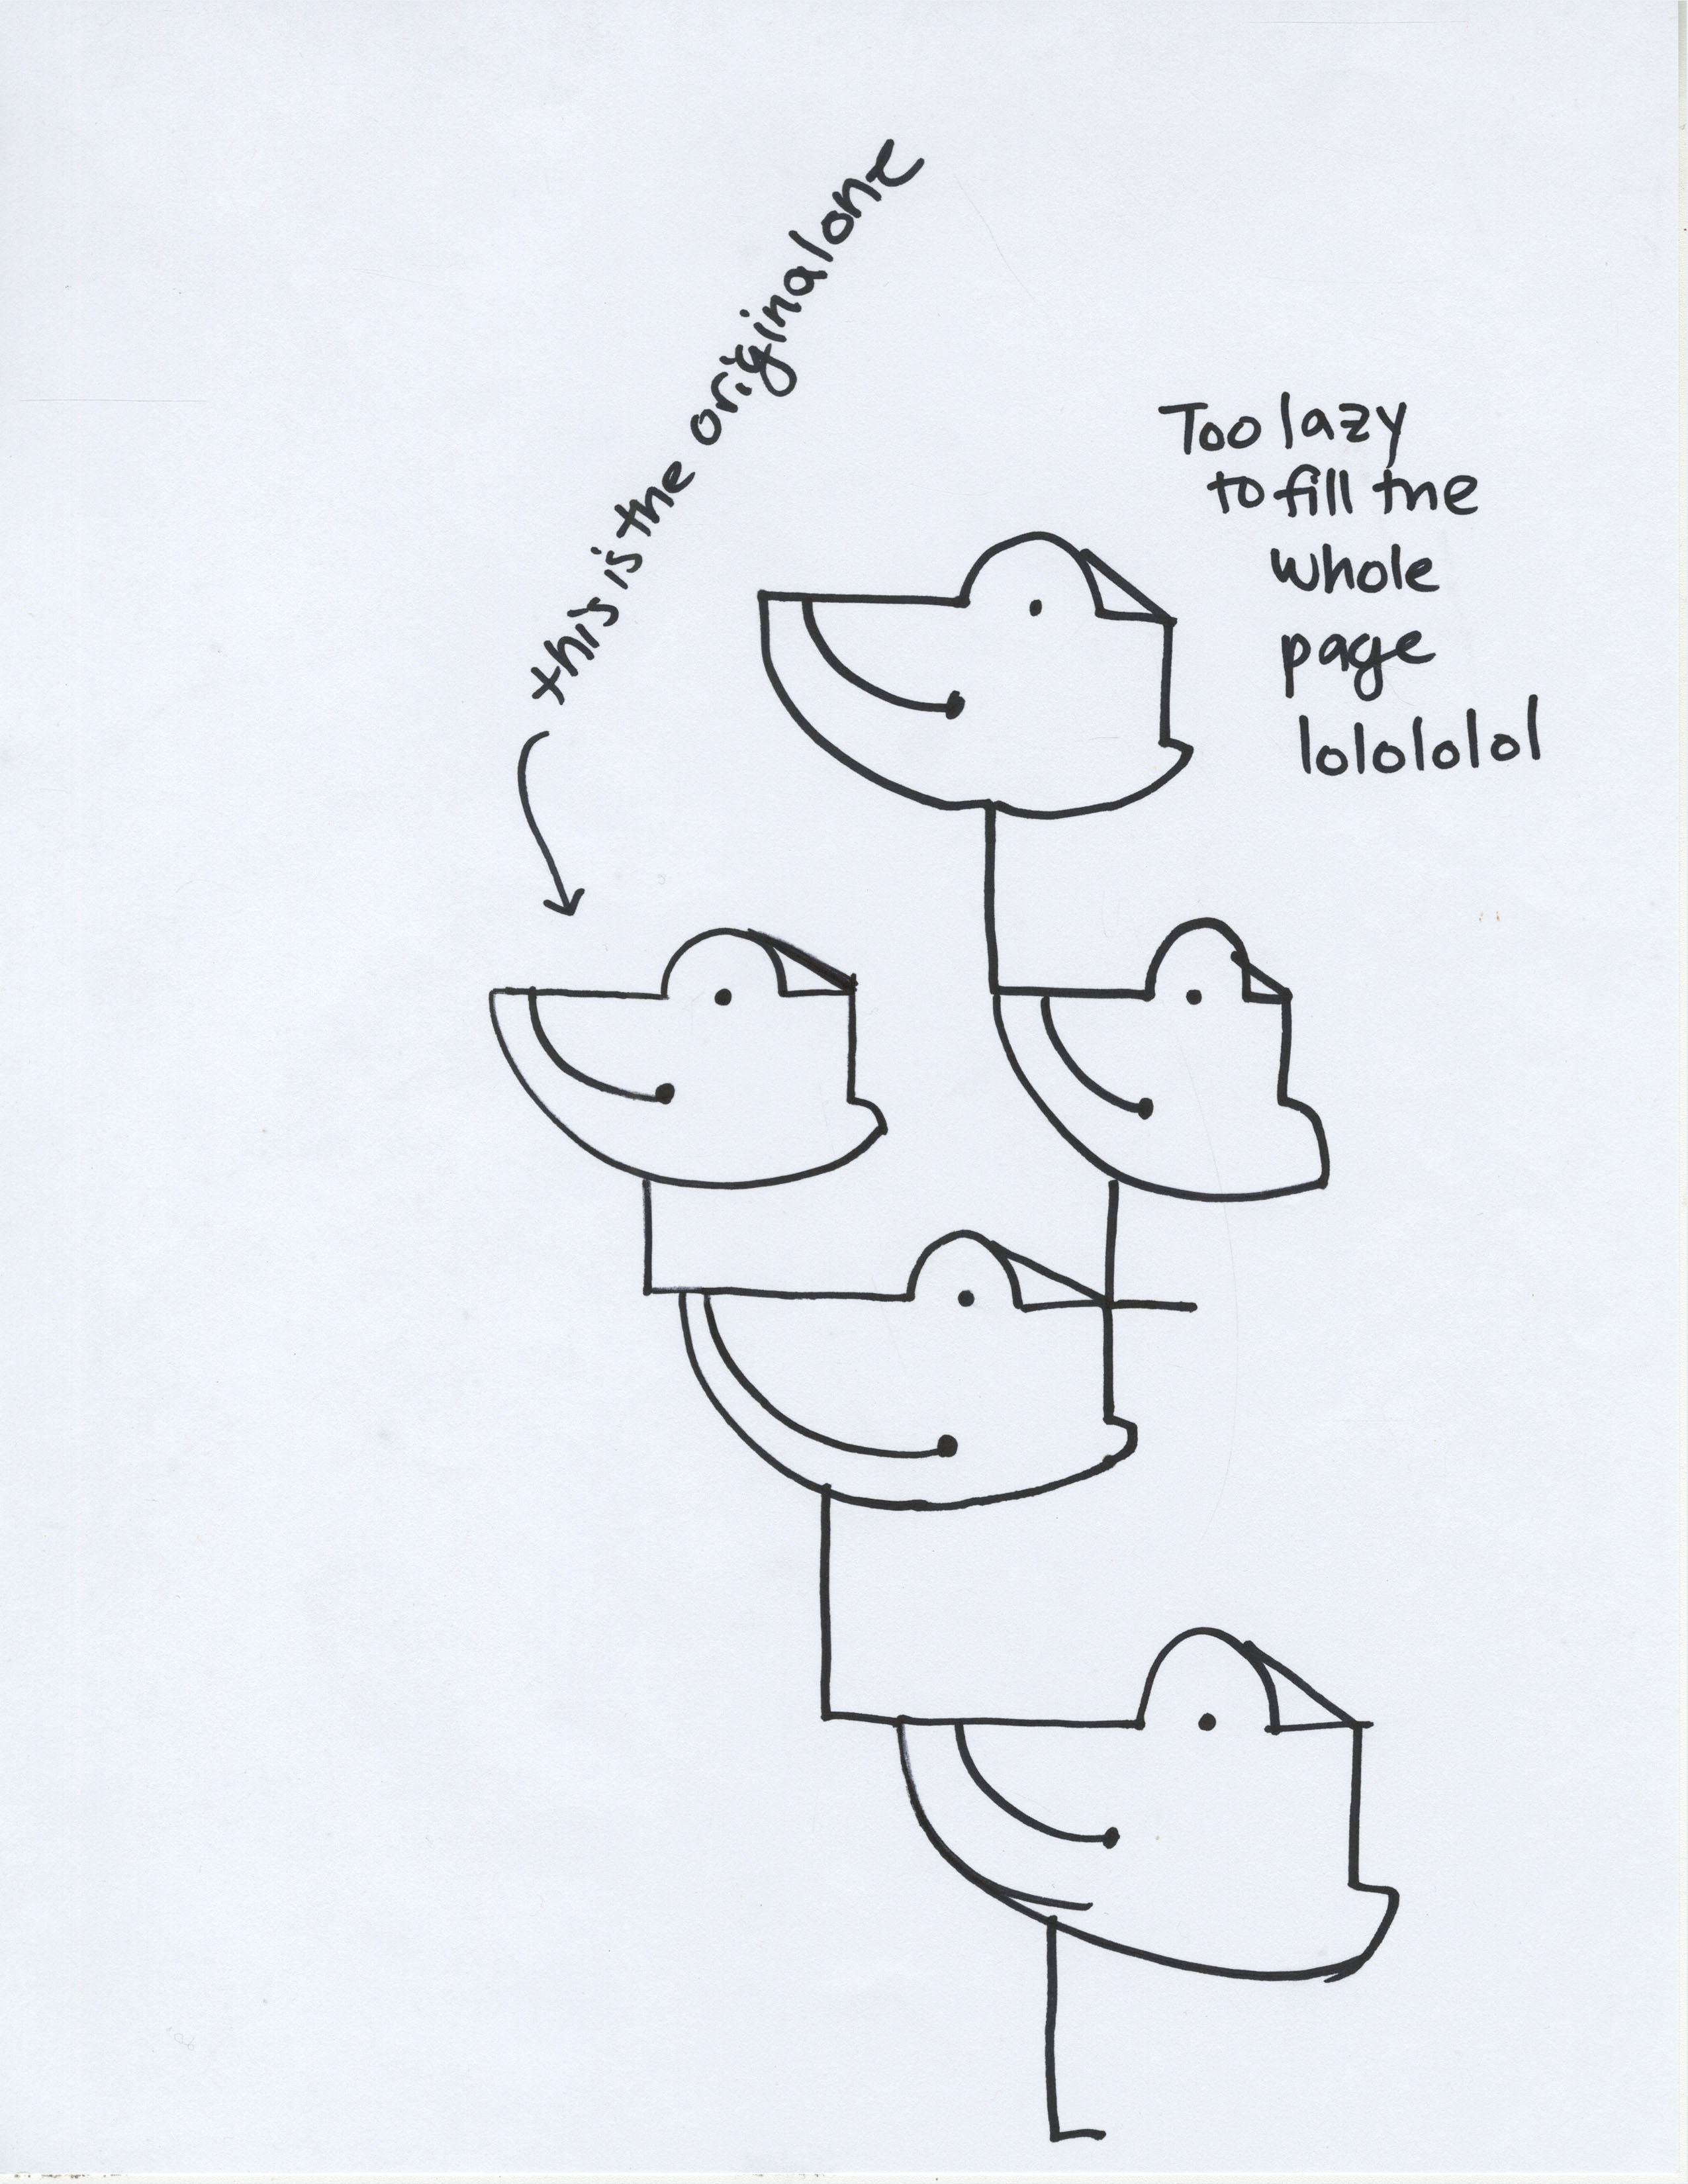
Thank you (in order) David Gordon, anonymous, and Will Taylor for the drawings.
I liked that people enjoyed drawing my instructional drawing, I’ve got feedback that was: “It made me think about people I haven’t thought about in a long time” The interactions between the drawing are strong. These incredibly personal portraits of people are looking at each other whether you stack the drawings vertically or horizontally. I should have never asked my subjects to draw the necks, it emphasized the ending point of the boundary lines I gave, which I wanted to be invisible in the drawing.