Dog shock collar

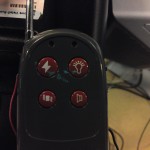
by Mishugana @ 10:15 pm 14 April 2010

CODE::

import processing.serial.*;

Serial myPort;
int val;

void setup() {
size(200, 200);
}

void draw() {
if(!mousePressed) {
if (myPort!=null)
myPort.stop();
myPort=null;
} else {
if (myPort==null)
myPort=new Serial(this, Serial.list()[0], 9600);

}
}

Sonic Wire Sculptor

by Cheng @ 10:54 pm 11 April 2010

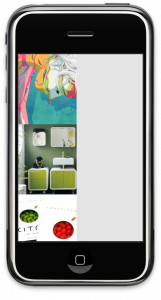
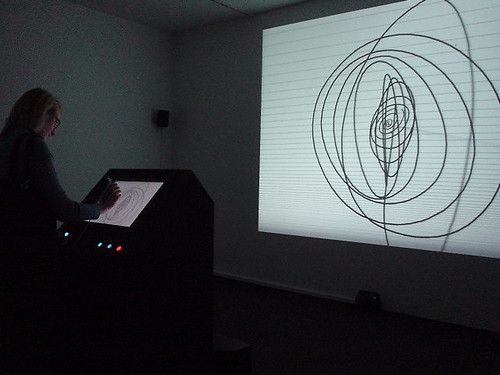
Amit Pitaru’s Sonic Wire Sculptor turn drawing in 3D into sound. Originally developed in Windows (here), it now has a pretty cool iphone app here. Notice how far the project has gone!


In the iphone screen shot above, horizontal lines separate notes in scale. Timbre of notes can be chosen to express sound differently.

Frankly I was worried to read the title of the project on Programming Interactivity (P195); it turns out to implement it in the opposite direction šŸ˜› Still, it demonstrates that mapping pitch and wire shape makes sense! Additionally, in the windows version, stylus pressure is mapped to line width, and loudness of music.

visually mobile (progress)

by jedmund @ 11:44 pm 7 April 2010

My original idea for this project was to make a desktop version of my web app, visually, so that I could start to play with visualization and interaction with heavily visual data outside of a web browser (because we all know how restricting those things are).
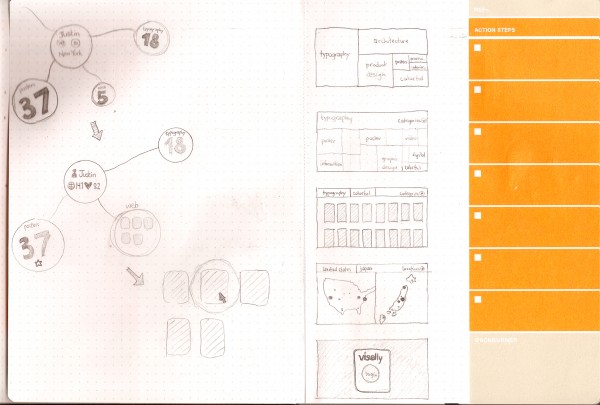
I did a lot of sketching trying to figure out UI paradigms and ways that I could interface with hundreds, or thousands of images at once. It wasn’t going well, and I decided that I’m more interested in each image individually than the fact that this is a conglomeration of images. However, I didn’t want to make it difficult for the user to find specific images that exist in the global site or their personal repositories. To kind of remedy this problem, I came up with a treemap UI that is additive, so you can search for one tag, say “typography”, and see what comes up, but then you can add in another tag, say “posters”, to further limit your result set. This makes it easy to do things like limit by user, popularity, or color as well. When you have a result set, you can browse it visually to find exactly what you’re looking for.

After a little bit of thinking, I came to the realization that this was a waste of time, since it would just be studies for the eventual mobile app. So why not just make the mobile app from the get-go?

So that’s what I did.
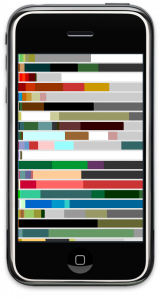
I had messed with openFrameworks a little bit the week before this project really got going because I knew I was new to it and that if I didn’t have a head start there would be no way I could get this done. This proved extremely useful. I also made a rudimentary API and tested the connection between visually and Processing ahead of time too, so a lot of the classes and things that I had to make weren’t hard to port to oF. For the checkpoint, I grabbed color data from visually and made a proof-of-concept to let myself know I could get this thing to work. The above image was what I had for the presentation, but it isn’t an accurate representation of the actual colors by any means.
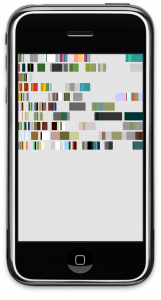
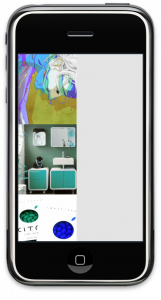
The image on the left is a much more accurate representation of the color space of each image. However, as you can see, things aren’t lining up properly and there’s a lot of negative space within each bar, so this is something I’ll have to work to perfect over the weekend.

The heart and soul of visually is images, so I tried outputting those too. There was a weird bug trying to output both colors and images at the same time which I have to take care of. As you can see from the image in the middle, there seems to be some colorspace mixup when it comes to solely displaying out images, likely having to do with the hack-up class I’m using, so that’ll have to be fixed first. The class I was using seems to have been inverting the colors on the image it output. In the rightmost image, you can see its now displaying properly.

This weekend I think my goal is to make an interactive tree map. The transitions from screen to screen and the searching won’t be necessary until all the key components work individually, but since the map is kind of the main UI paradigm, getting that done will be key. Also, right now my API is really rudimentary, and while I have a RESTful API in the works, there’s no way it’ll be done in time to use for this project, so I’m wondering if there’s some more efficient way of storing data (SQLite?), because I can see reading and searching XML files and arrays becoming a problem in the near future for memory management (and my sanity).
Project progress

by kuanjuw @ 7:56 am


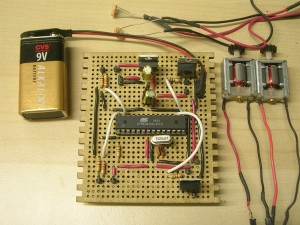
wooduino and Braitenberg vehicle

Blinky Blocks

by Michael Hill @ 7:45 am

When I first started this project, I wanted to create some kind of game that would run on the blocks. After fruitless hours of trying to get the simulator up and running, I decided that it would be better to create an interface that would allow an individual to effortlessly run a simulation without expert coding knowledge.

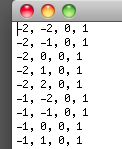
With this in mind, I set off to build an interface. Having been through the code enough, I knew that whenever a user desired to simulate a structure of blocks, they had to program it in by hand. Each block had to be manually entered into a text file:

To add to the complication, each time you wanted to see what your structure looked like, you would have to run the simulator all over from the beginning.

It became my goal to make this a much simpler process.Ā  My first challenge was to figure out a solution to placing new blocks in the 3D space.Ā  Over the past semester, I have been learning more a bout 3D programming and rounding up resources that might come in handy. Golan told me this problem of choosing an object was called the “Pick” problem.Ā  This, in combination with my previous resources allowed me to put together a piece of software that users could add and subtract blocks, as well as import and export structures that could be loaded in to the Blinky Blocks simulator:

I also began coding an interpreter for LDP, but due to time constraints, I was only able to get a few command recognized.

When demonstrating this interface at the Gallery opening, I had several people comment on how intuitive the controls were, which affirmed my goal to make a simple interface that could be quickly picked up and learned.

updates- fruit project

by caudenri @ 9:16 pm 6 April 2010

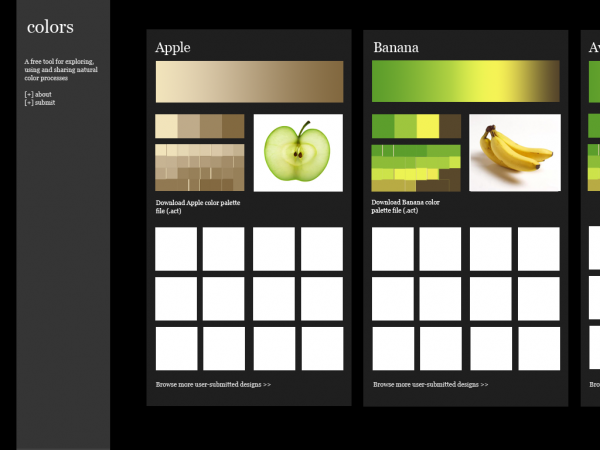
So, first of all, I apologize for not being there on Monday to present this. To refresh your memory, I’m doing a project where I’m trying to take time-lapse photos of natural color processes (such as a banana turning brown), get the average color of each frame, and display the colors as a gradient.

I’m trying to work on little modules in Processing that would be inserted into a website where people could explore the colors and hopefully download color swatches.

Not sure if the embed option for applets is going to work but in any case here is the link to what I have so far:caryn-finalprojsketch

Haven’t quite figured out yet how to have the image display even when you’re not hovering over the bar…but that’s going to happen at some point. Hover over the gradient bar to see the image the color came from and the hex color.

I did a lot of experimentation with sampling different points in the pictures…and even with my better lighting and picture-taking circumstances, the colors still look muddy. I’m still trying some things, not sure what I’m doing wrong but I think part of it is that the colors are just going to look more intense when they’re in the context of a photo rather when the actual color is singled out artificially.

Here’s a mock-up of what I’m starting to think this could look like on the web (ideally)

mock-up of the possible web interface

Shaper – Dispenser Tests

by Karl DD @ 10:17 am 5 April 2010

For our project we are exploring the theme of interactive fabrication. For more information take a look at the full project proposal.

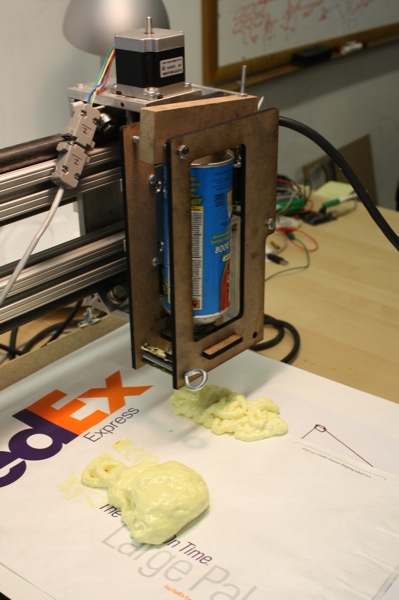
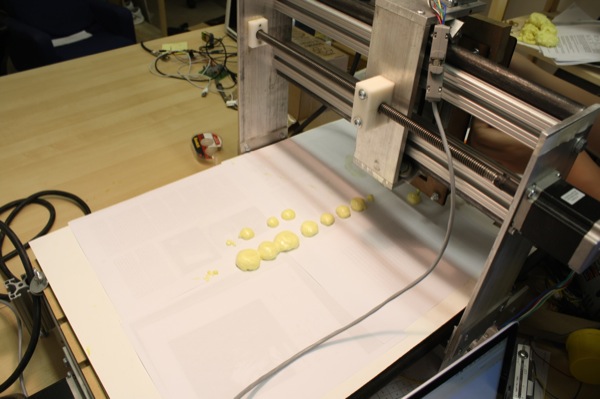
This week we begun some initial tests with using expanding foam to create physical forms. Below you can see the basic setup: a custom dispenser attached to a 3-axis CNC router and controlled in near-realtime from a computer.

Setup

To control the CNC router we use the open sourceĀ EMC2 machine controller application running ‘realtime’ Ubuntu on an old PC. By setting EMC2 into Manual Data Input (MDI) mode we can send itĀ commands using Python. This allows EMC2 to control the machine with the correct direction and step signals over the parallel port, and enables us to basically feed it simple ‘goto x y’ commands usingĀ G-Code from Python.

Because we want to explore a range of different interfaces we decided to use the Ubuntu PC as a server and send G-Code commands from another Ā faster computer via OSC. This way the server PC can concentrate on driving the CNC, and we are free to do more intense processing on the remote computer.Ā At this stage we are using a sketch interface built inĀ openFrameworks to send the G-Code commands.

Fidelity

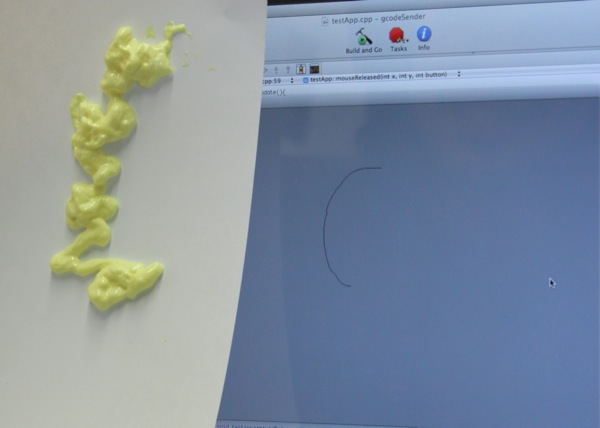
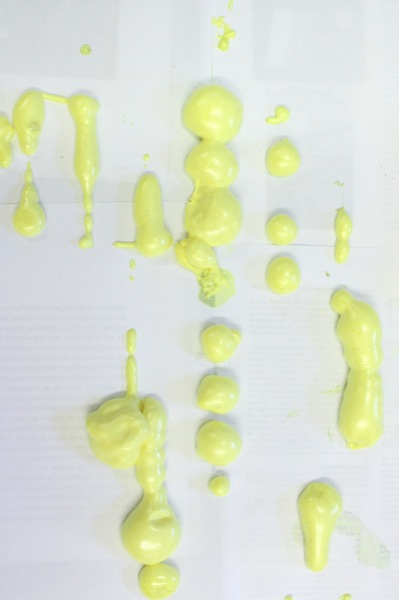
Due to the nature of the expanding foam material, it is quite difficult to get high fidelity representations. Below you can see our initial attempt at drawing a simple curve without any nozzle attached to the can. It simply pumps out foam and the machine can not move fast enough so it piles up into a blob.

In the video below you get a picture of how much foam comes out without any nozzle, this then expands quite a lot before it hardens. You can also see how the CNC lags behind the drawing quite a lot, commands are essentially placed in a queue and the CNC processes them at it’s own speed. With a little more programming it should be possible to optimize/simplify the lines created by the mouse to speed up the physical motion. Due to the coarse nature of the material, this kind of optimization will probably not be noticeable.

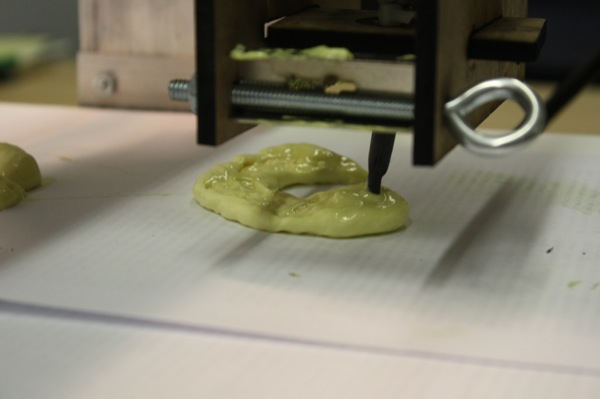
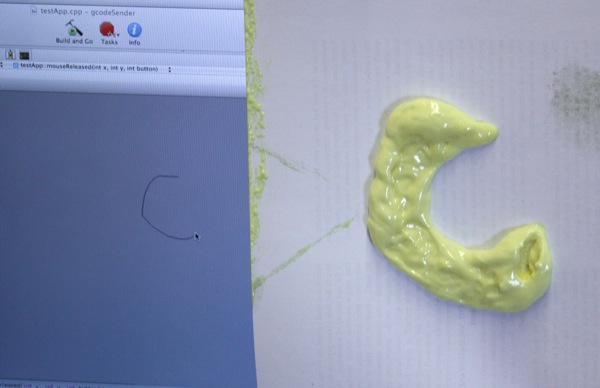
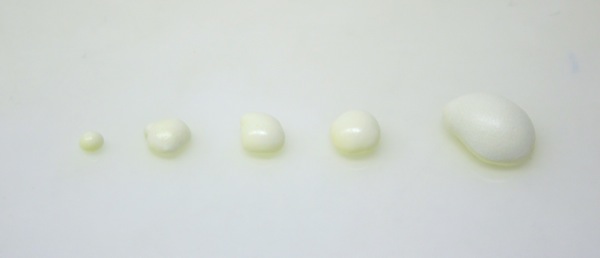
We are more concerned with the interaction, so fidelity is not the main concern. However we found that various small changes can dramatically help the output look more like the input. For example, attaching a nozzle and moving the nozzle closer to the surface results in the following output.

Limiting the amount of material dispensed by opening and closing the nozzle can also help create smoother lines. Below we outputted a series of small dots with reasonably accurate form.

Material

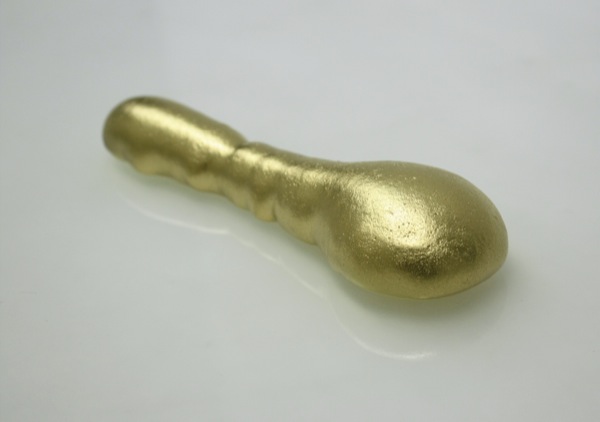
The expanding foam dries into a very lightweight and super smooth material. By adding a quick layer of spray paint it transforms the material into something quite richer in appearance (given it’s humble origins). Below are several treatments we have experimented with. My personal favorite is the metallic gold!

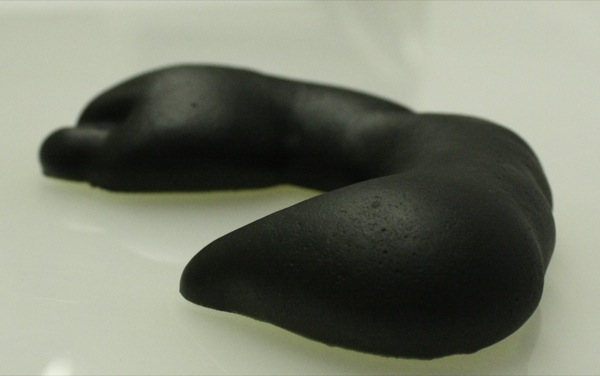
This is what the C shape in the image near the top expanded into. Then painted with flat black.

The Knitting Machine

by Cheng @ 9:55 am 1 April 2010

Dave Cole’s Knitting Machine

null

« Previous Page
This work is licensed under a Creative Commons Attribution-Noncommercial-Share Alike 3.0 Unported License.
(c) 2016 Special Topics in Interactive Art & Computational Design | powered by WordPress with Barecity