High Speed Portraiture
High speed footage and audio recordings provide not just a montage portrait, but insight into the photographers perspective while capturing a traditional portrait.
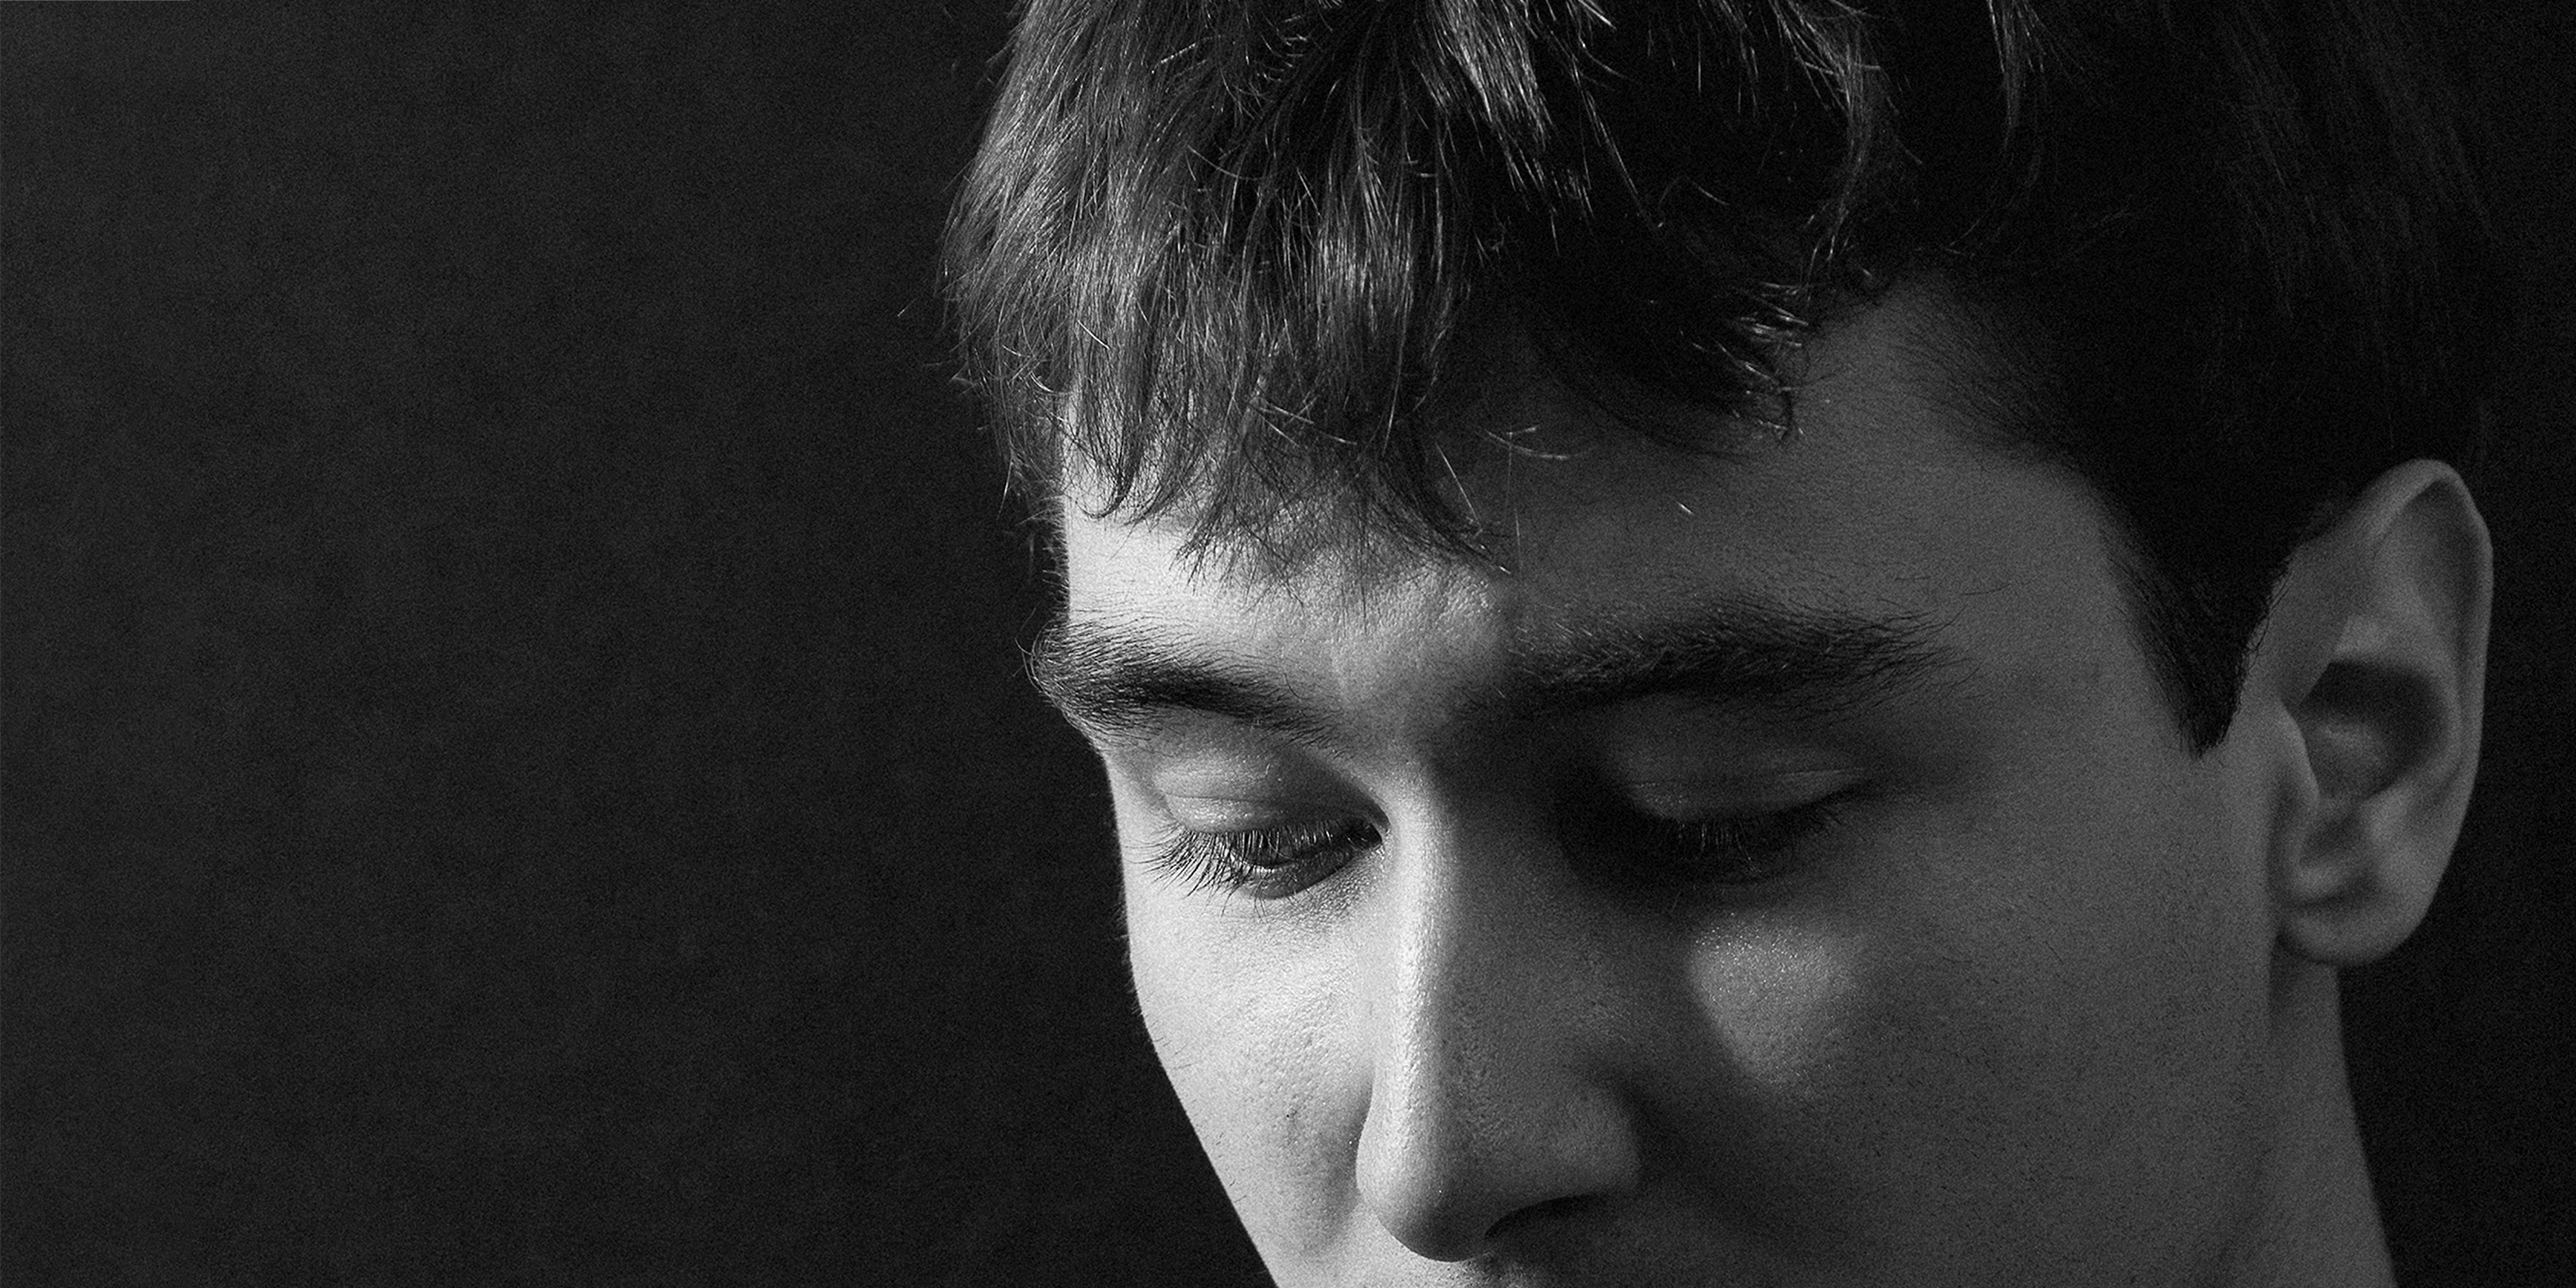
The work is composed of two portraits. The first, a traditional printed portrait, as captured by me in a completely non-experimental way. The second portrait is a view of the subject as I, the photographer, see them. Their movements, mannerisms, how they talk about themselves, how their face moves and slides between expressions, and the other elements that I am paying attention to when choosing how and in what instant to capture my portrait. This was captured in high speed to draw attention to details, micro-expressions, fidgets, and face movements that otherwise would go hidden or diminished.
This project is interesting because it gives a behind-the-scenes look at the process without actually being a behind the scenes look. The high speed portrait stands alone as a portrait, related yet distinct from the printed portrait.
I am not the first photographer to experiment with high speed cameras or working to deny the characteristics of high speed cameras to make them appear like other works, in aesthetic. Sam Taylor-Wood’s Hysteria, is one example, Bill Viola’s The Passions another. I was also inspired by radio work, such the podcast Beautiful/Anonymous hosted by Chris Gethard, and the style of first person characterization utilized in episodes of The Truth and The Heart, a form I have utilized in my own radio work before.
These portraits do not hinge on the high speed camera, and I did not use the high speed technique to reveal or re-contextualize someone, but instead to just draw focus and attention – this is also how I chose to edit the clips, quickly and impatiently; denying the high speed footage of the time it takes for one to discover ultra slow motion details.
This project succeeded in my primary technical goal, which was to use the (all things considered) cheap high speed camera in such a way as to achieve results that looked good and didn’t have a ‘high speed’ aesthetic. This included a great deal of color grading with a variety of techniques. The footage was shot high key and low key, and was often both over and under-exposed, which posed interesting color and post-production challenges. I utilized de-flicker techniques as well.
The main technical failure was being unable to tackle the noise artifacts remnant on the footage. This is possible and not even experimental, I just didn’t have the time or tools available. Using this camera going forward, noise reduction is essential.
The other failure was that I did not complete enough portraits. At least 3 things are needed for these to conceptually fall into a set. As just two – one high-key and one low-key, they play in opposition to each other when observed; making or failing to make statements I have no intention of making. Various methods were considered to tackle this, such as numbering the portraits arbitrarily or using a wrapping aesthetic of ‘test footage’ with bars/tones and so on to imply the existence of other films. These were ultimately decided against.
High Speed Portraits: evan from Smokey on Vimeo.
High Speed Portraits: lexi from Smokey on Vimeo.
Making Of
First was the audio recording. Here’s a video explaining what I did to get the audio how I wanted it.
Then the process of capturing the footage. First I set up and took test shots of my regular camera until I got the lighting how I wanted it, and to loosen the subject up. The high speed camera was set to a 50% buffer, and I triggered both cameras at the same time when aiming for an actual portrait capture. Each video takes a few minutes to save out of the buffer when capturing, so the process is slow. Keeping my stereo system on and a conversation running helps keep the subject from getting bored. I also made sure they were not moving too much by having them remember and return to a home position – this way I didn’t lose focus (hopefully).
Editing was the last and most time consuming aspect. Nothing magical and no tricks. Color grading was done with the lumetri tools in premiere, and starting working with my white balance and color balance so it’s not so incredibly red. Then I played with cooler lookup tables’s as a starting point, as they tend to add cyan as opposed to just desaturating reds. This keeps my image natural while balancing out the color. Evan’s was always intended to be black and white, which helped deal with color grading, and I used the red channel to adjust his skin tones separate from his jacket and background (which I darkened).
There was some after-effects work, rotoscoping or painting out reflective elements that were distracting, such as the chair Evan was sitting in. Again, time-consuming work that isn’t too difficult.
This project is a whole lot of simple things that came together in a complicated way. By focusing and giving myself the time to do everything (except that dang noise reduction) right, I was able to achieve a technically polished project in the class environment where I don’t usually have time for these details.